Cisco VPN
Remote access via your company's VPN allows you to either:
- Connect and use your work desktop computer as though you are sitting in front of it
- Connect your work laptop to the company network as though you are in the office
If you do not have remote access already, please seek approval from your manager. Once approved, please email the Private Universe Helpdesk and remote access will be enabled on your account.
You will need to include a screenshot of an anti-virus scan in your request for remote access.
Please run a full scan of your computer using your preferred anti-virus product and ensure the results come back as clean. If you do not have an anti-virus product, download the free version of Malwarebytes.
Choose the right set of instructions for your Windows or Mac computer using the table of contents on the right 👉.
System Requirements
You need to be running one of the operating systems below on your computer to install the Cisco VPN app. If you're not sure what version is running, click on the appropriate ↗ below to find out how to check.
Windows
Installing the VPN client
When working remotely for the first time, you will need to install an application named Cisco Secure Client.
You can only complete these instructions outside of the office. Alternatively, enable your mobile phone’s hotspot and connect to it.
-
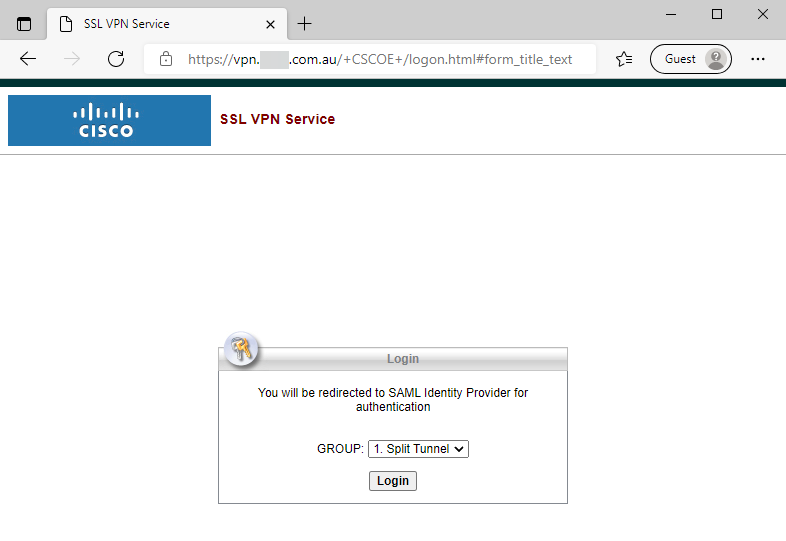
Open a web browser, go to
https://vpn.<your_company_website>.For example, if your company website is contoso.com.au, your address will be
https://vpn.contoso.com.au. -
Click Login.
-
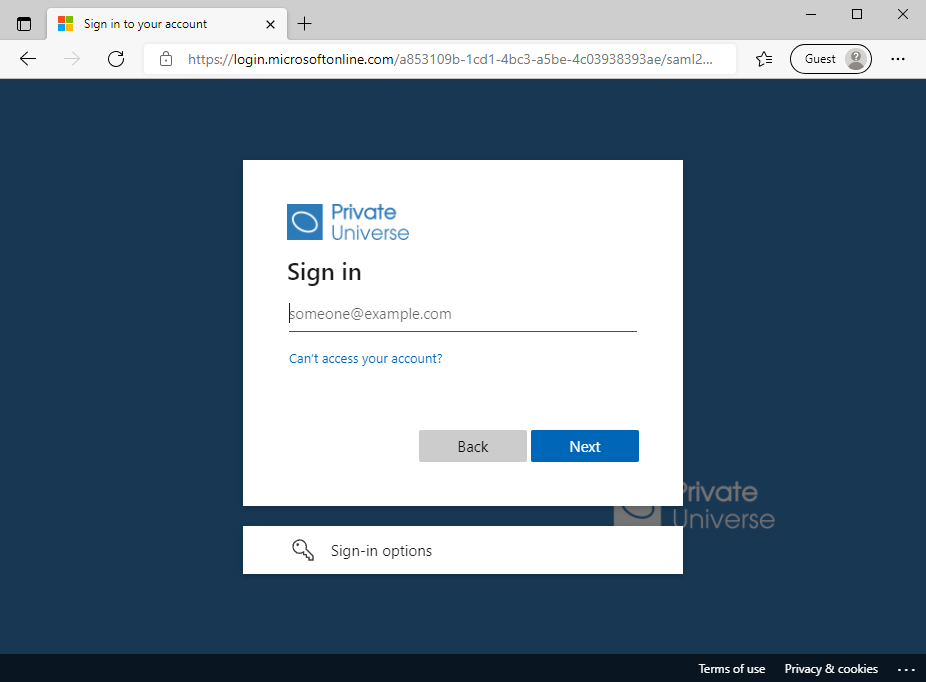
Enter your email address and password you use to log into your work computer. If required, approve the authentication request.
-
Click Download for Windows. If prompted, click Run or Open. This will start downloading a file. Once complete, follow the prompts.

Opening a VPN connection
Once Cisco Secure Client is installed, you will need to first open a connection to the office.
-
Open the Start menu, then type in Cisco Secure Client.
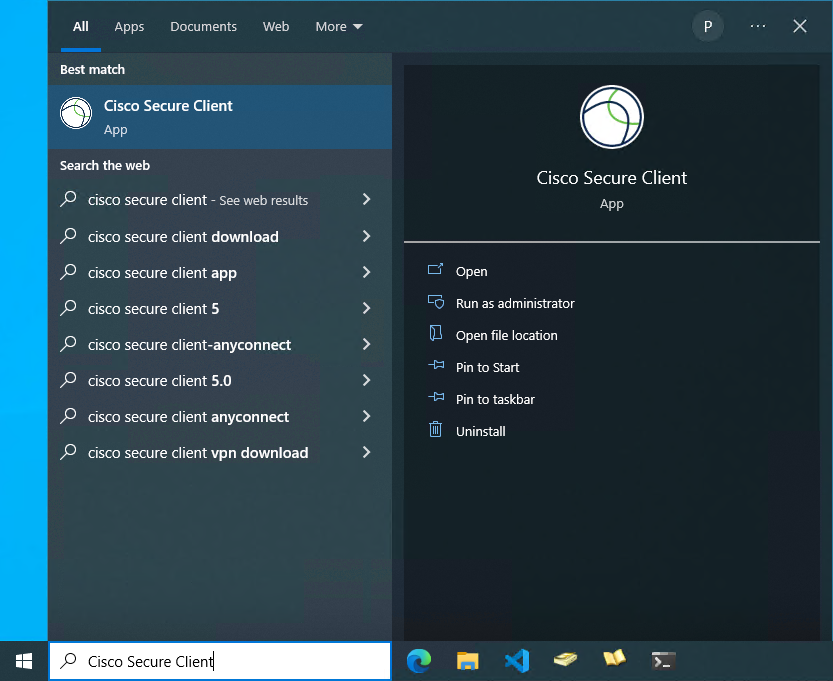
-
Ensure Cisco Secure Client is selected, then press enter.
-
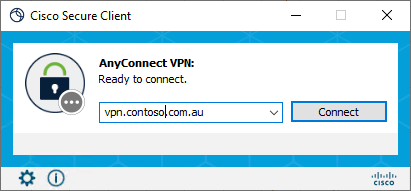
Type vpn.<your_company_website> into the empty text box, then click Connect.
This is the same address as when you installed the VPN client above, e.g. vpn.contoso.com.au
-
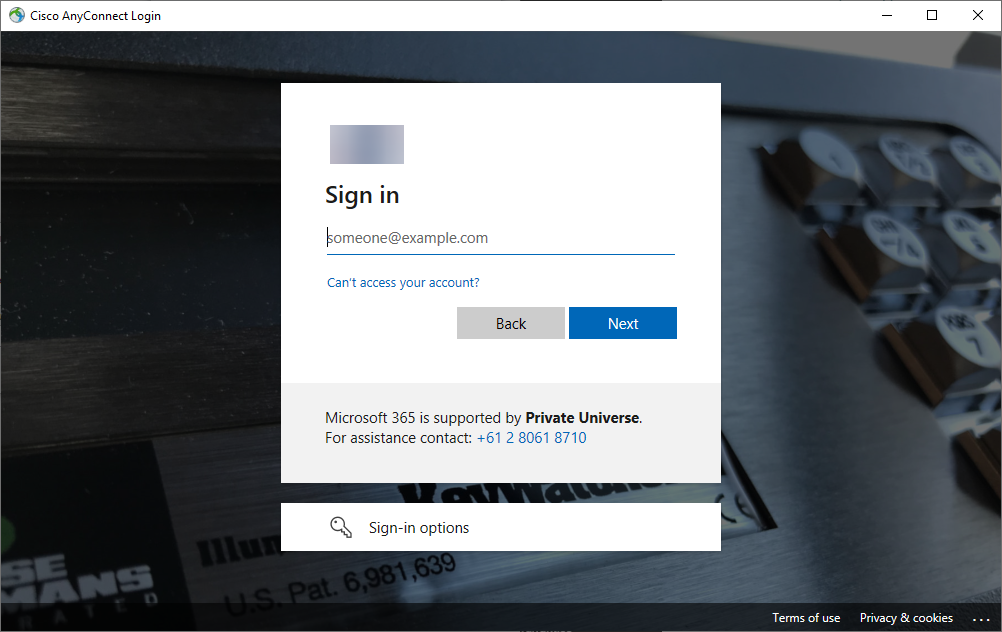
Enter your email address and password you use to log into your work computer. If required, approve the authentication request.
-
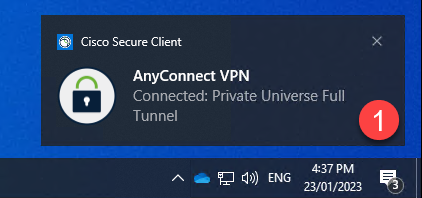
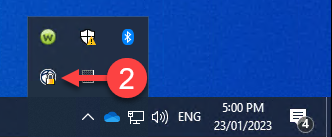
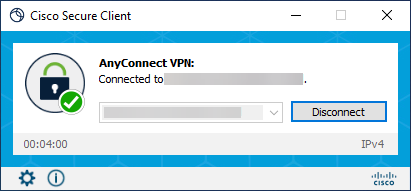
The connection is established once (1) this message appears and (2) when the Cisco Secure Client icon shows a padlock.
Connecting to your work computer
If you are using a personal device and need to remote into your work computer, follow the steps in Remote Desktop now.
If you're using a company-issued device, you're done.
Ending your session
-
Select the triangle near the clock on the bottom-right of your screen, and then the Cisco Secure Client icon.
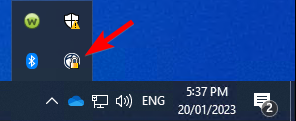
-
Click Disconnect, then close the window.
macOS
Installing the VPN client
When working remotely for the first time, you will need to install an application named Cisco Secure Client.
-
Open a web browser, go to
https://vpn.<your_company_website>.For example, if your company website is contoso.com.au, your address will be
https://vpn.contoso.com.au. -
Click Login.
-
Enter your email address and password you use to log into your work computer. If required, approve the authentication request.
-
Click Download for macOS. This will start downloading a file which has .dmg at the end.

-
Once the download is complete, open the .dmg file. You should see this window:
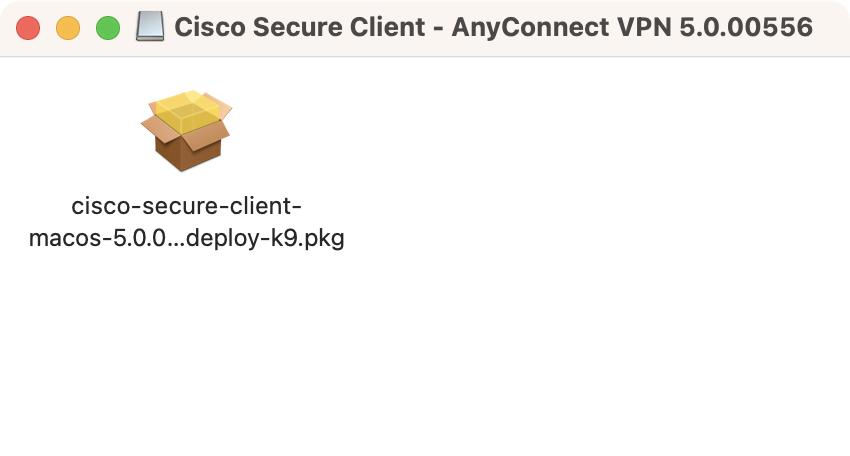
-
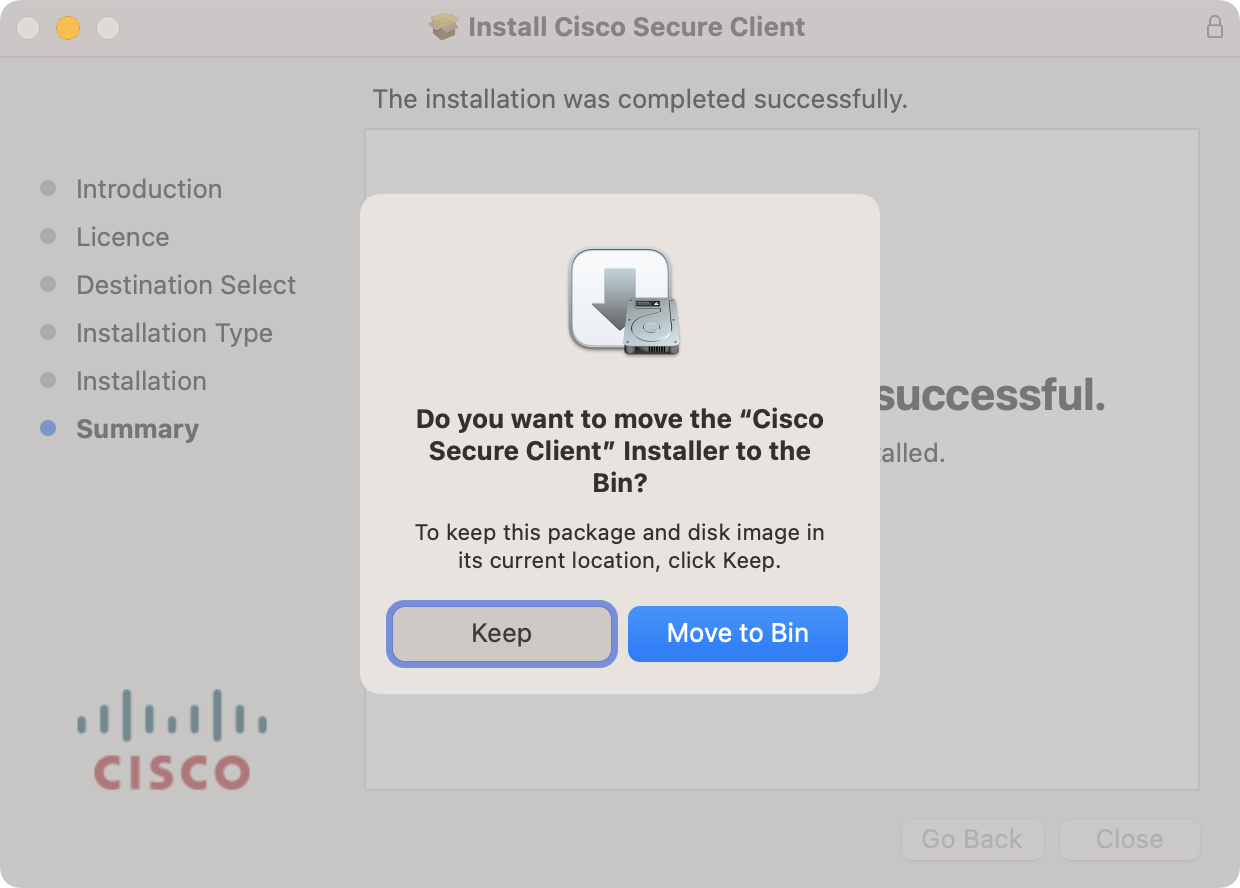
Double click the installer package, then follow the prompts to install the client.
When you get the prompt below, click Move to Bin.
Opening a VPN connection
Once Cisco Secure Client is installed, you will need to first open a connection to the office.
-
Press the command ⌘ and space keys together, then type in Cisco Secure Client.
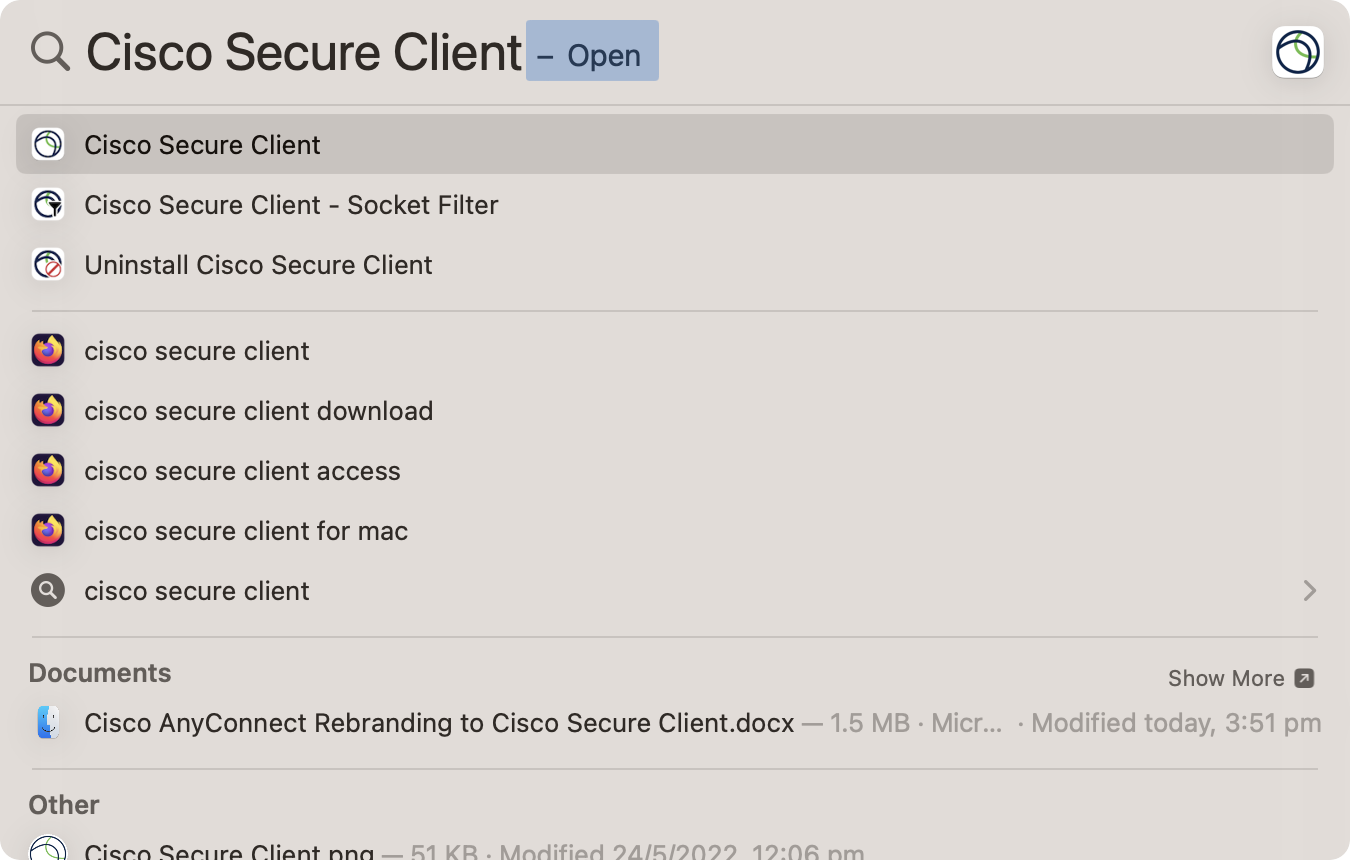
-
Ensure Cisco Secure Client is selected, then press return/enter.
-
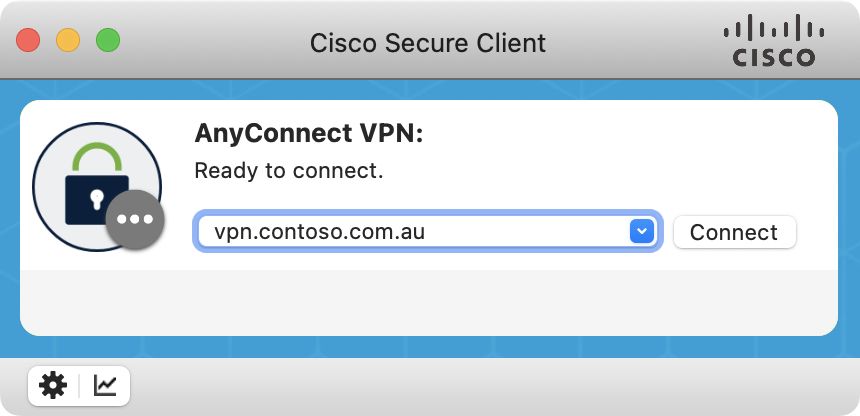
Type vpn.<your_company_website> into the empty text box, then click Connect.
This is the same address as when you installed the VPN client above, e.g. vpn.contoso.com.au
-
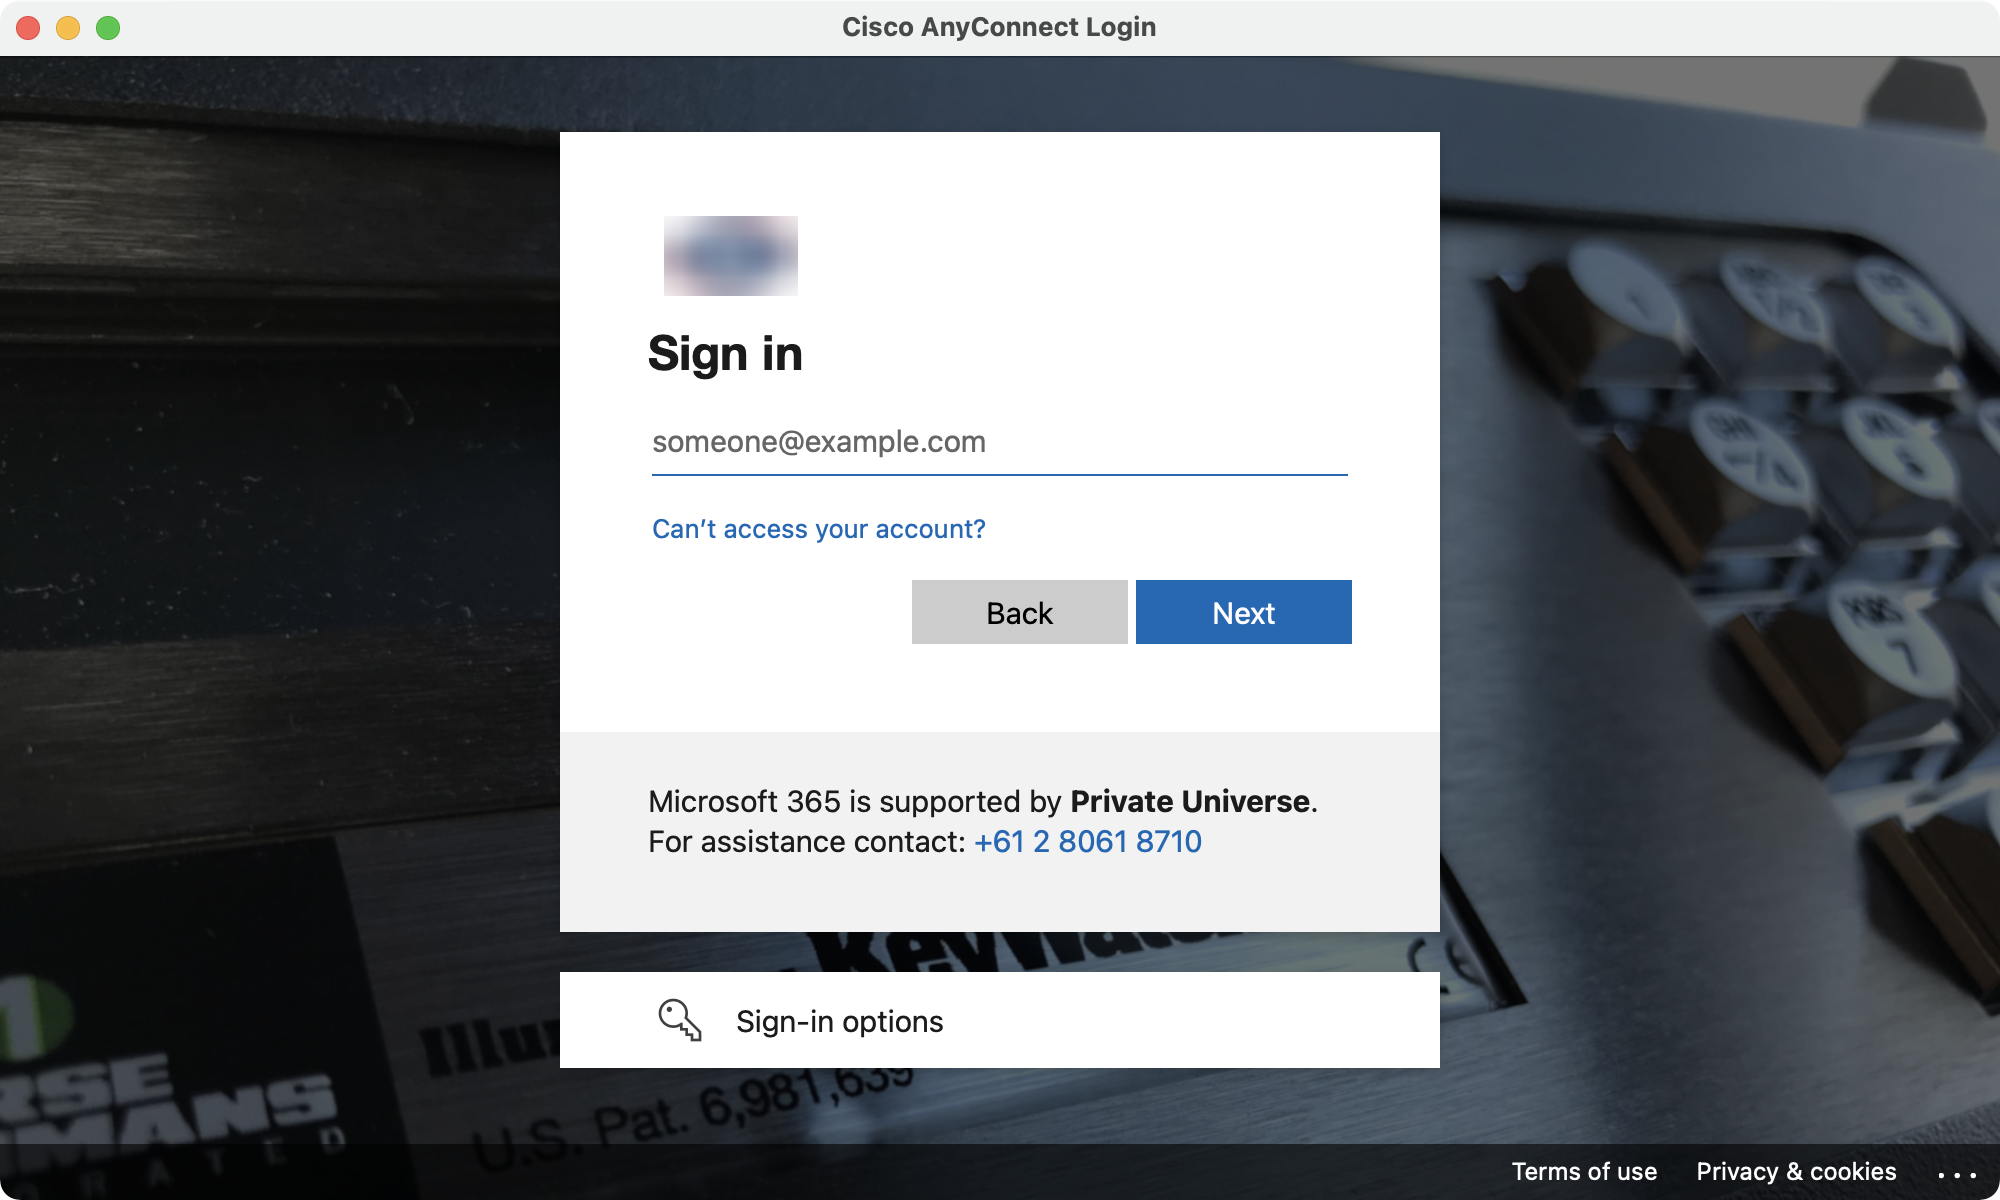
Enter your email address and password you use to log into your work computer. If required, approve the authentication request.
-
The connection is established once (1) this message appears, and (2) when the Cisco Secure Client icon shows a padlock.

Connecting to your work computer
If you are using a personal device and need to remote into your work computer, follow the steps in Remote Desktop now.
Ending your session
-
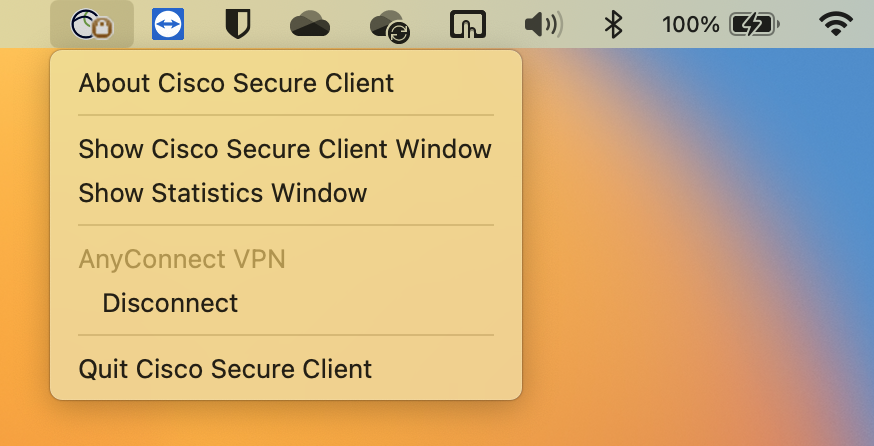
Click on the Cisco Secure Client icon near the clock in the top-right corner of your screen.

-
Select Quit Cisco Secure Client to disconnect and exit the client.
If you are just disconnecting temporarily, you can select Disconnect instead.