Out-of-Box Experience For Windows 10
When setting up a new computer out of the box, you must run through the Out-of-Box-Experience (OOBE).
There are various ways to run through the OOBE depending on your organisation's network. The Private Universe Helpdesk will advise of which method to follow. You can skip to the correct method by using the navigation pane on the right 👉.
The following screenshots were generated using a Dell OptiPlex PC, but the process will be very similar for other model computers.
Microsoft regularly updates the OOBE, so some screens and steps may differ slightly from what you see on the computer. If you're unsure on how to proceed, please contact the Private Universe Helpdesk.
Active Directory Domain Join
Follow the steps below to create a local user and enable Splashtop access for Private Universe to finish the setup.
-
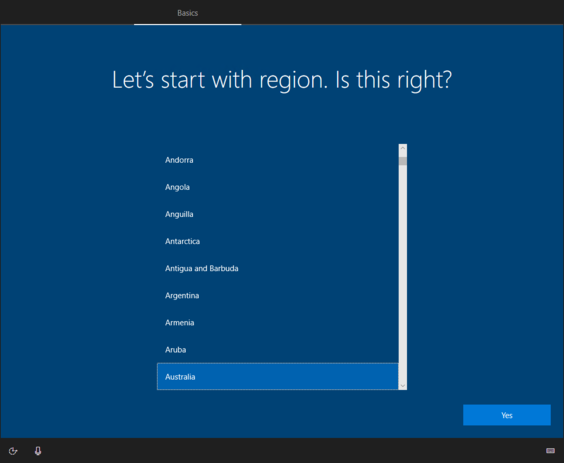
On boot, you will be asked to select the region, select Australia and click Next.
-
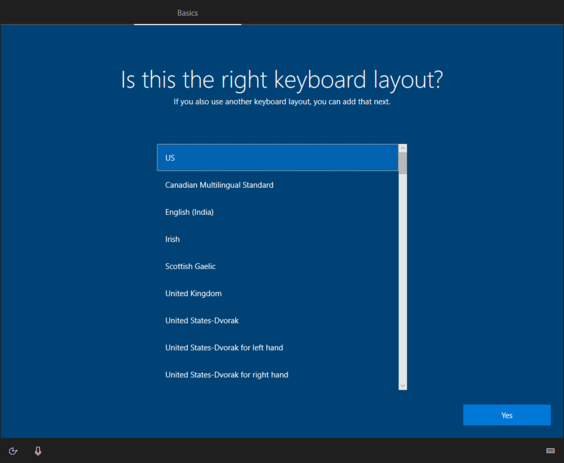
Select the US keyboard layout, and click Yes.
-
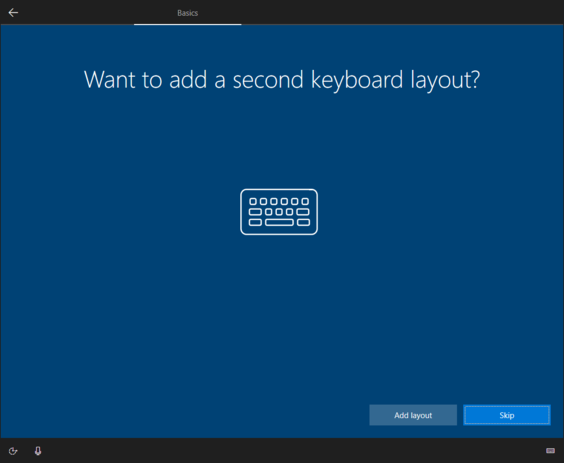
Skip adding a second keyboard layout.
-
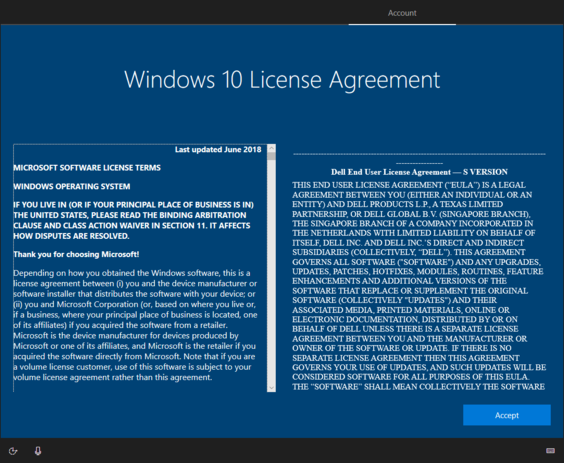
Accept the Windows 10 License Agreement.
-
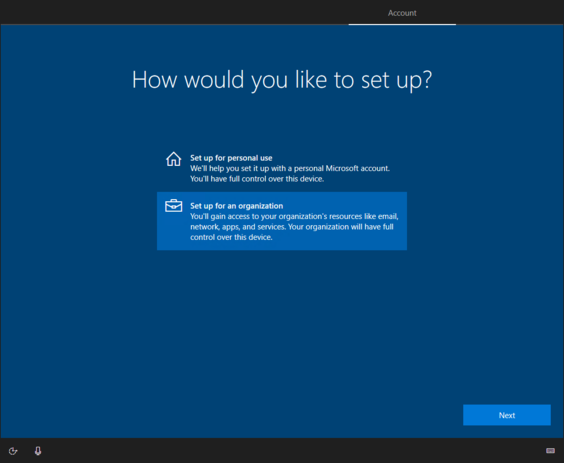
Select Set up for an organisation, and click Next.
-
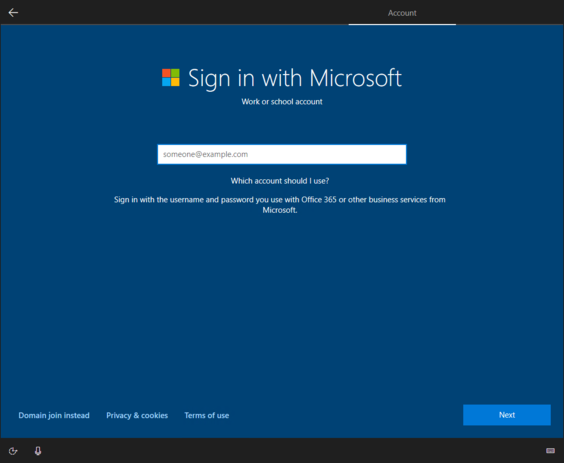
Select Domain join instead in the lower left corner.
-
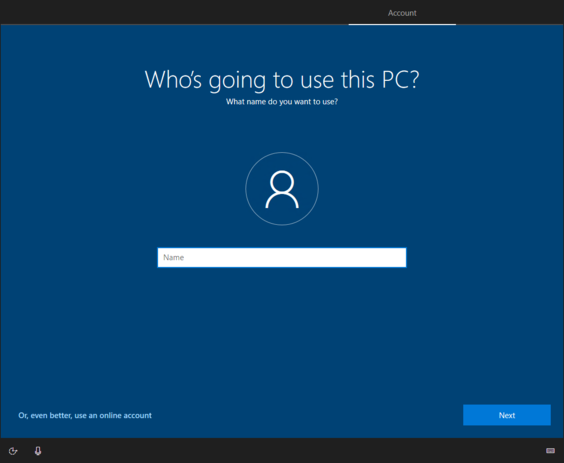
Enter a username for a local account and click Next. This is a temporary account and does not need to reflect the user who will be using this computer.
-
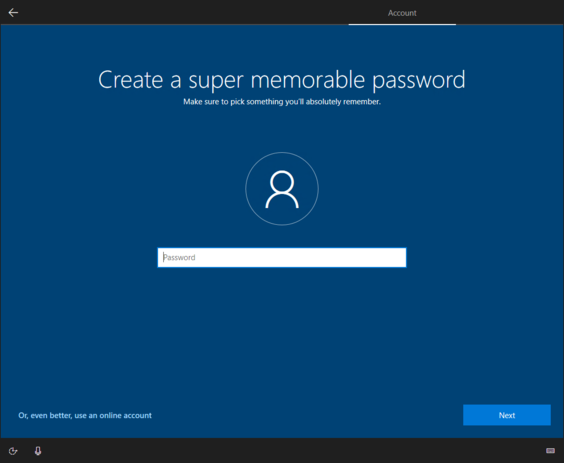
Leave the password field blank and click Next. Again, this is a temporary account and will be removed once the computer is joined to the domain.
-
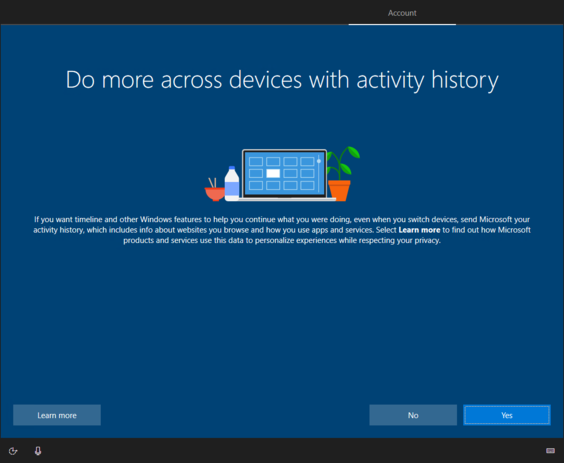
Click No. These settings only apply to the local account we are creating, which does not matter.
-
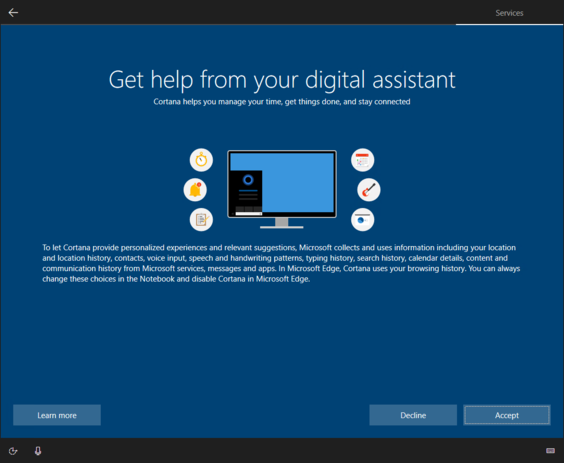
Click Decline.
-
Click Accept. These settings only apply to the local account we are creating, which does not matter. We manage privacy and security settings automatically from the server.

-
If prompted to download and install Windows 11, click Decline upgrade or Remind me later in the bottom-left corner of the screen.
Windows 11 is not ready for business use at this stage.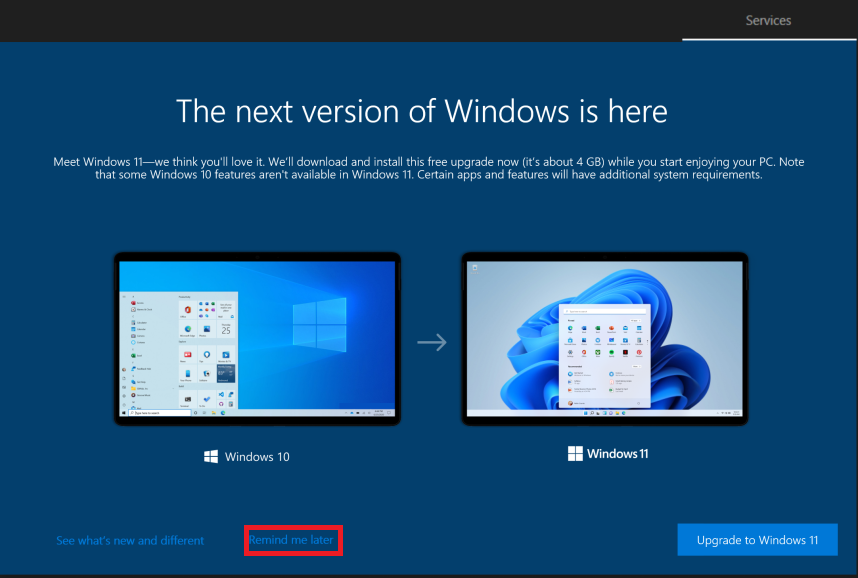
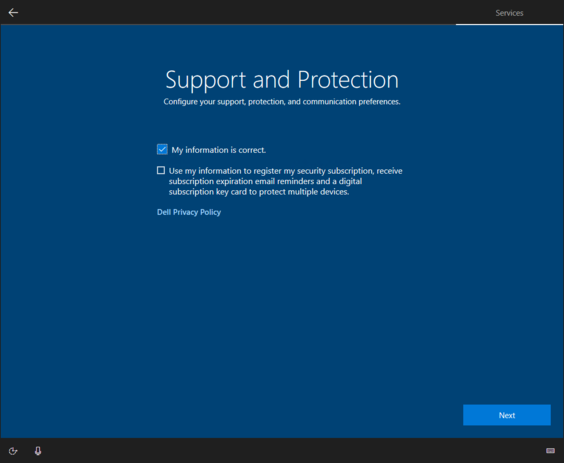
-
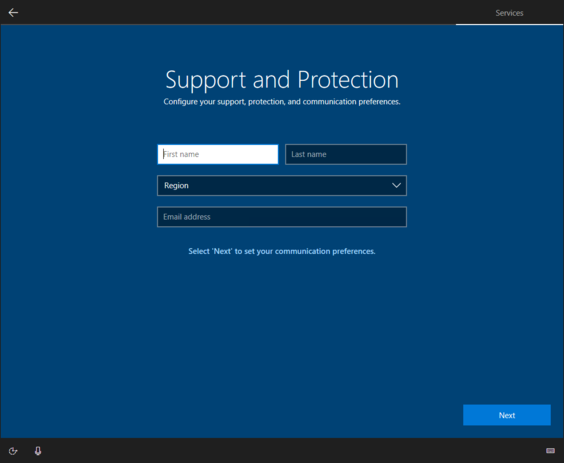
Click Next. This information is not required.
-
Click Next.
-
Once the setup has finished there are a couple more things we need to do before Private Universe can complete the setup.
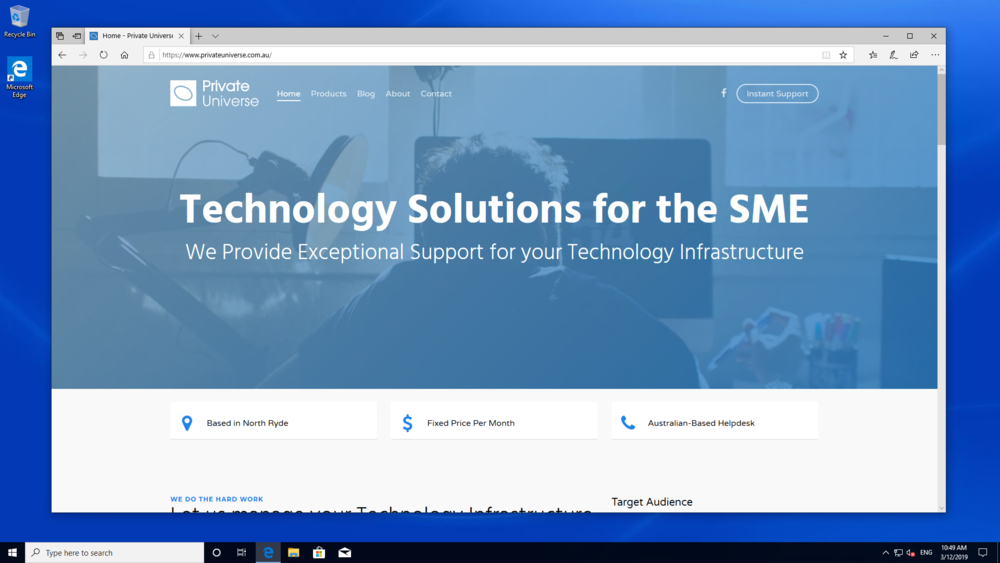
In the browser, go to https://privateuniverse.com.au, and click Instant Support which will initiate a download for SplashtopSOS.exe, in a downloads window at the top right of the screen.
-
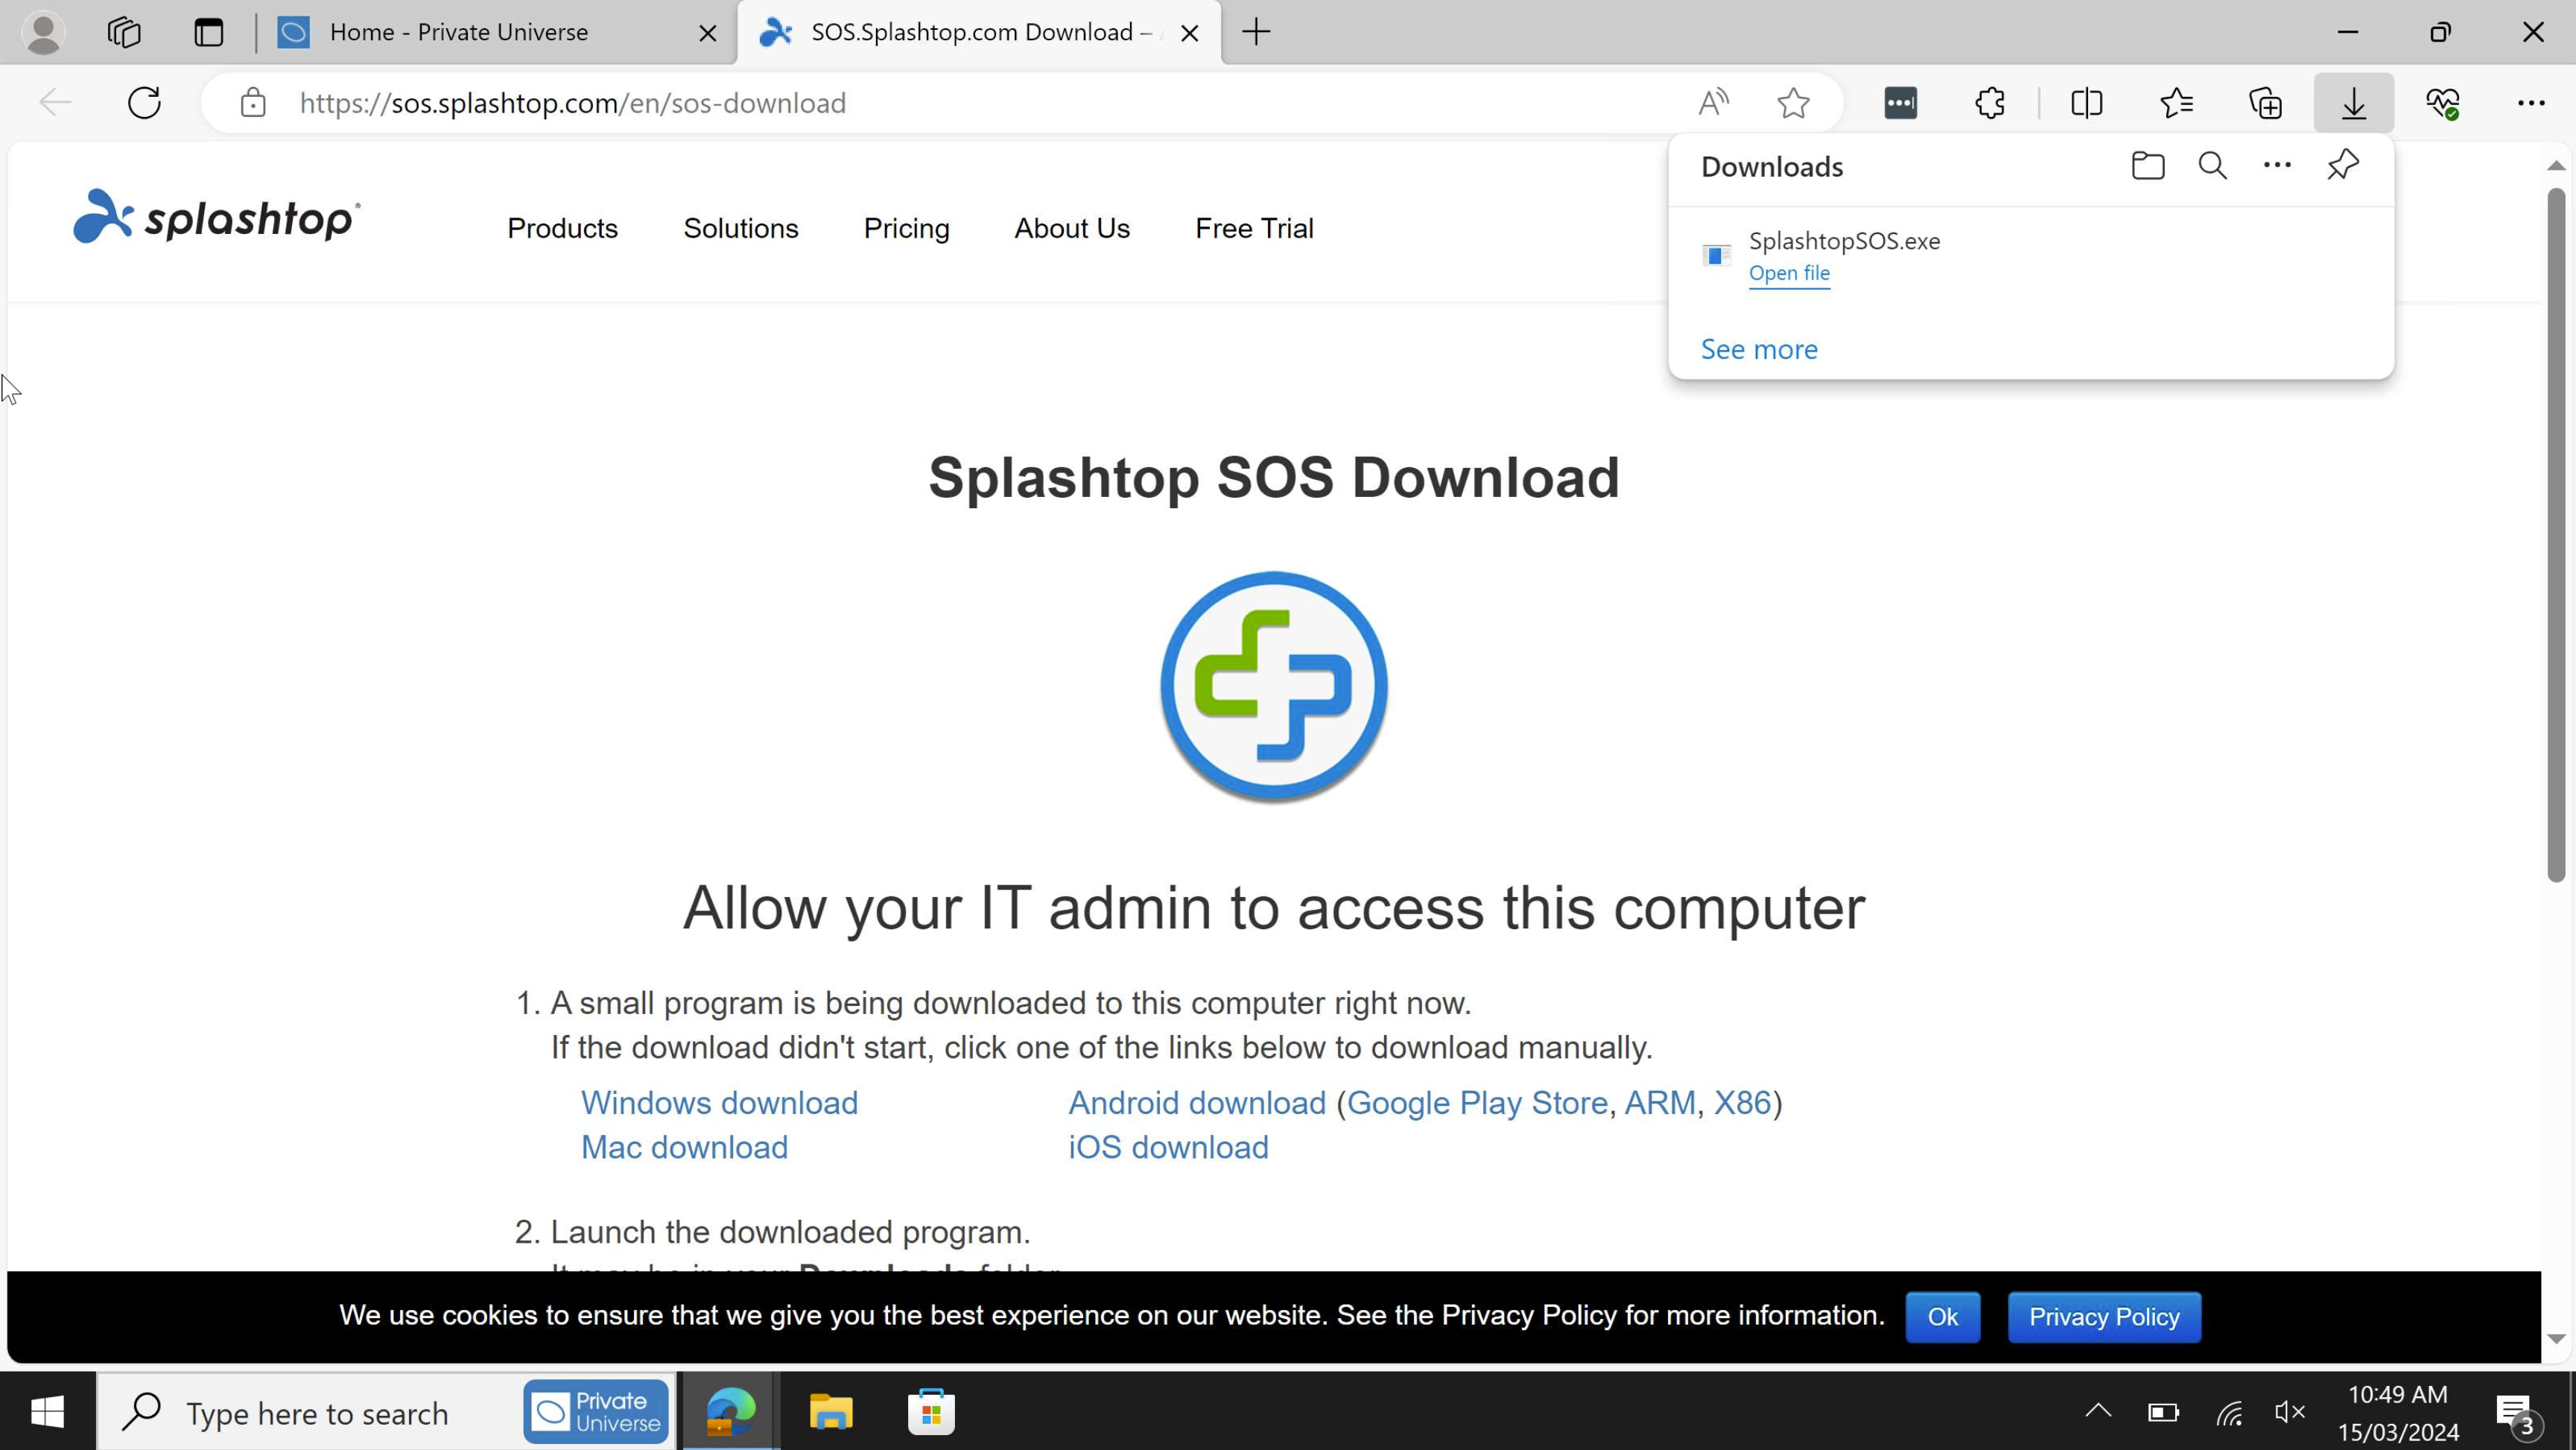
Click Open File on the SplashtopSOS.exe download.
-
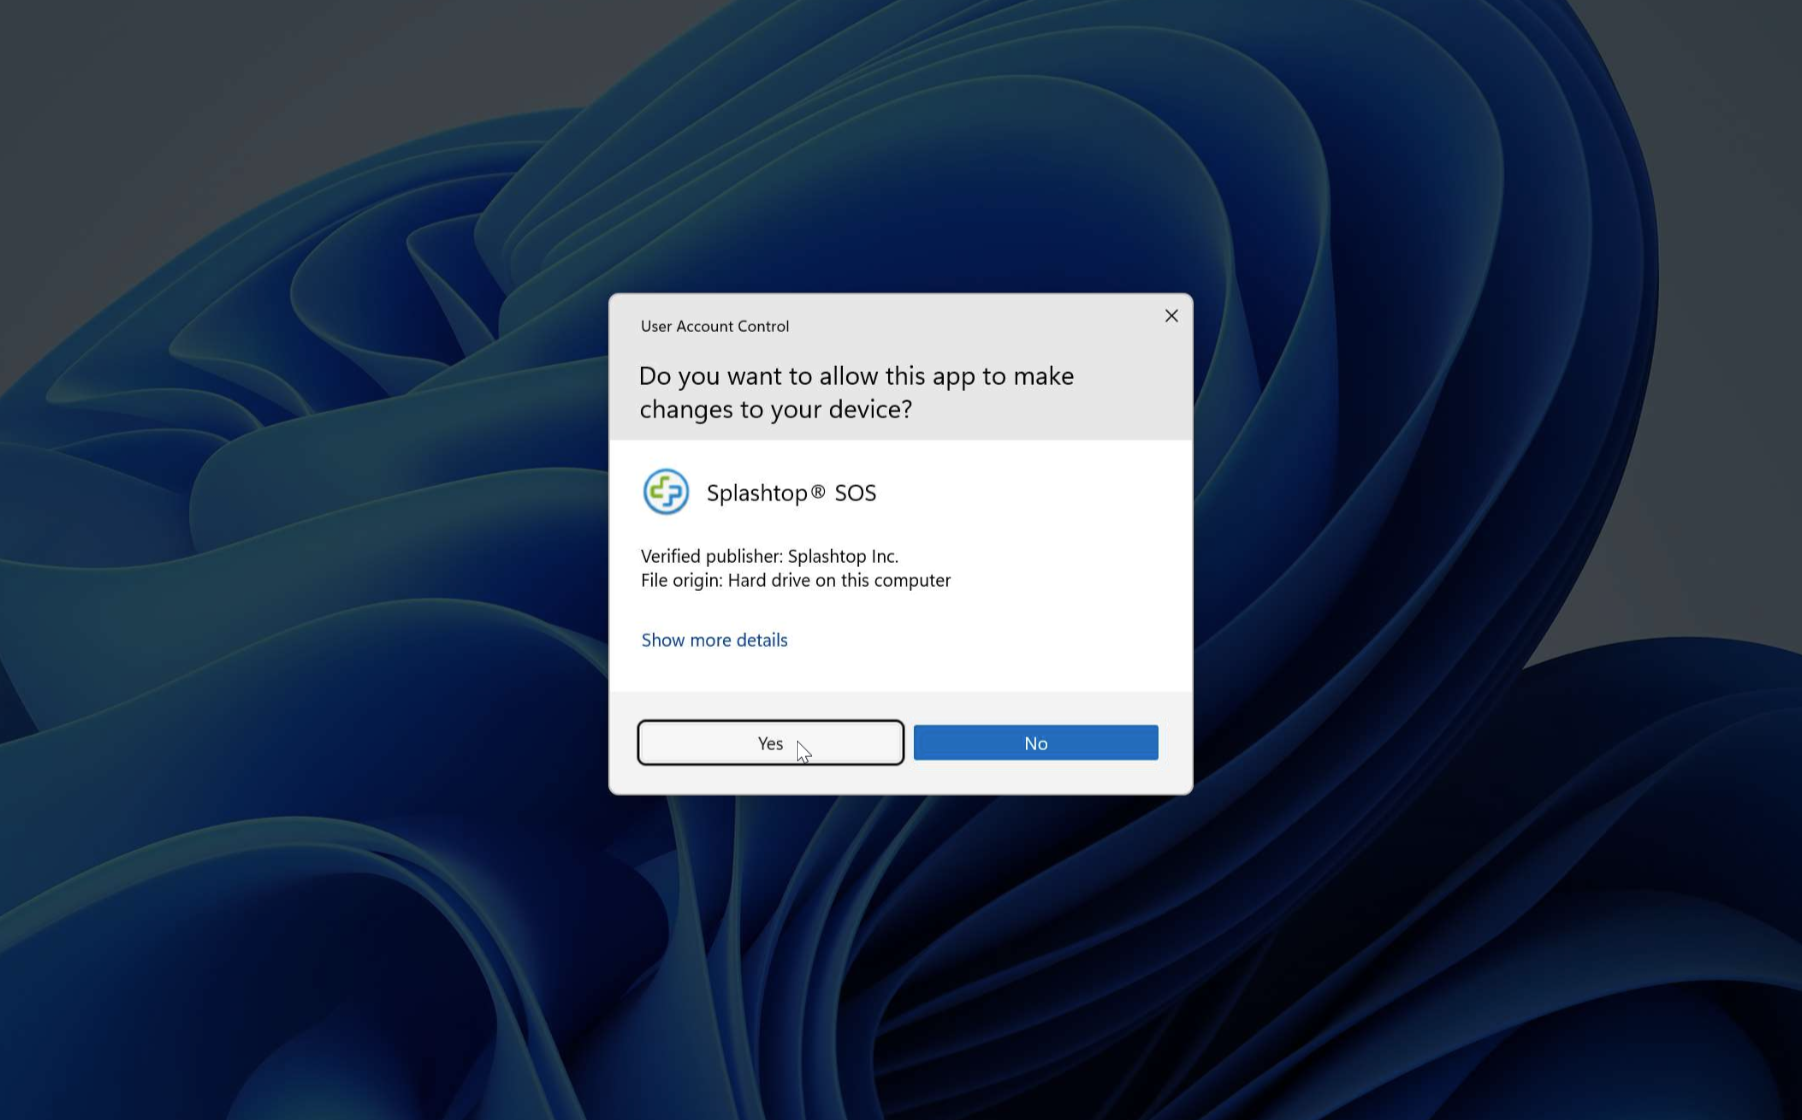
Click Yes to authorise Splashtop SOS to run.
-
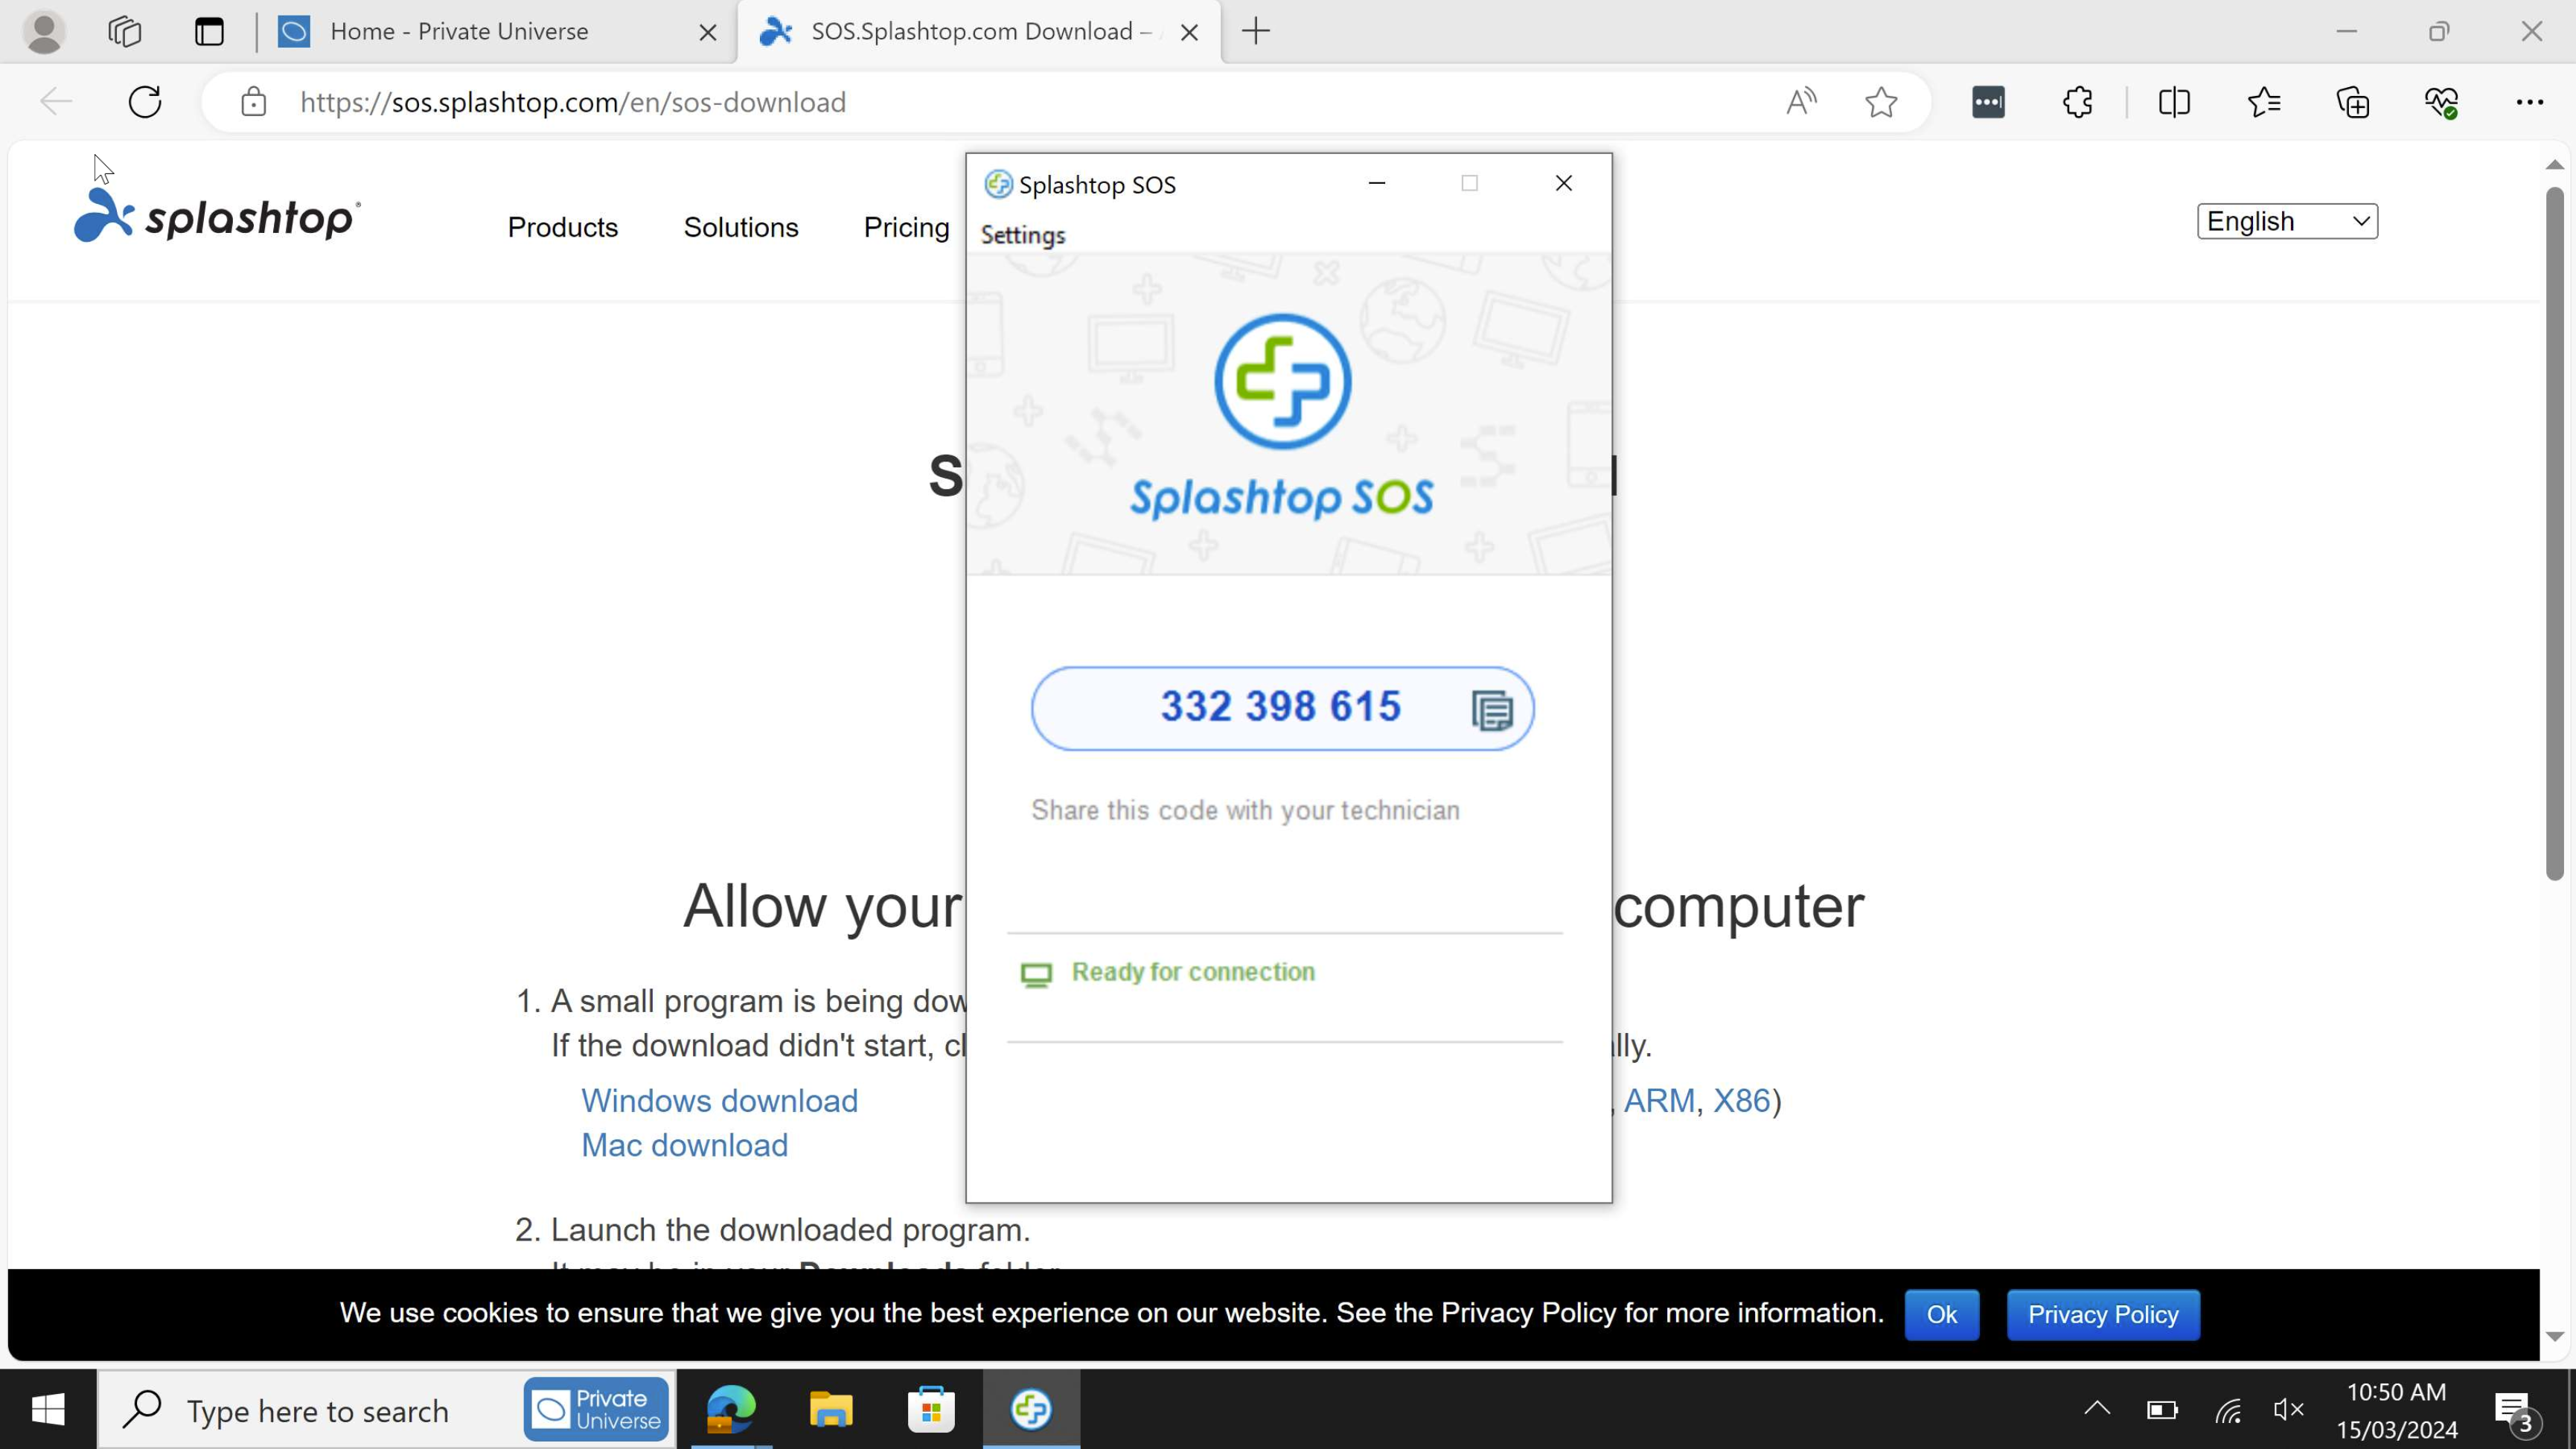
Wait for Splashtop SOS to initialise. Take note of the code as you will need to provide these details to us.
-
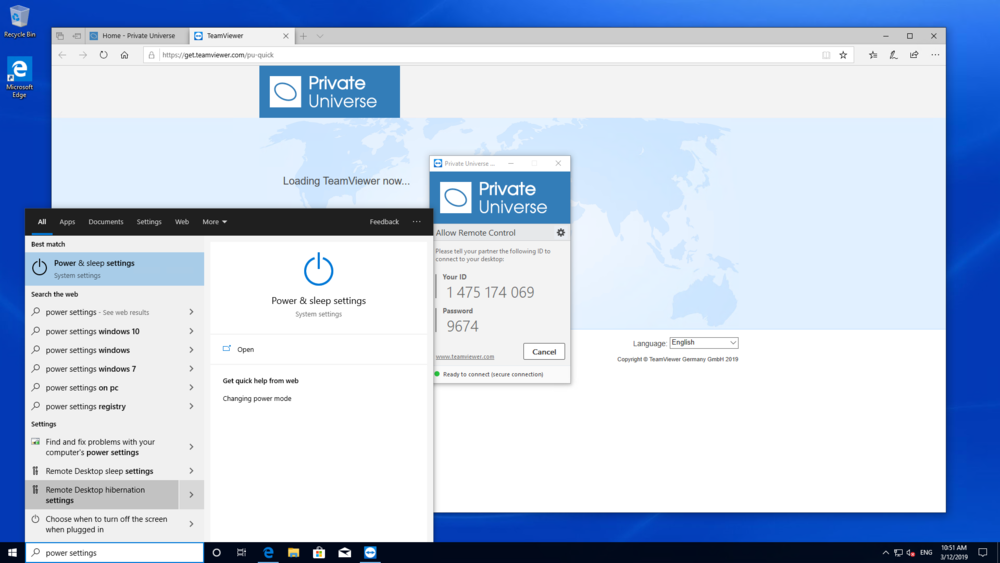
In the search bar type Power Settings, then select Power & sleep settings from the search results.
-
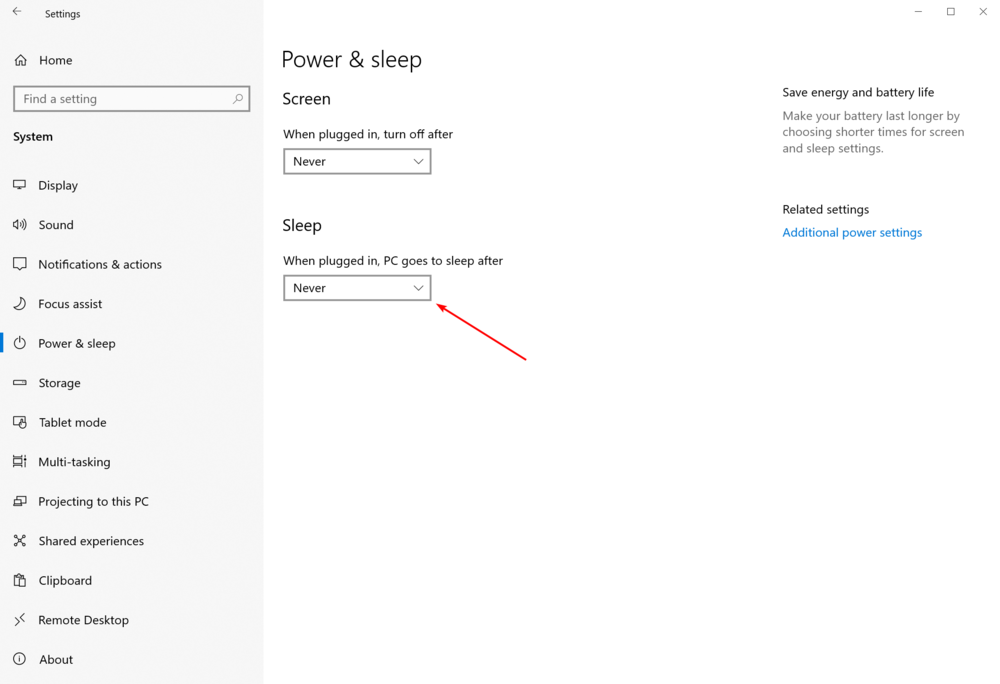
Change the Sleep timeout to Never.
-
Send the Splashtop SOS Code in an email to the Private Universe Helpdesk for us to complete the setup for you.
Azure Active Directory Join
Follow the steps below to enable Splashtop access for Private Universe to finish the setup.
-
On boot, you will be asked to select the region, select Australia and click Next.
-
Select the US keyboard layout, and click Yes.
-
Skip adding a second keyboard layout.
-
Accept the Windows 10 License Agreement.
-
Select Set up for an organisation, and click Next.
-
Enter your email address and password as prompted.
-
Click No.
-
Click Decline.
-
Turn off all of the settings, then click Accept.
-
If prompted to download and install Windows 11, click Decline upgrade or Remind me later in the bottom-left corner of the screen.
Windows 11 is not ready for business use at this stage. -
Click Next. This information is not required.
-
Click Next.
-
Once the setup has finished there are a couple more things we need to do before Private Universe can complete the setup.
In the browser, go to https://privateuniverse.com.au, and click Instant Support which will initiate a download for SplashtopSOS.exe, in a downloads window at the top right of the screen.
-
Click Open File on the SplashtopSOS.exe download.
-
Click Yes to authorise Splashtop SOS to run.
-
Wait for Splashtop SOS to initialise. Take note of the code as you will need to provide these details to us.
-
In the search bar type Power Settings, then select Power & sleep settings from the search results.
-
Change the Sleep timeout to Never.
-
Send the Splashtop SOS Code in an email to the Private Universe Helpdesk for us to complete the setup for you.
Azure Active Directory Join with Intune
Follow the steps below to set up the computer, ready for you to use.
-
On boot, you will be asked to select the region, select Australia and click Next.
-
Select the US keyboard layout, and click Yes.
-
Skip adding a second keyboard layout.
-
Accept the Windows 10 License Agreement.
-
Select Set up for an organisation, and click Next.
-
Enter your email address and password as prompted.
-
Click No.
-
Click Decline.
-
Click Accept. These settings will automatically be overridden by privacy and security settings set organisation-wide.
-
If prompted to download and install Windows 11, click Decline upgrade or Remind me later in the bottom-left corner of the screen.
Windows 11 is not ready for business use at this stage. -
Click Next. This information is not required.
-
Click Next.
Your computer will begin the setup process. Once it is ready, you can log in and begin using it.
If the setup process gets stuck for a long period of time on a particular step, please contact the Private Universe Helpdesk so we can provide further instructions.