Out-of-Box Experience For Windows 11
When setting up a new computer out of the box, you must run through the Out-of-Box-Experience (OOBE).
There are various ways to run through the OOBE depending on your organisation's network. The Private Universe Helpdesk will advise of which method to follow. You can skip to the correct method by using the navigation pane on the right 👉.
The following screenshots were generated using a Dell OptiPlex PC, but the process will be very similar for other model computers.
Microsoft regularly updates the OOBE, so some screens and steps may differ slightly from what you see on the computer. If you're unsure on how to proceed, please contact the Private Universe Helpdesk.
Active Directory Domain Join
Follow the steps below to create a local user and enable Splashtop SOS access for Private Universe to finish the setup.
-
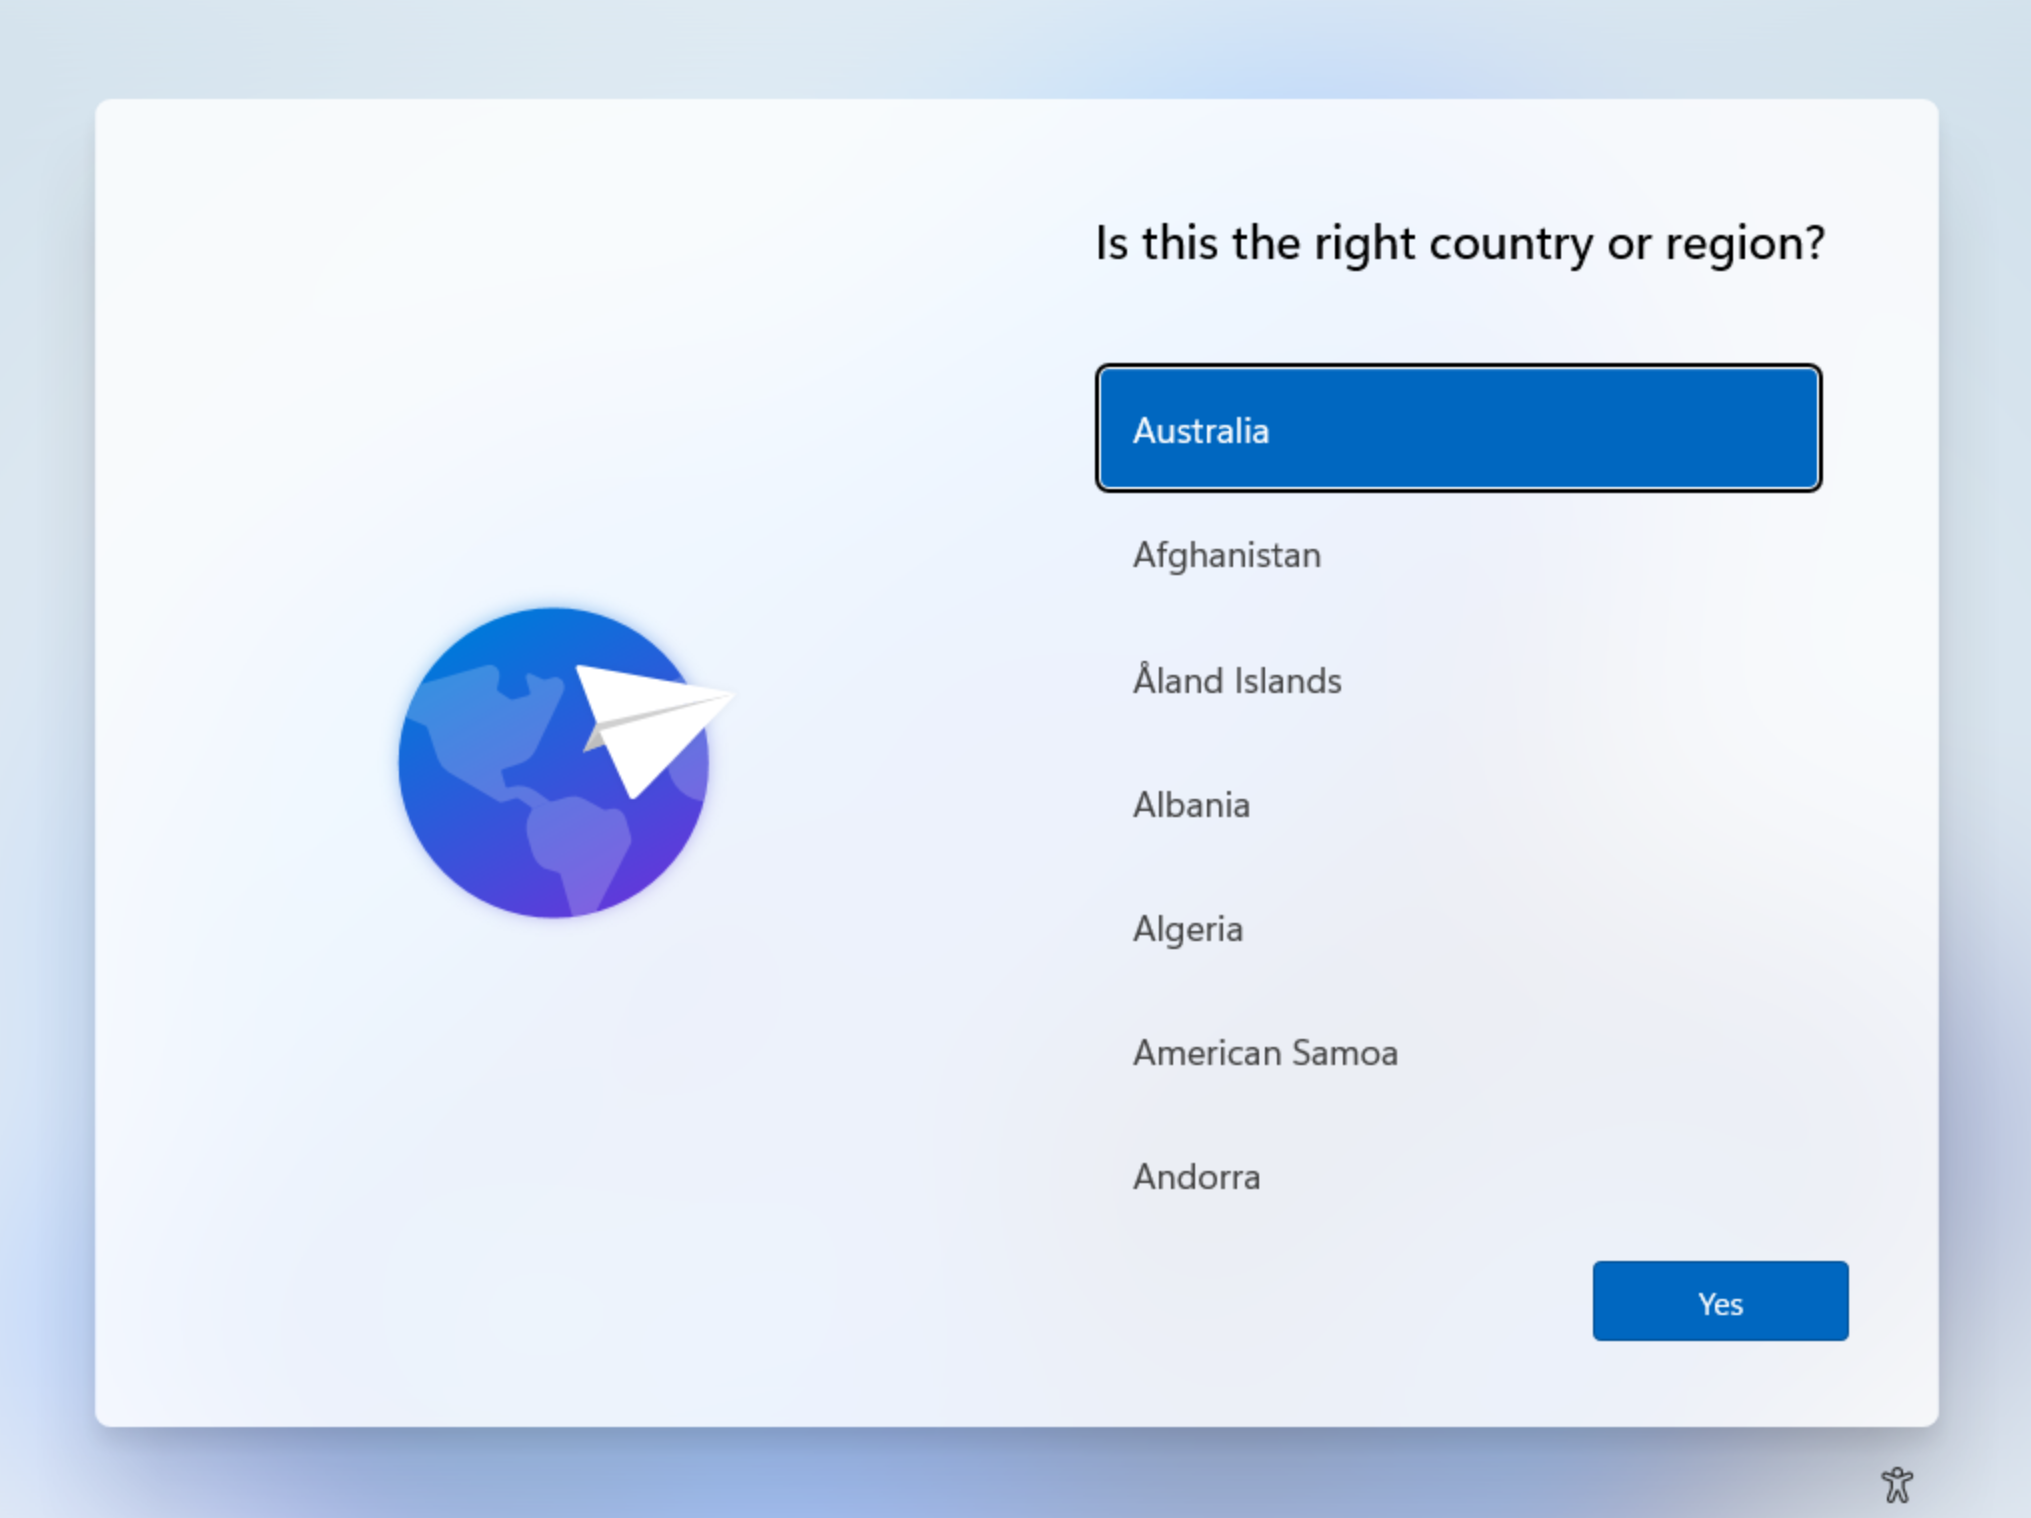
After first powering on the device, a country selection screen will appear. Select Australia, then click Yes.
-
You will then be asked to select a keyboard layout. Select US then click Yes.

-
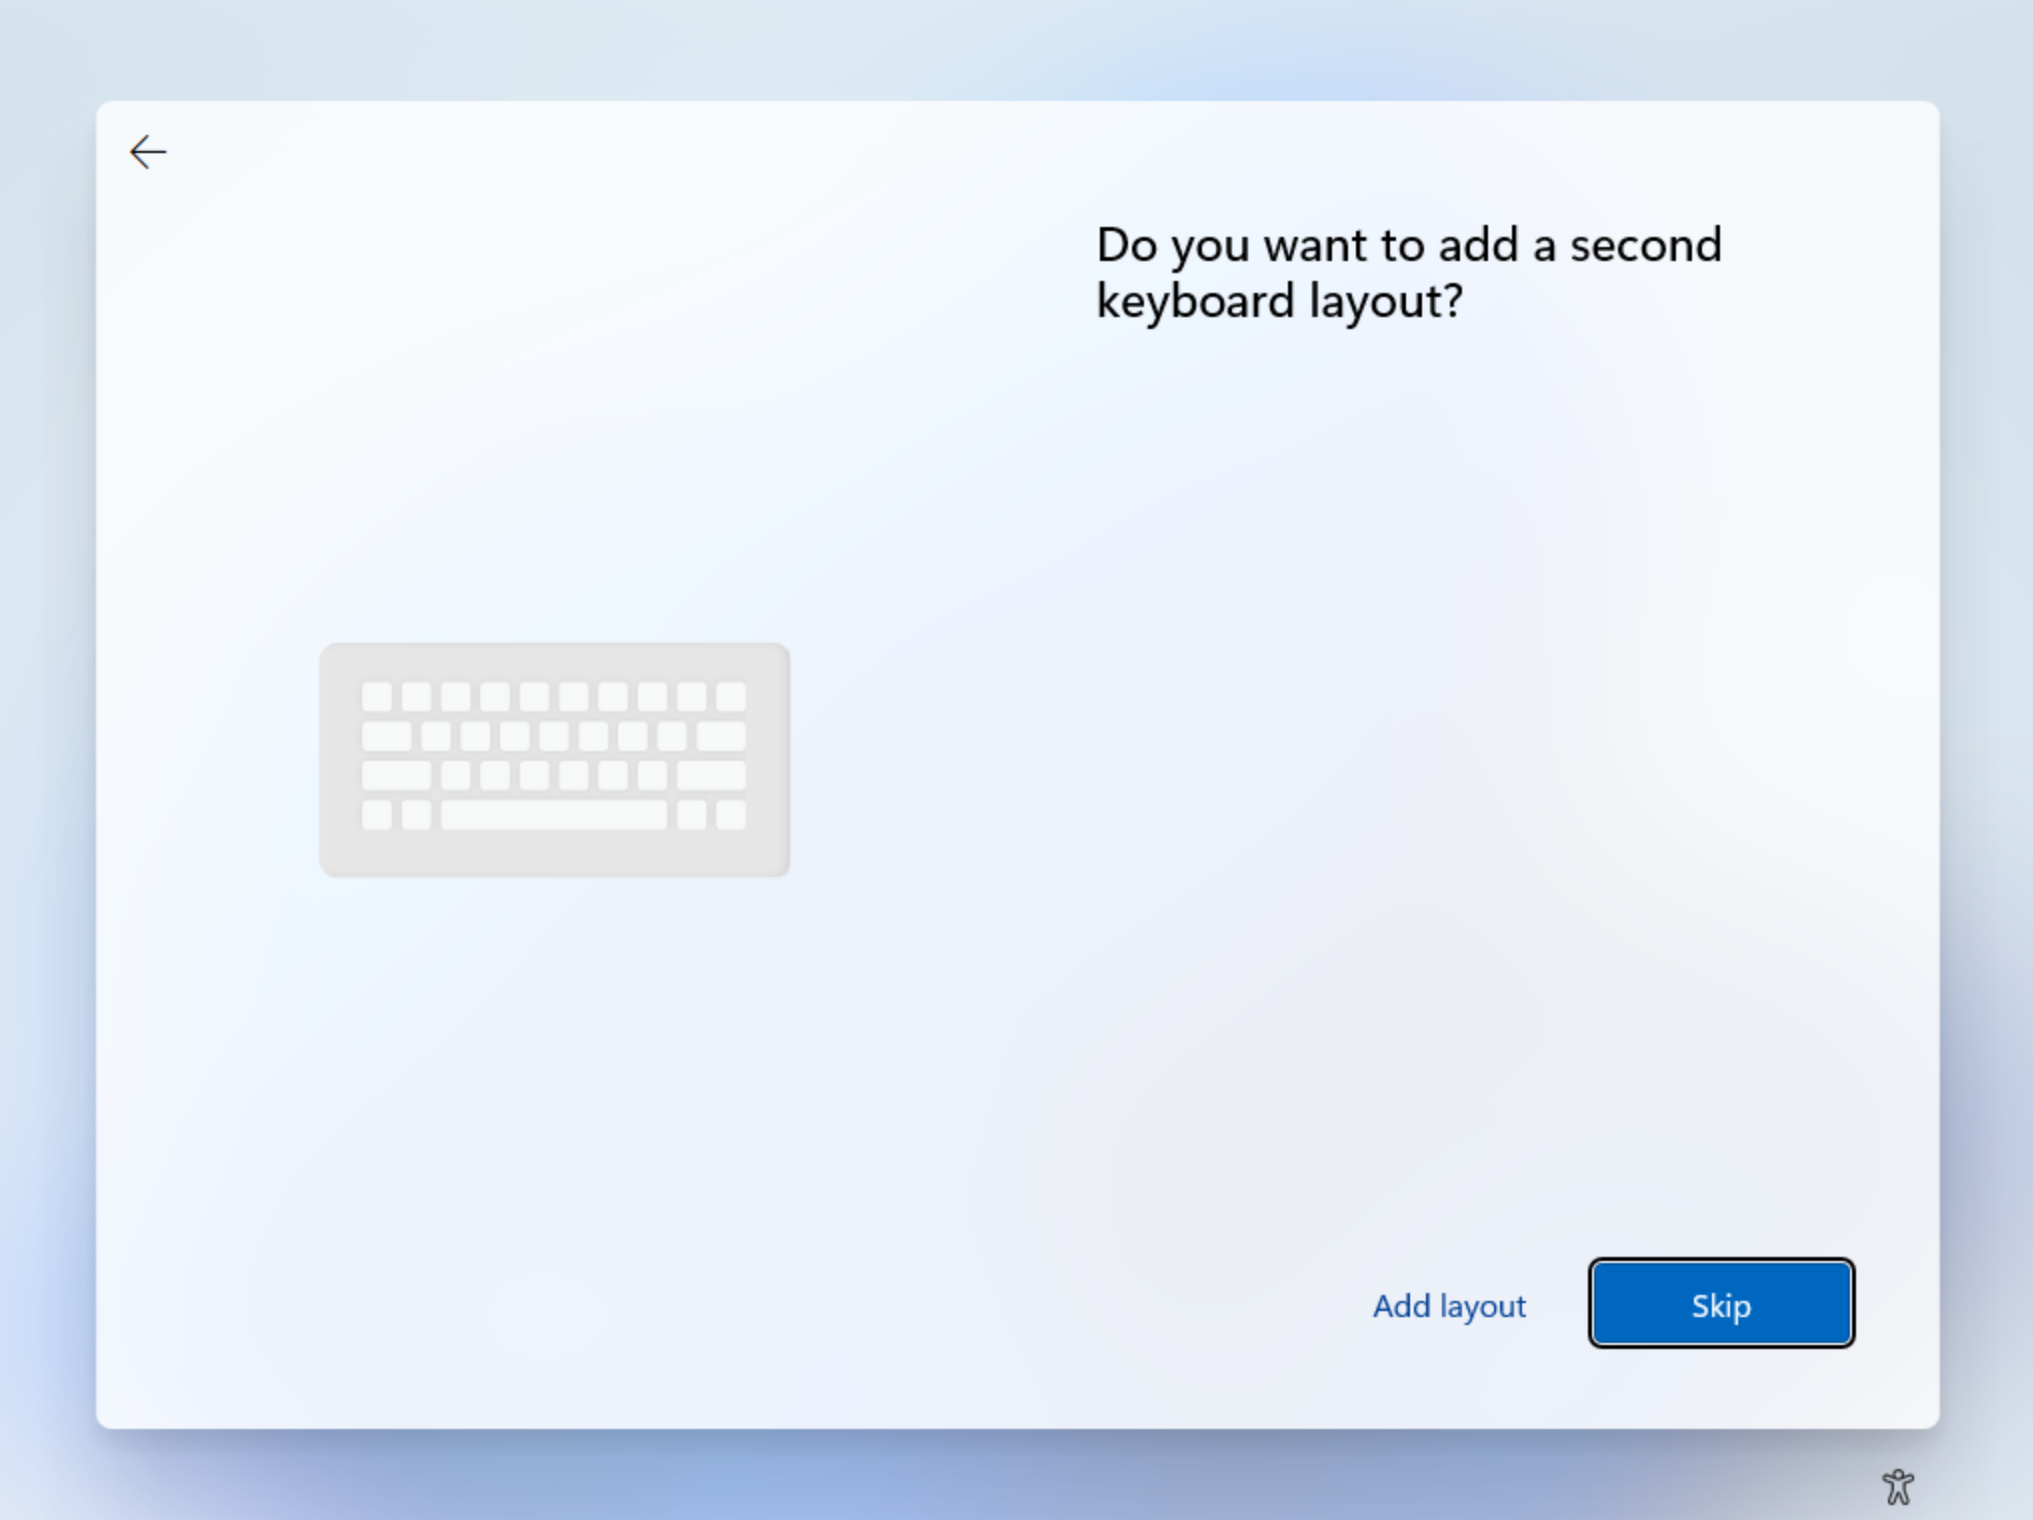
Select Skip when asked if you want to add a second keyboard layout.

-
When prompted to name the device, enter NewPC, then select Next.
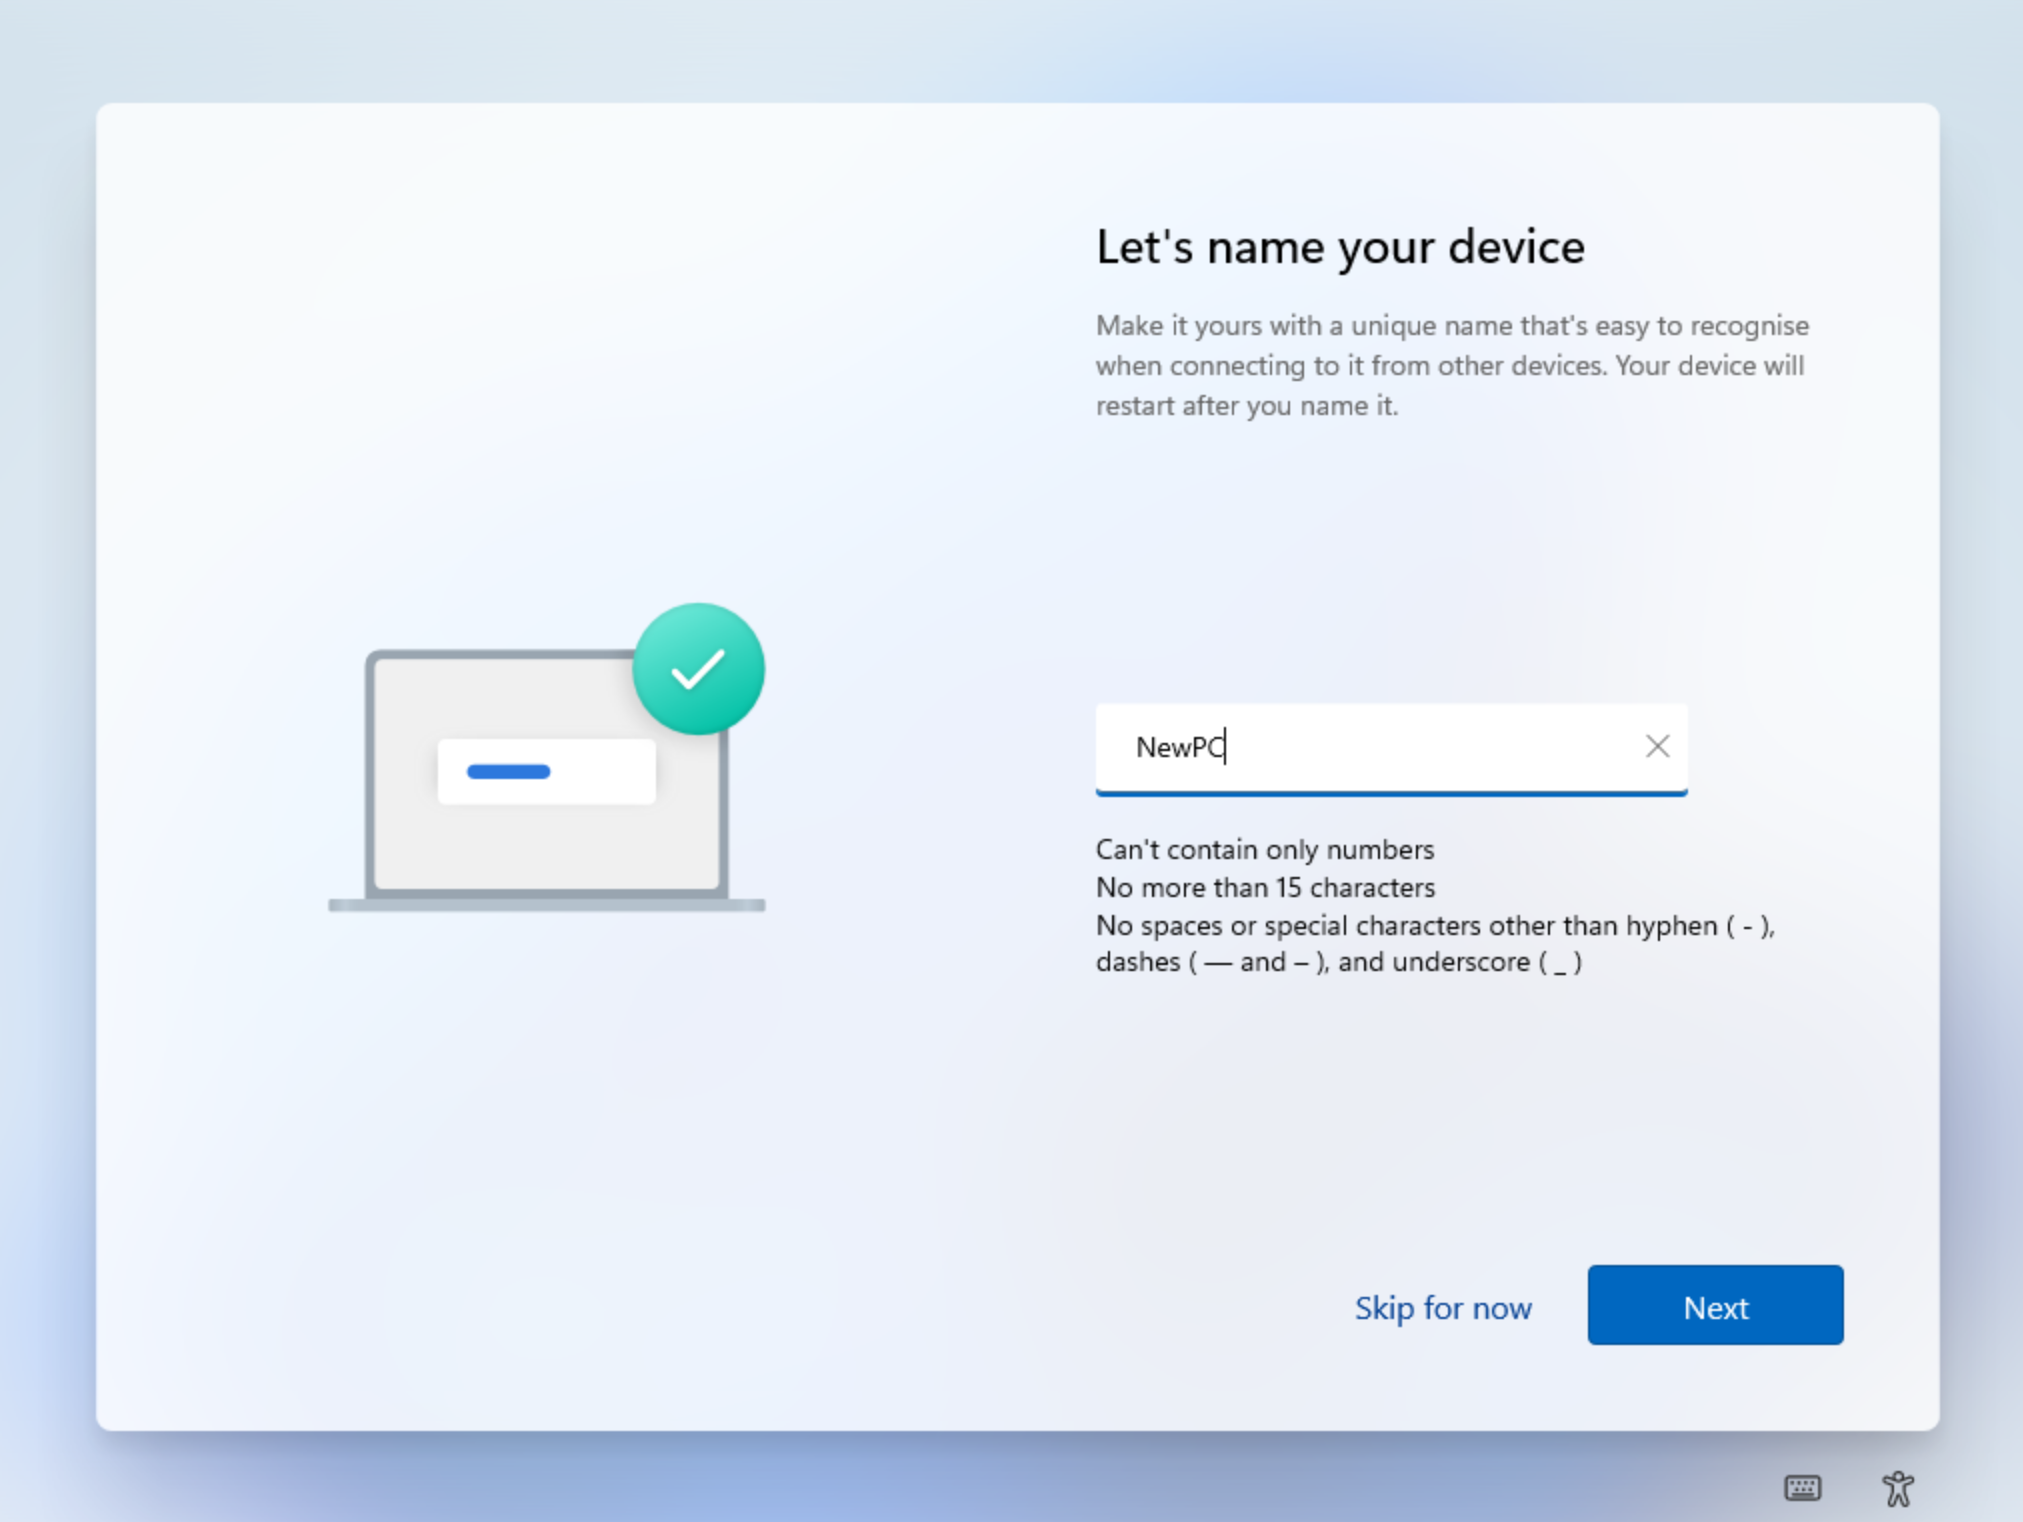 Private Universe will rename the PC after the initial setup is complete.
 -
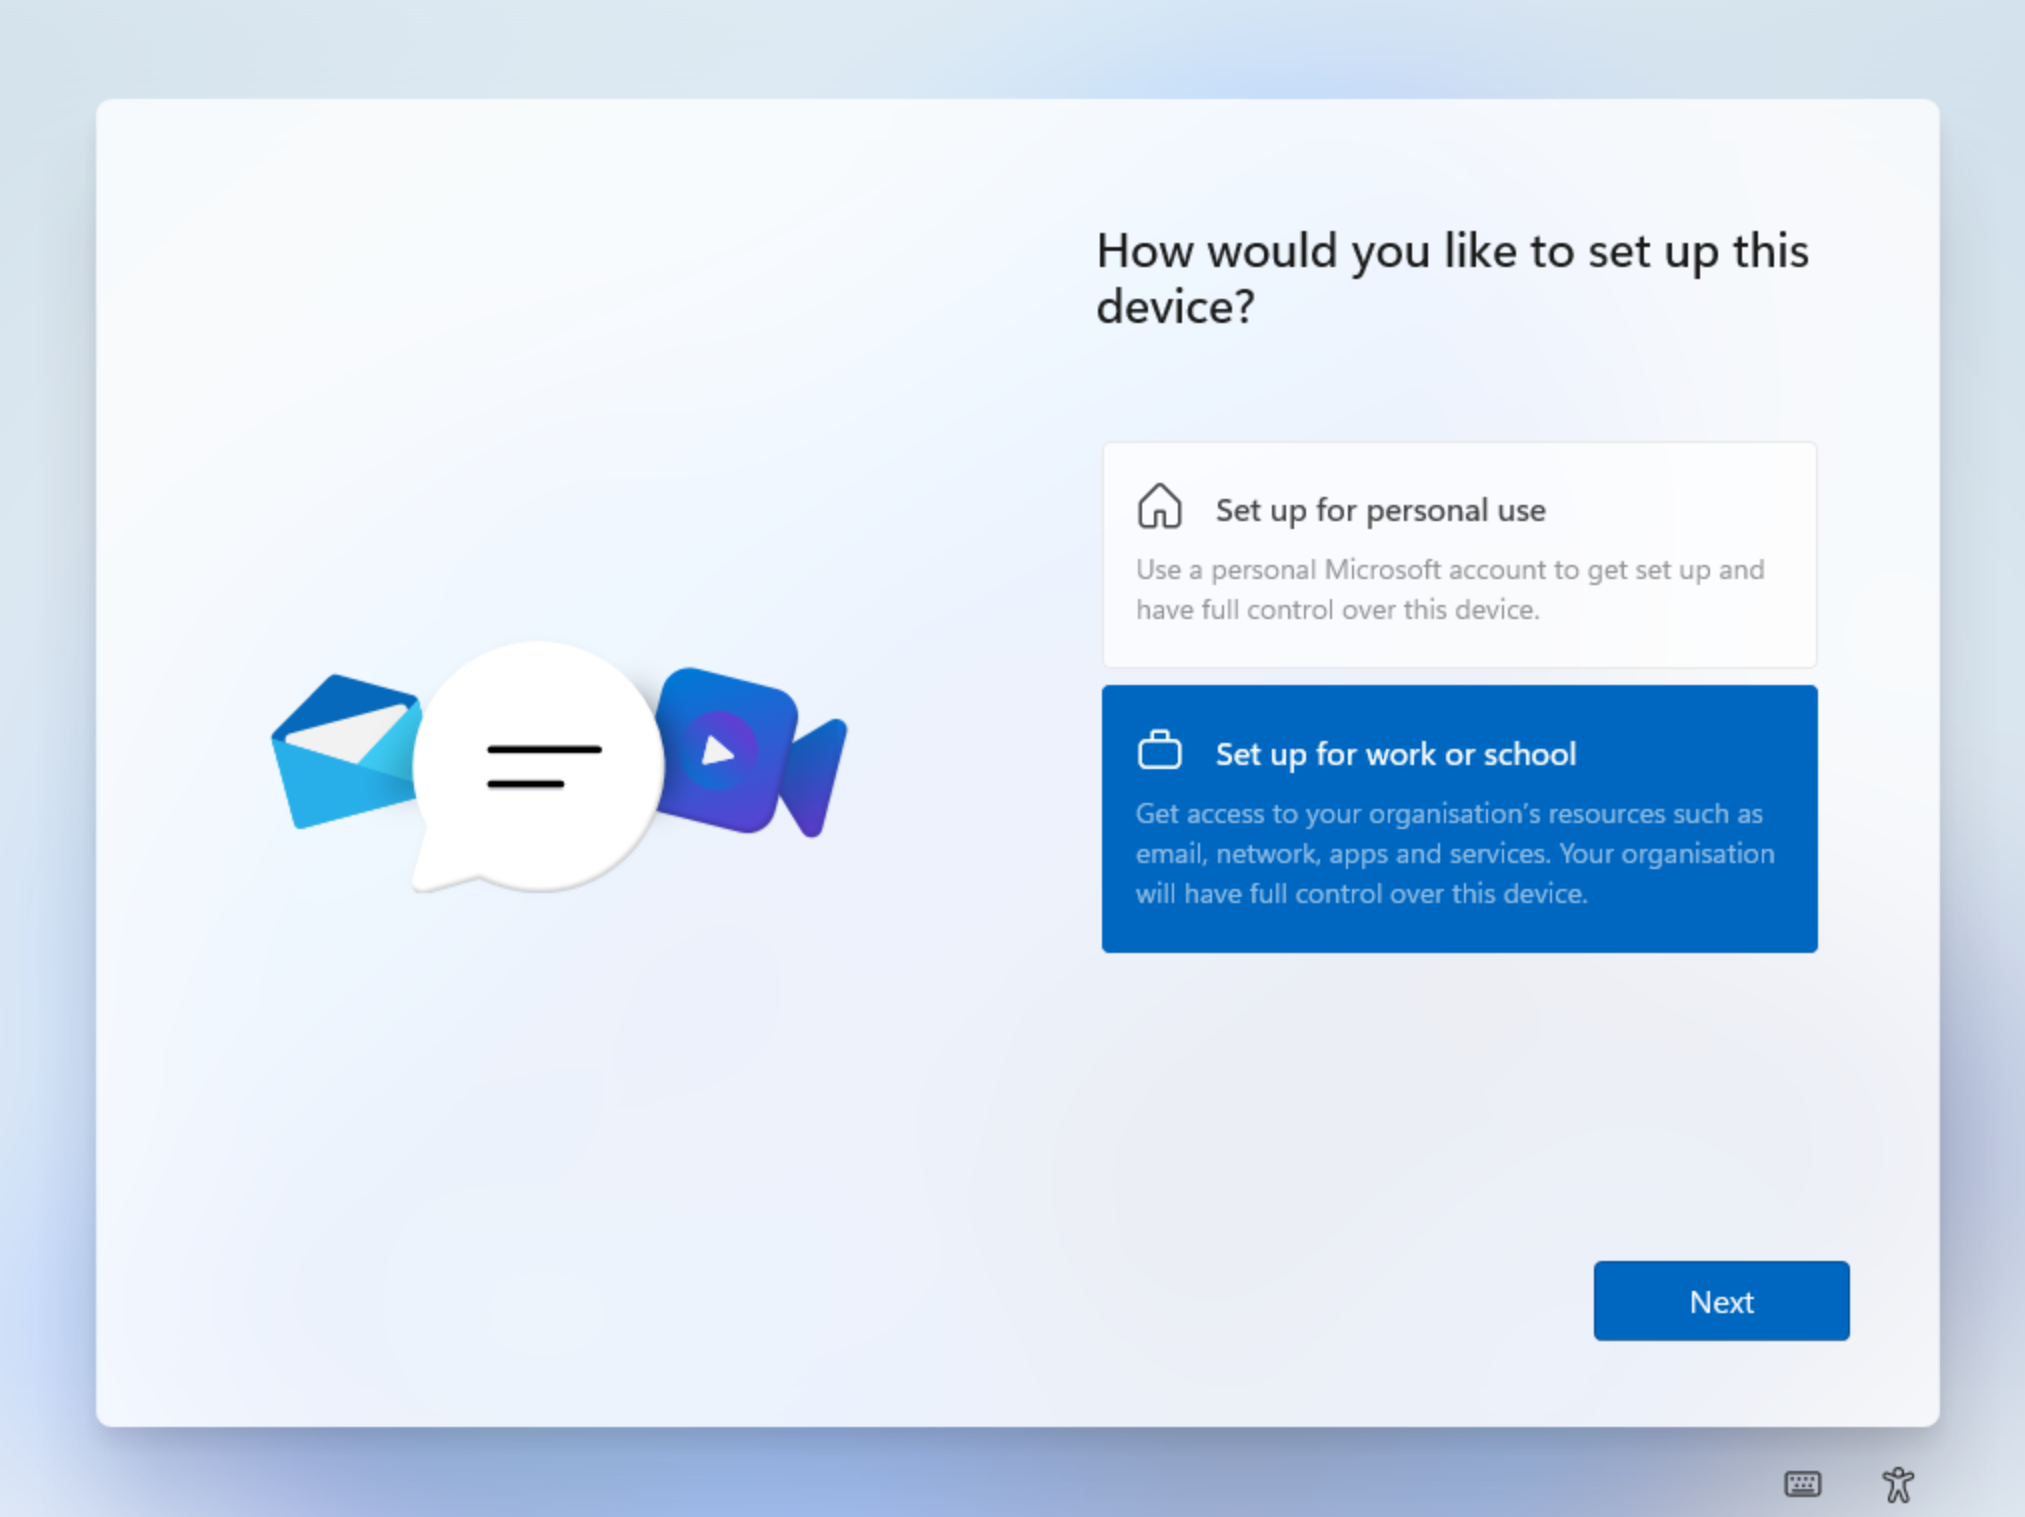
When asked how you would like to setup the device, click Set up for work or school, then select Next.

-
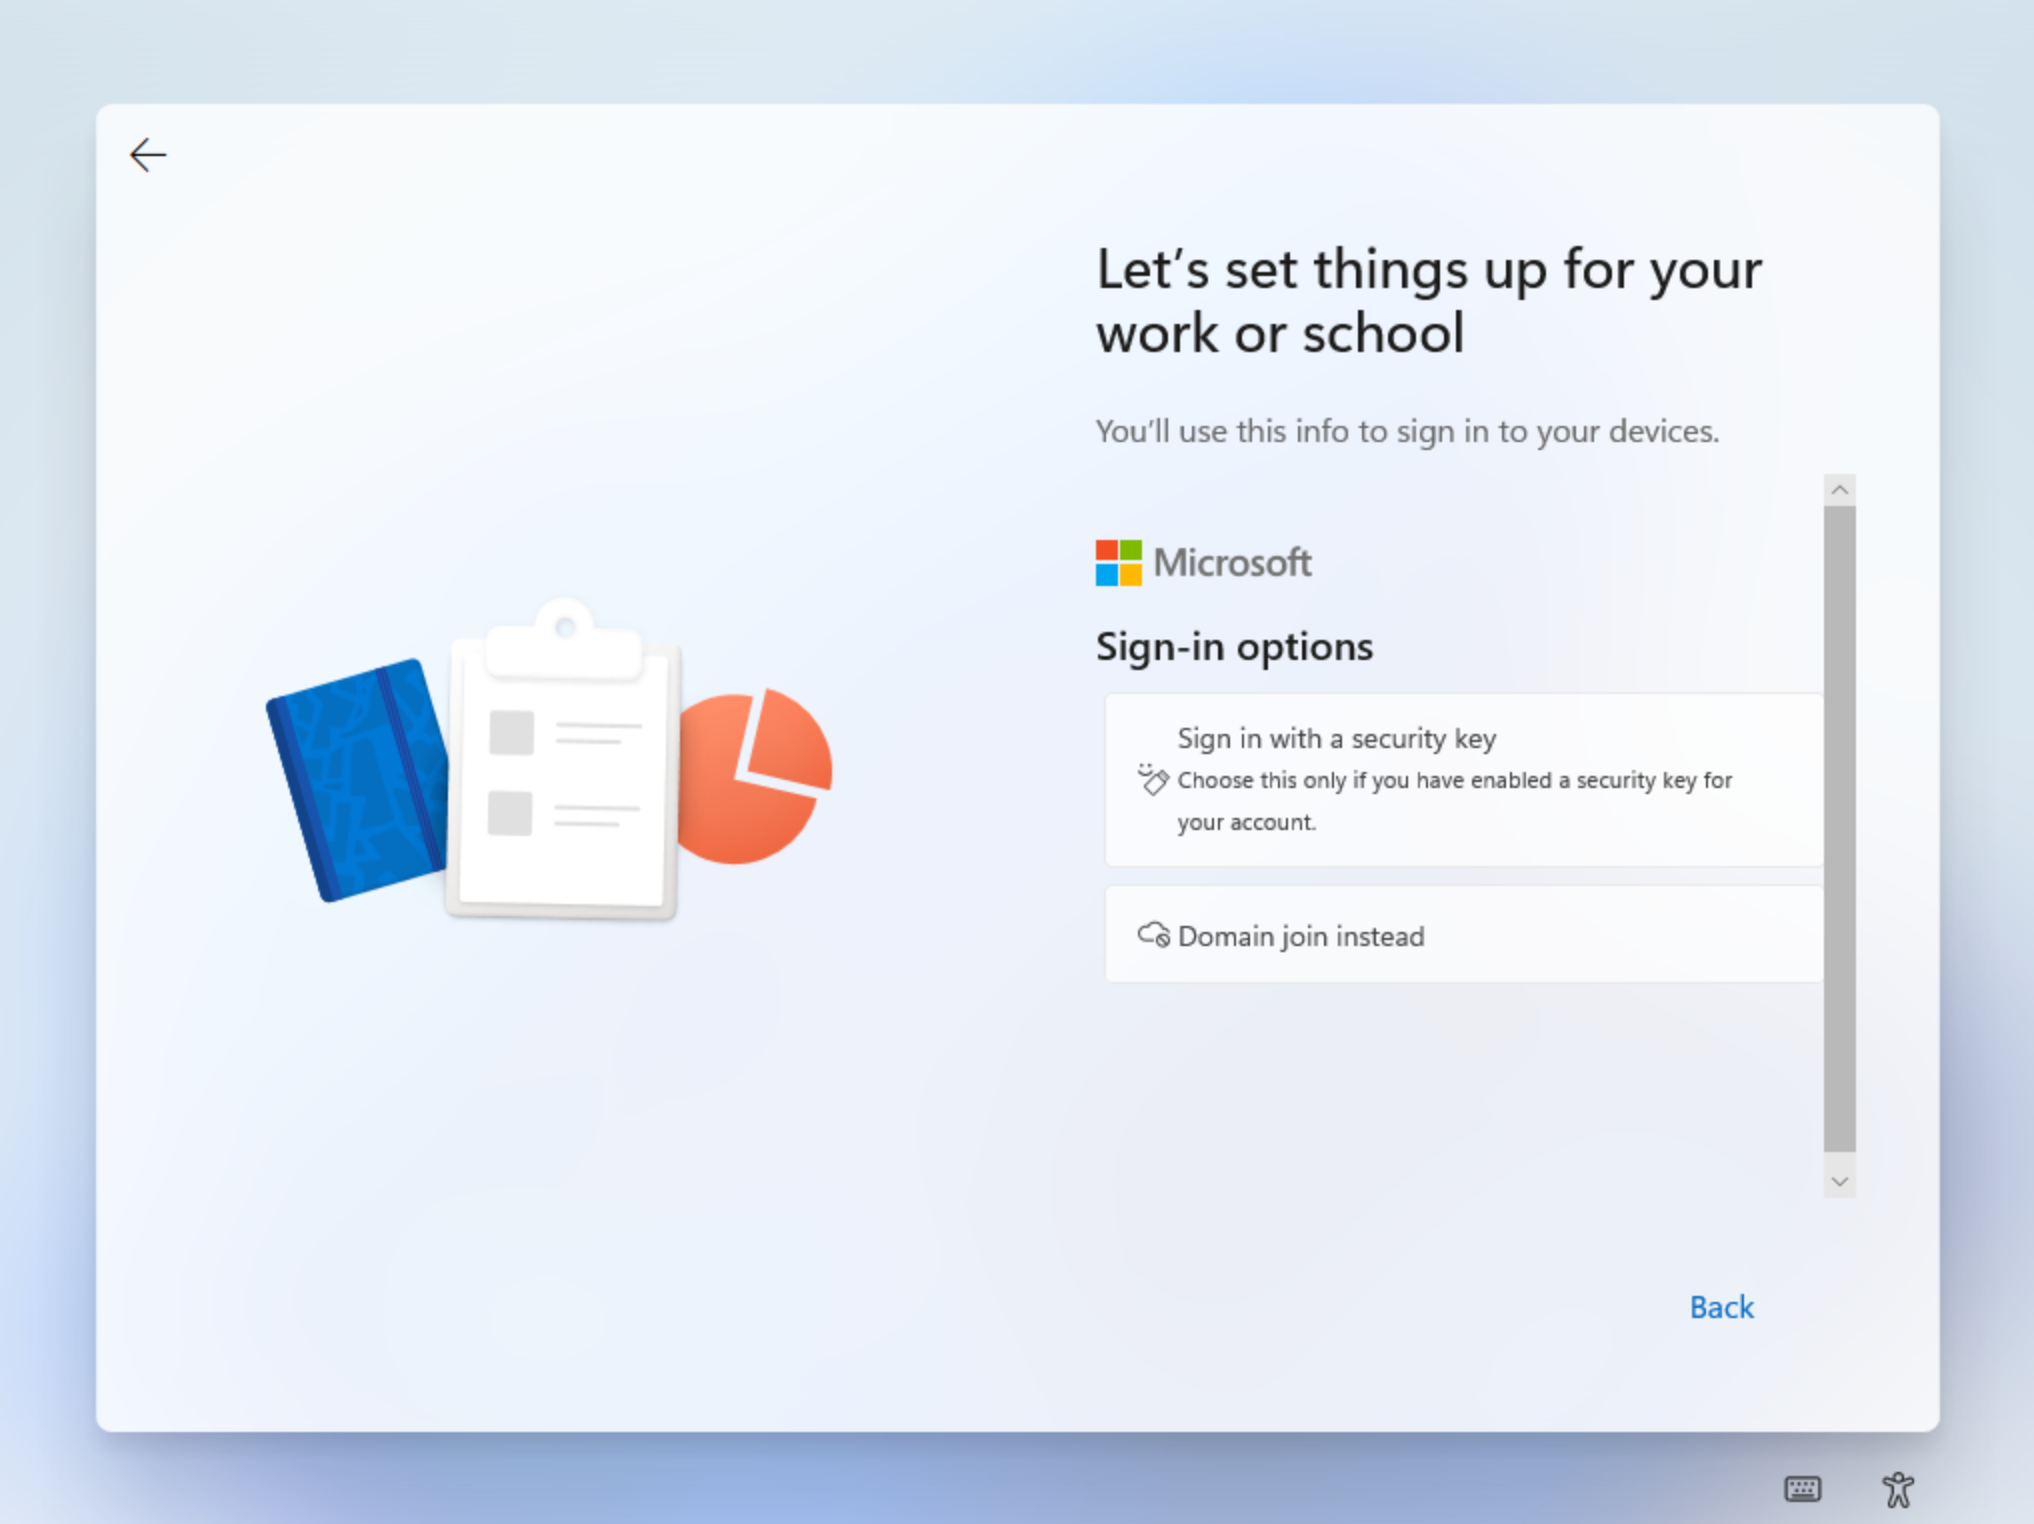
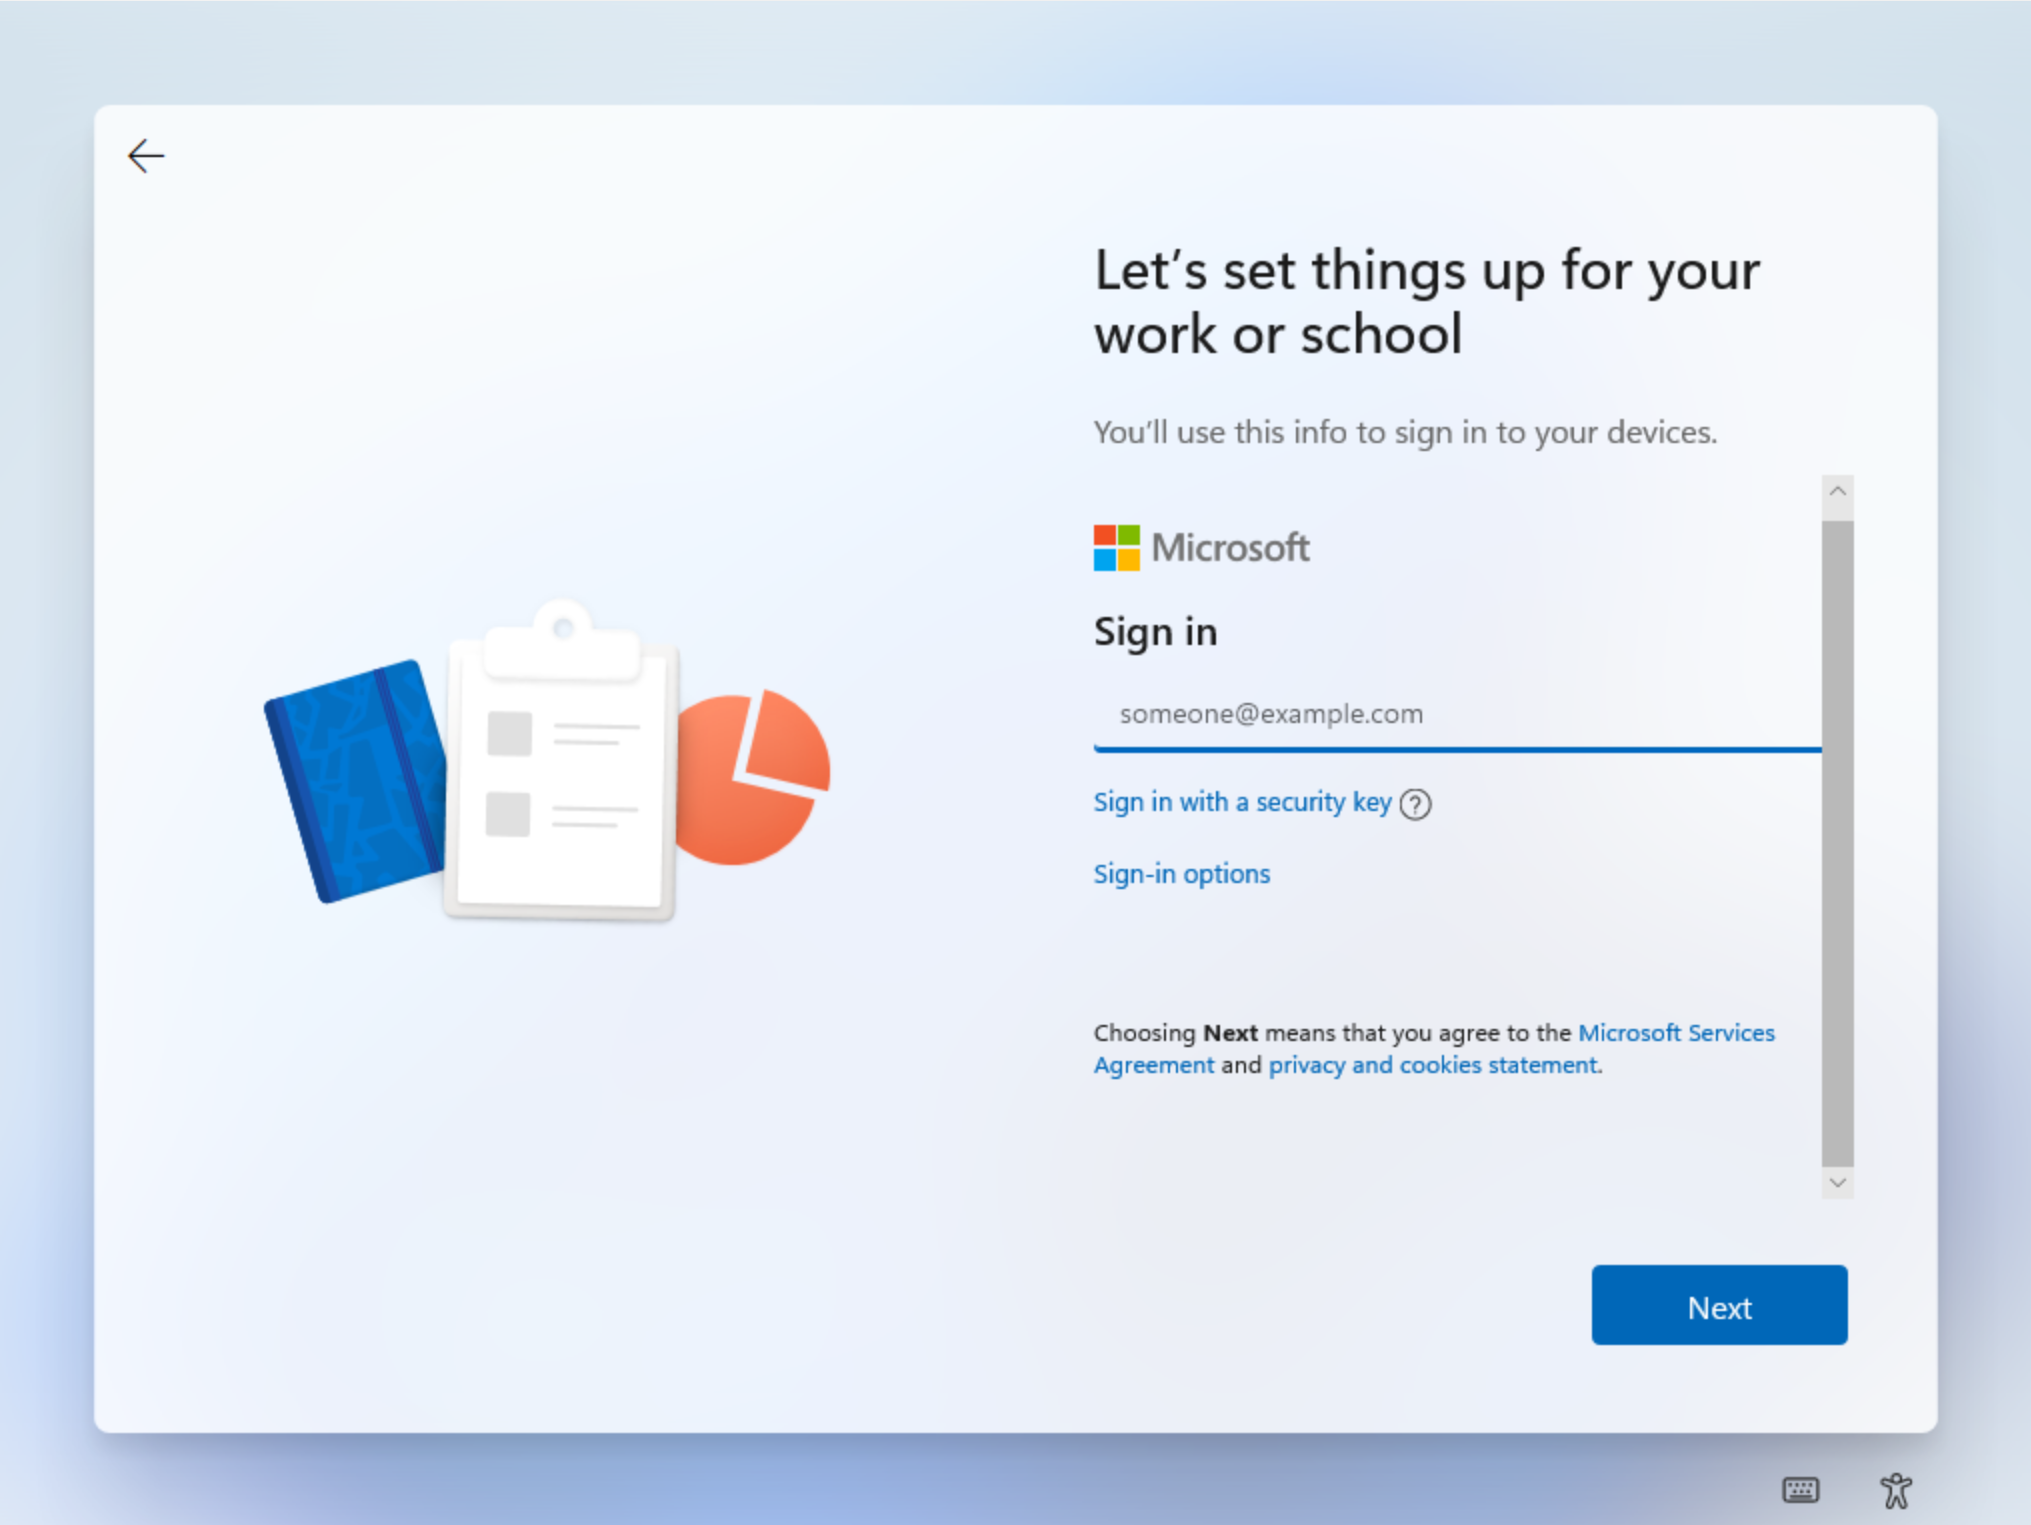
When asked to sign in, click Sign-in options.

-
Click Domain join instead.
-
Enter the username Admin then click Next.
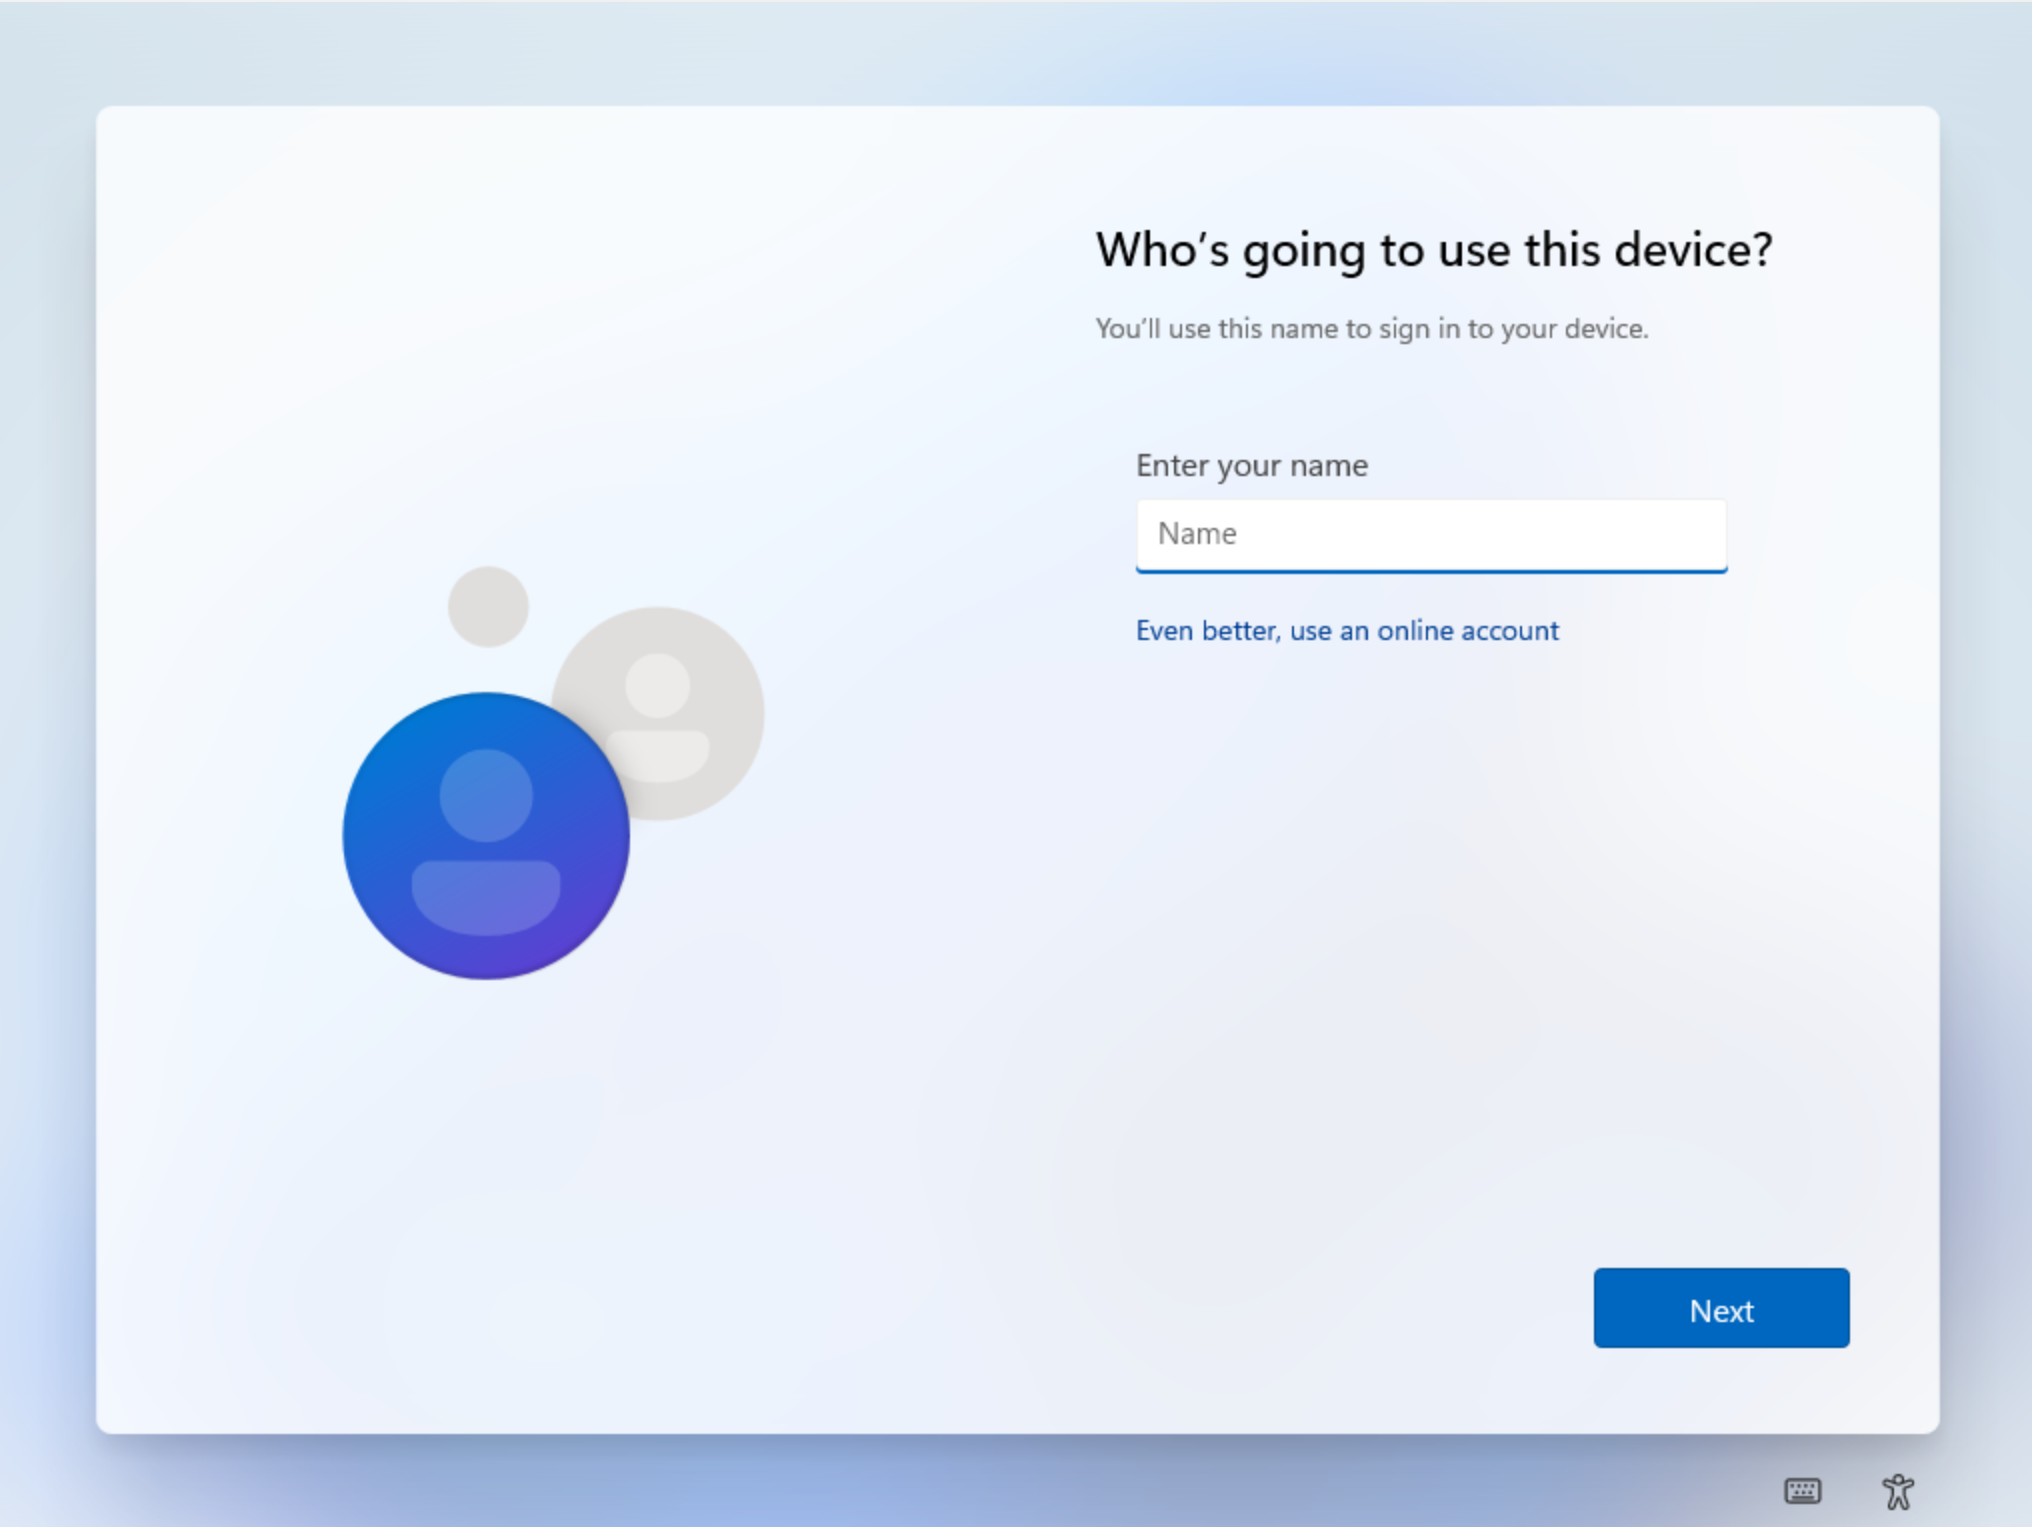 This is a temporary user account which will be changed later.
 -
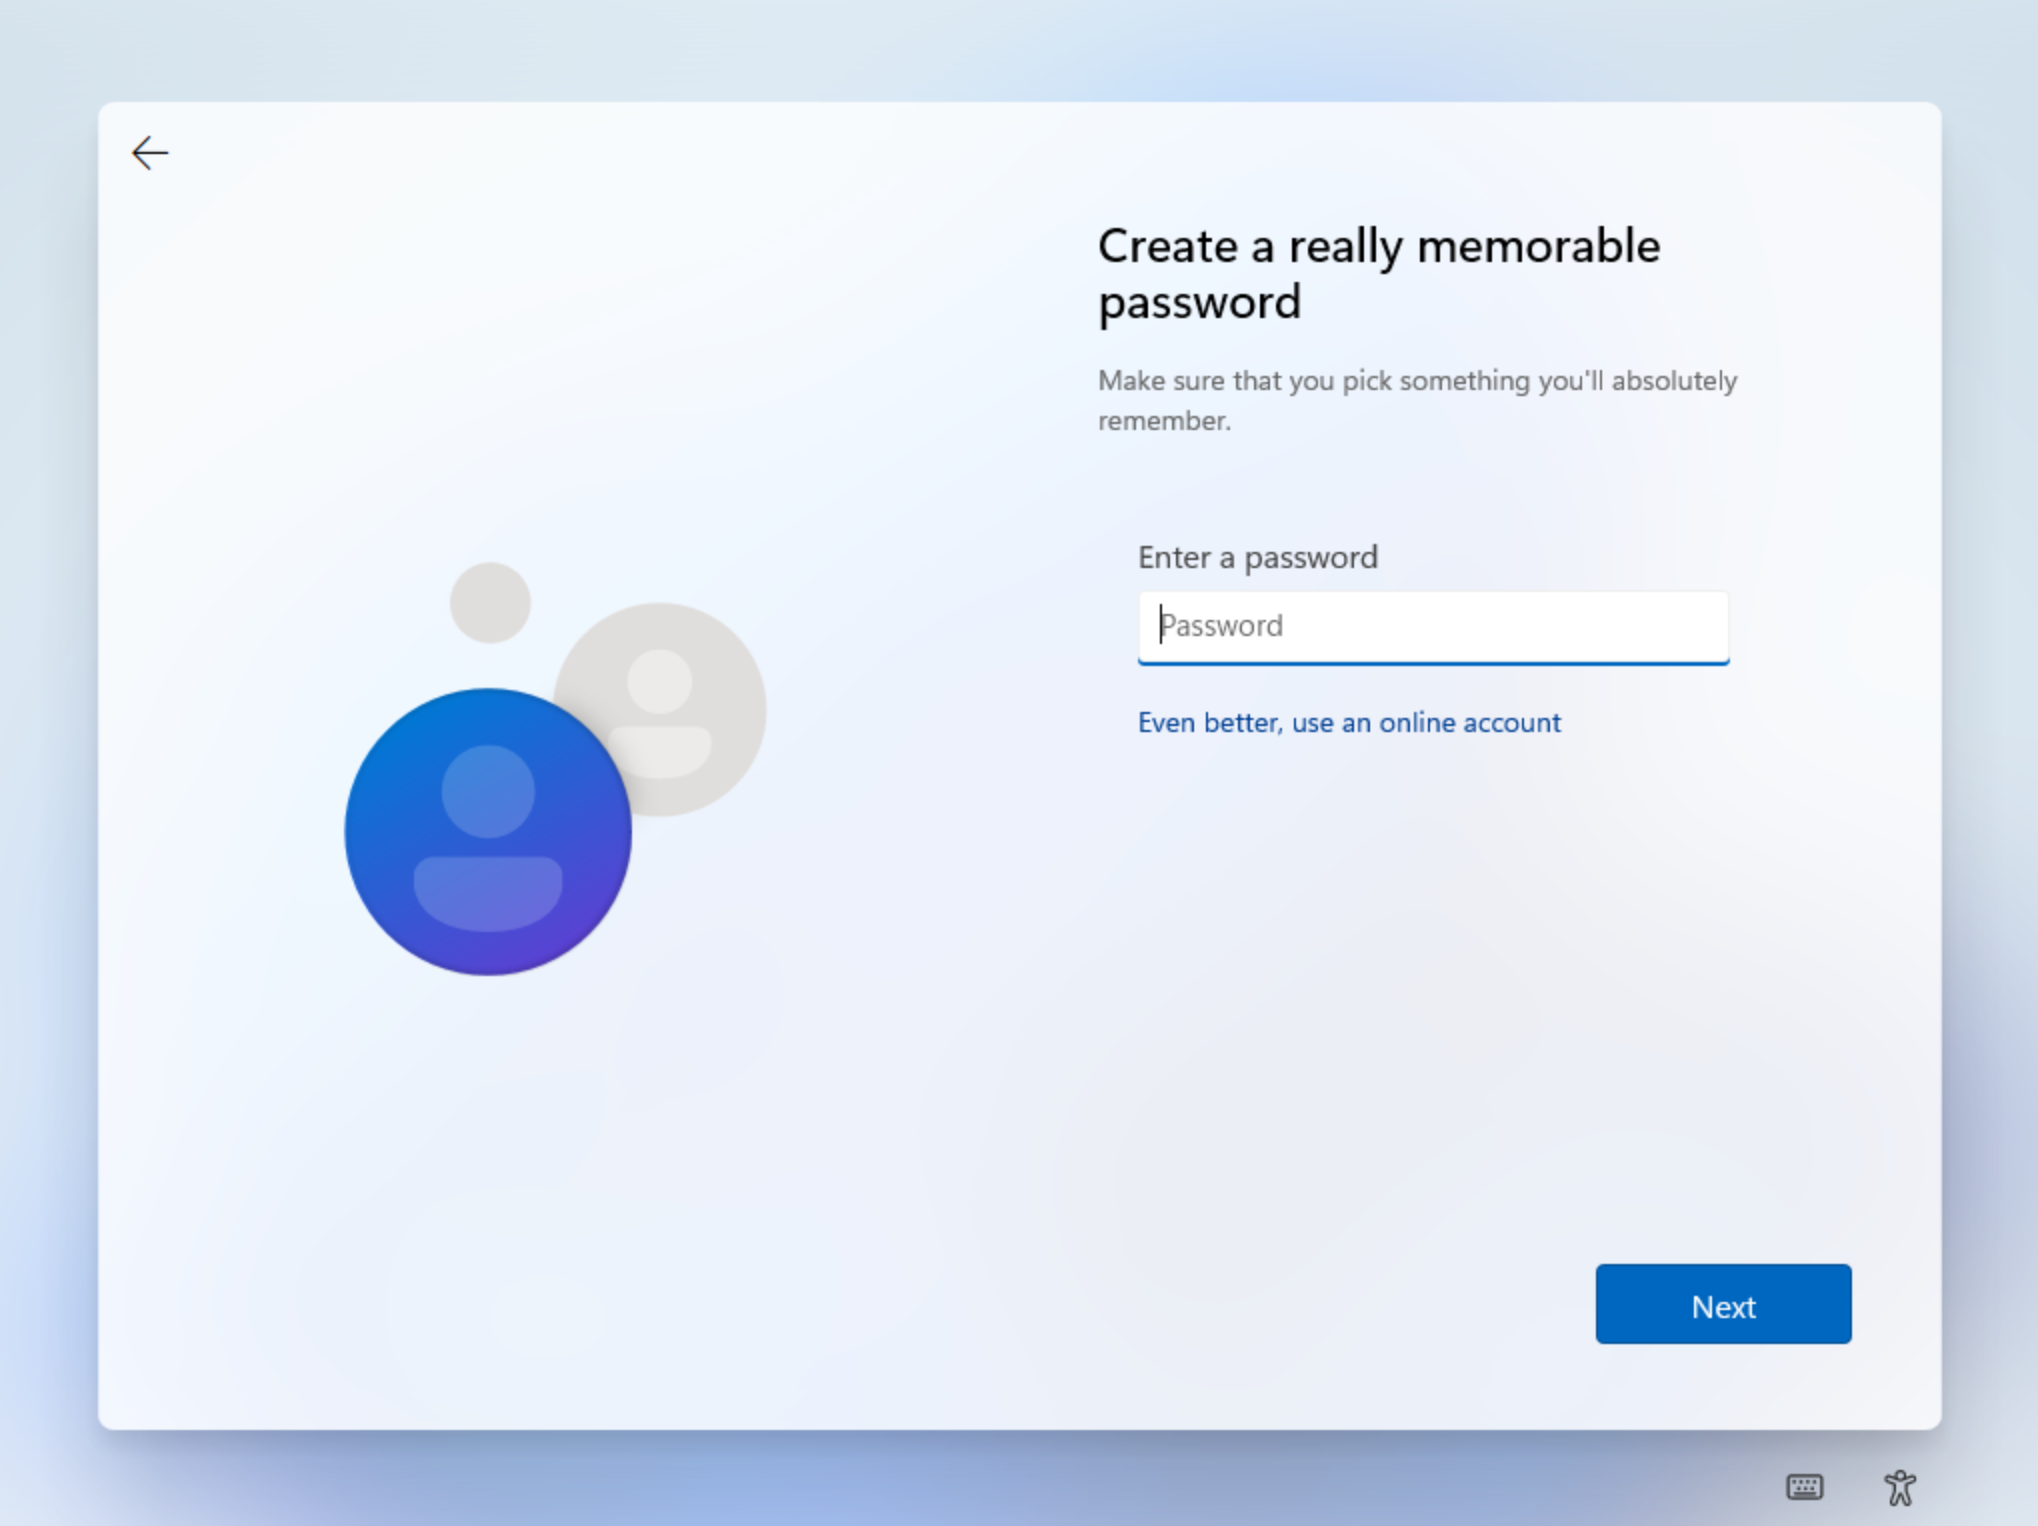
Leave the password field empty, then select Next.
-
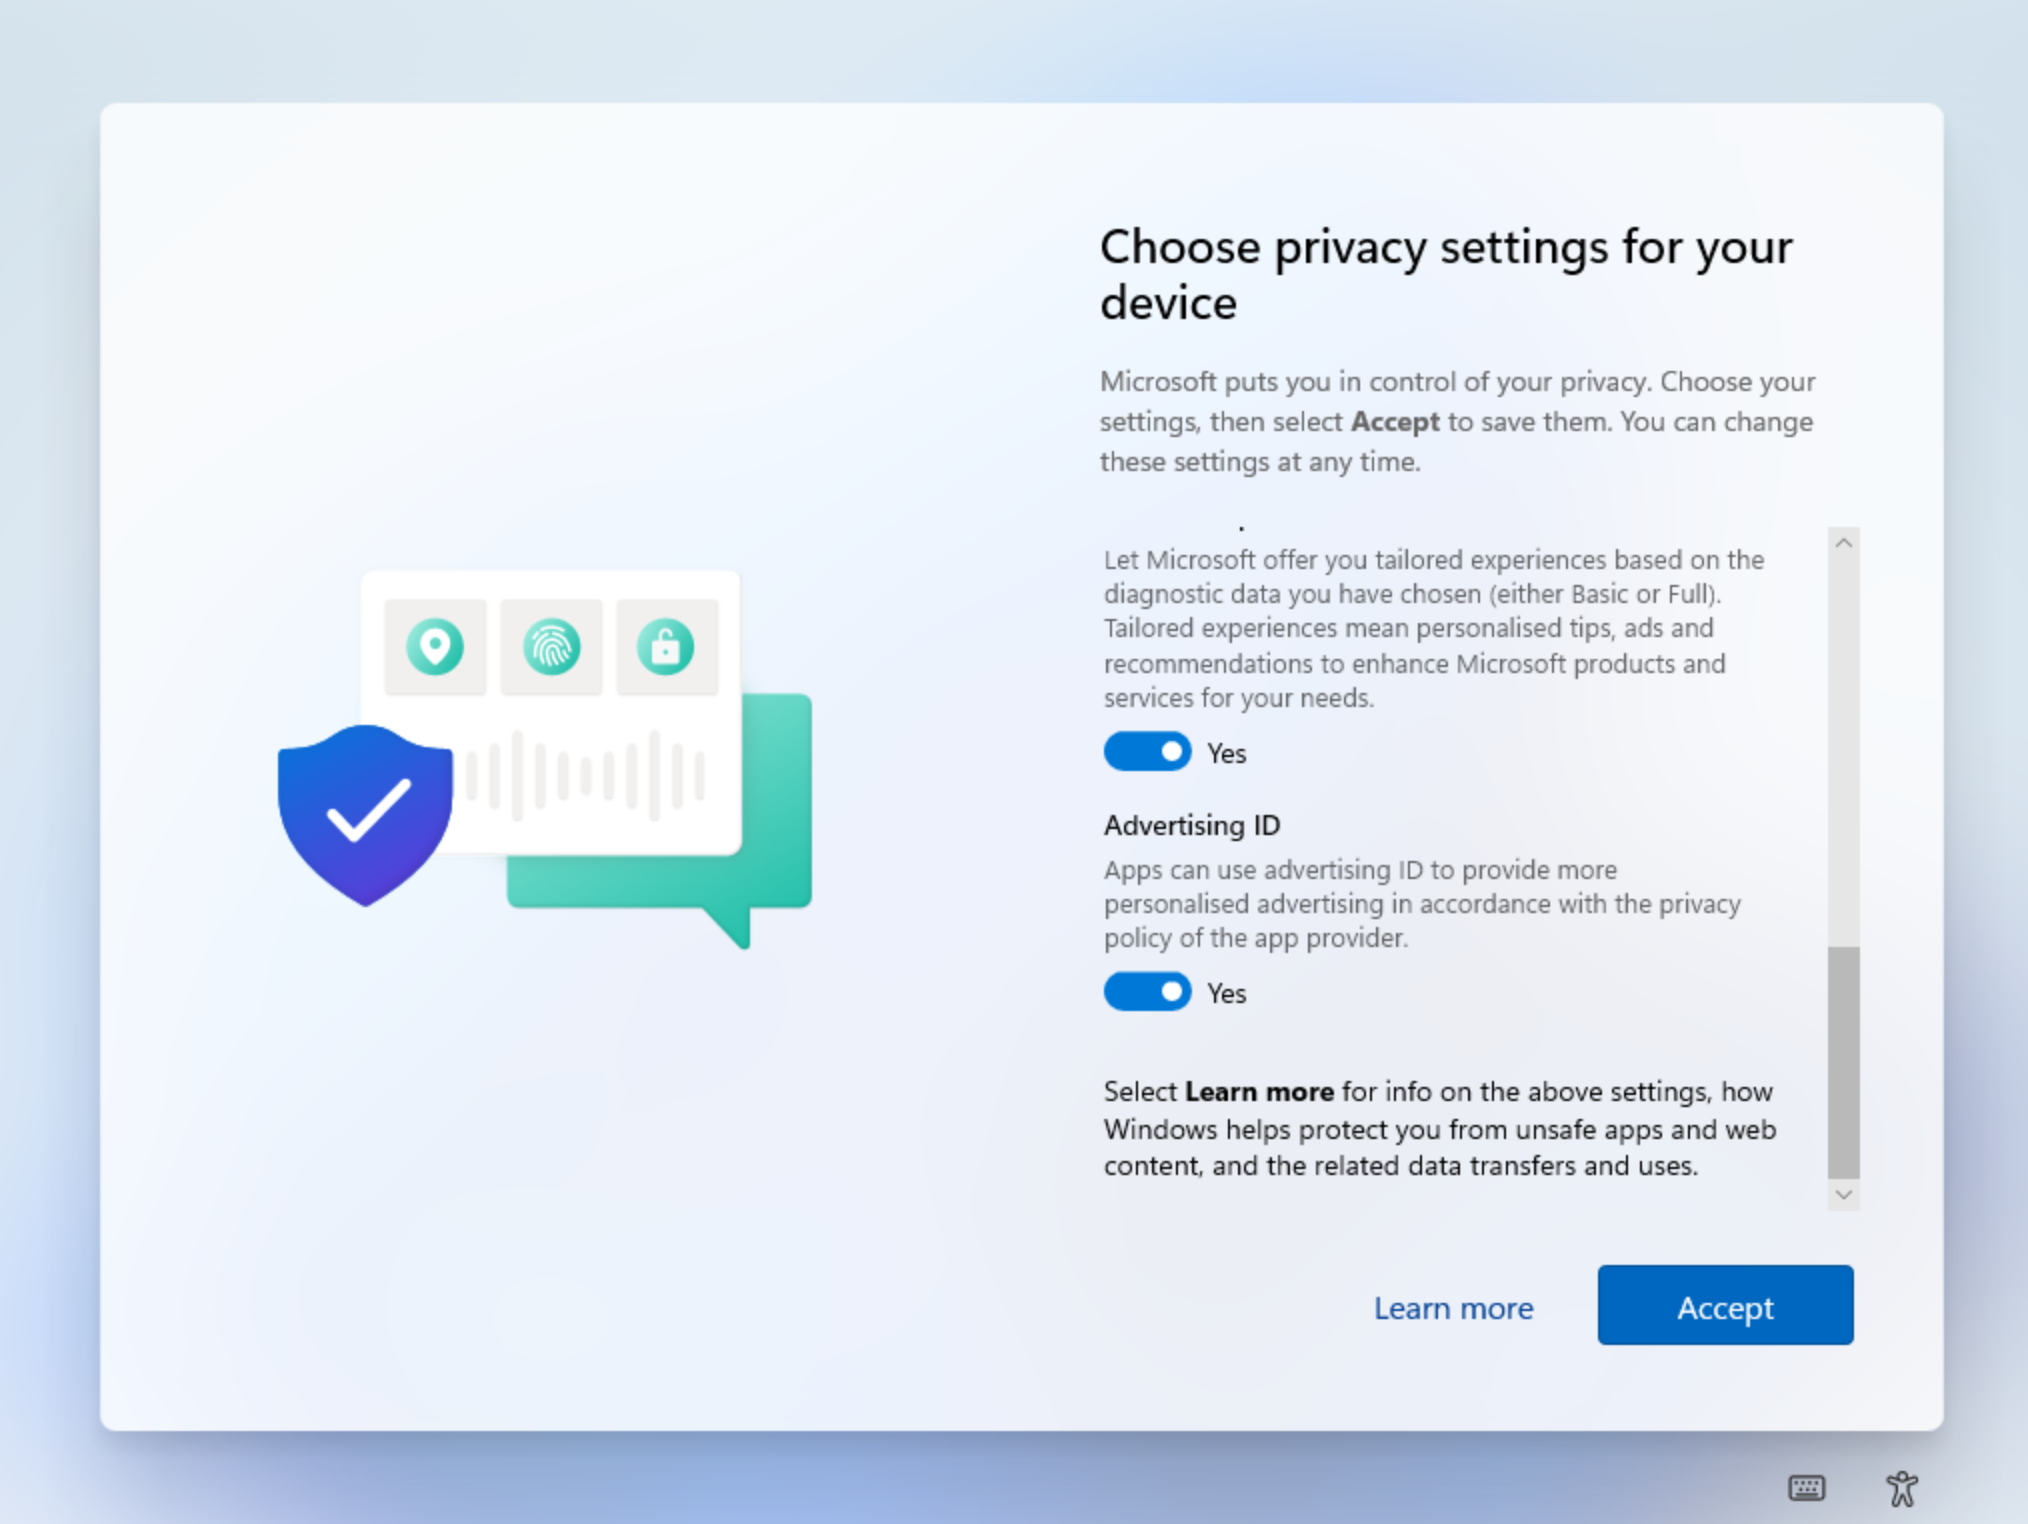
When prompted to accept privacy settings, leave the settings as default and scroll to the bottom of the page, then select Accept.
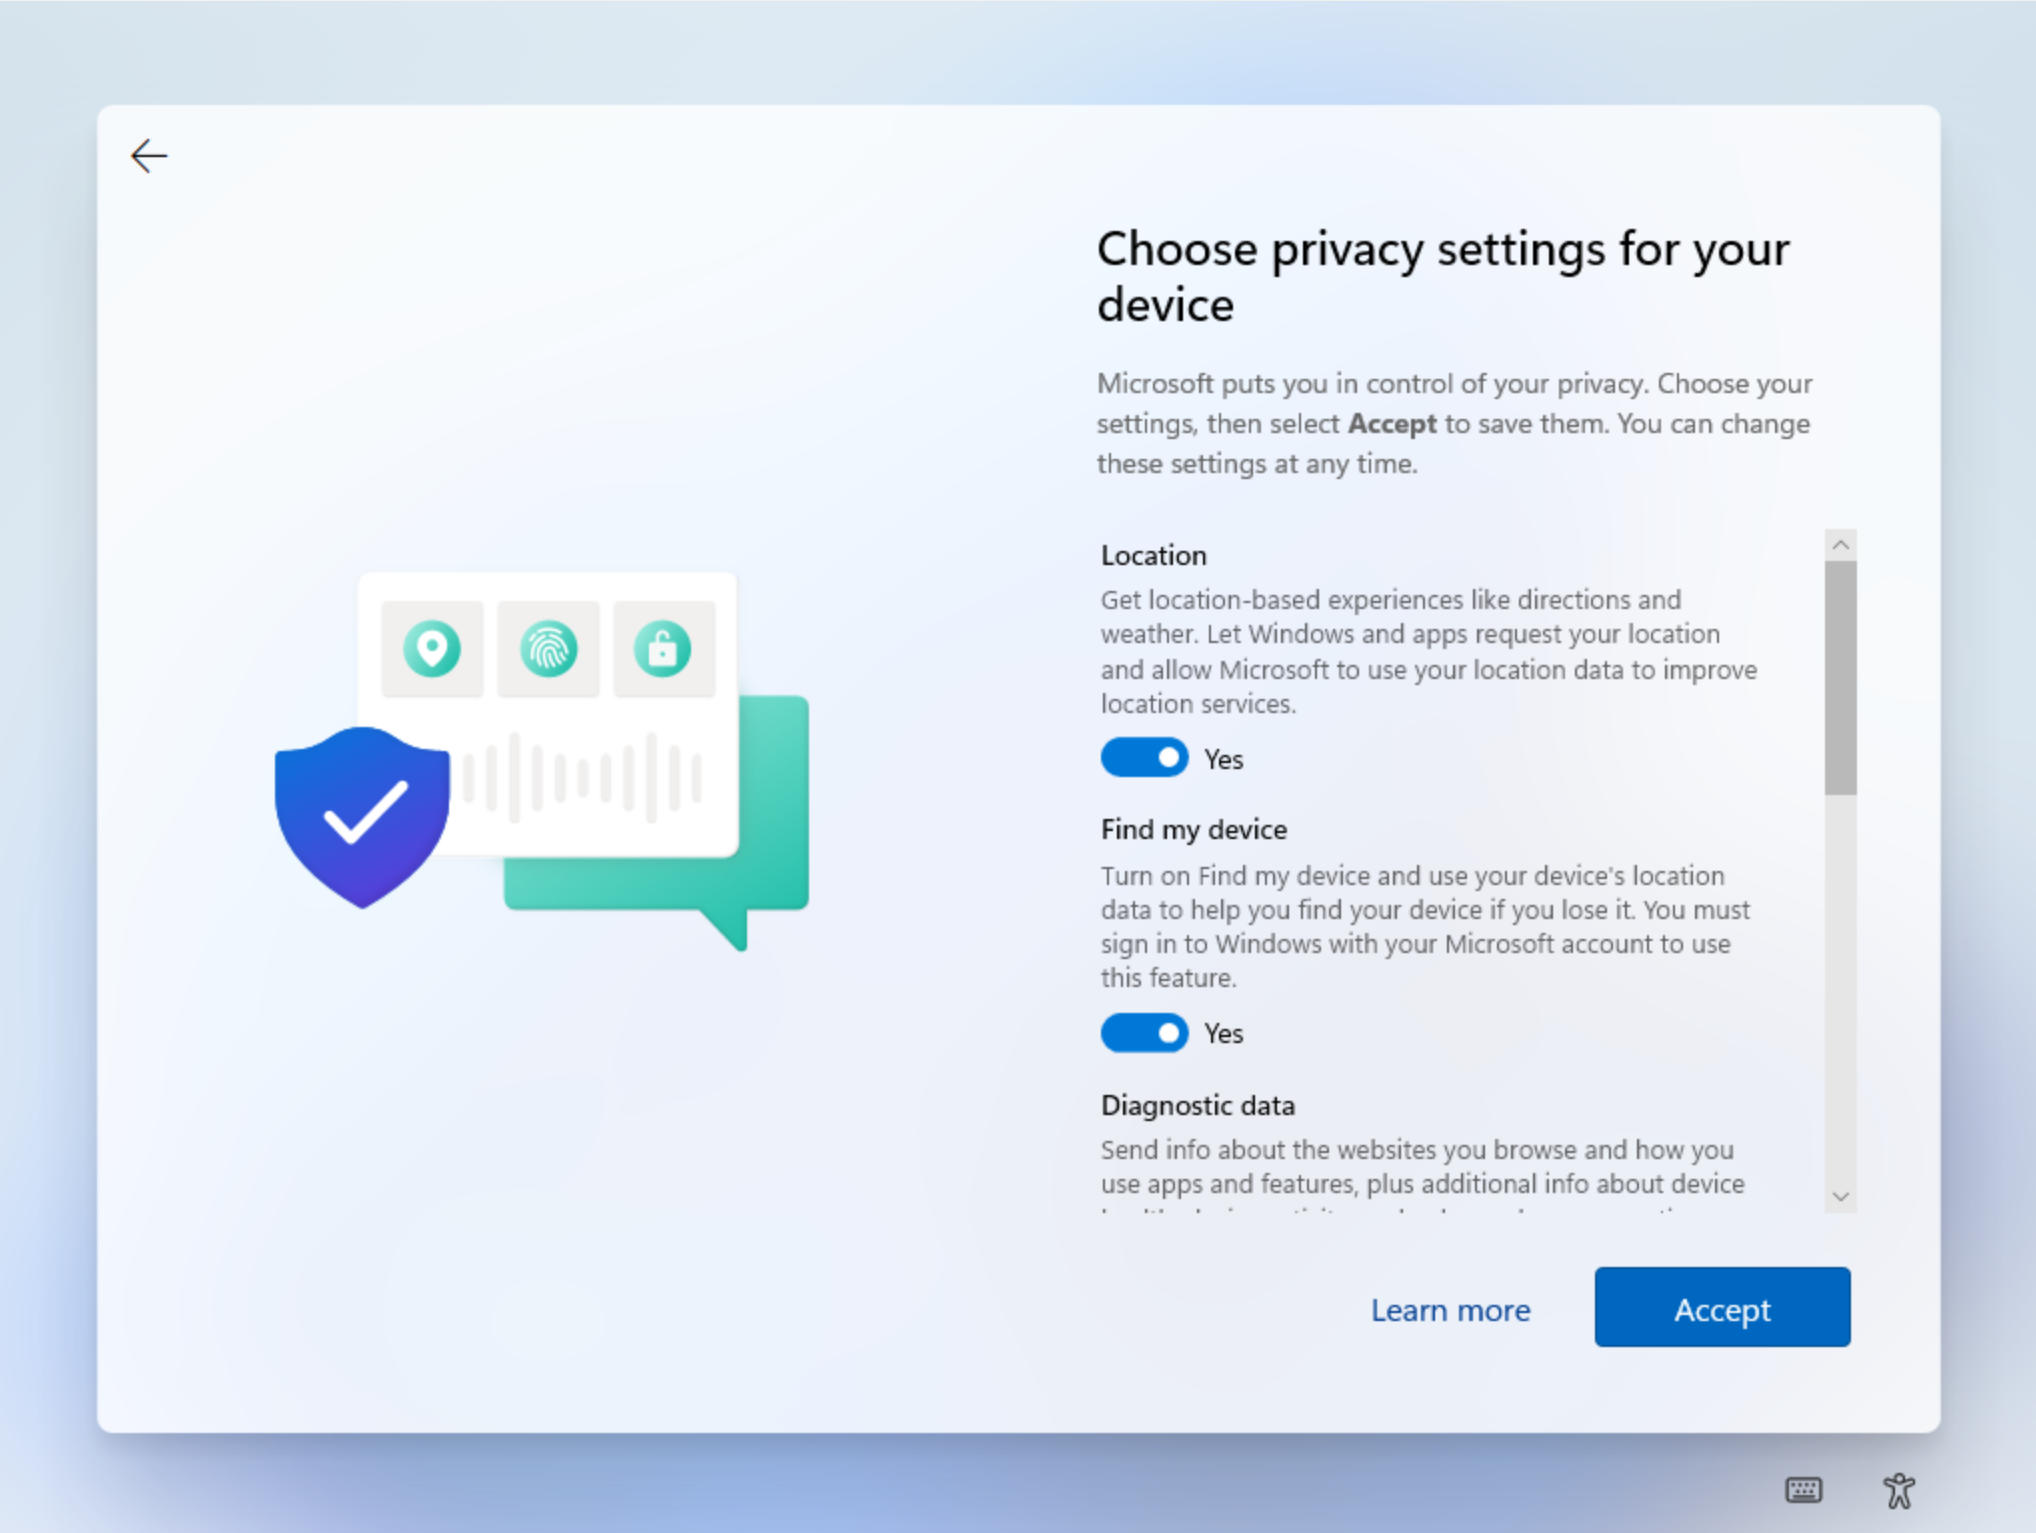 These settings will only apply to the temporary account and do not matter. Your privacy and security settings will be automatically managed by us from the server.
 -
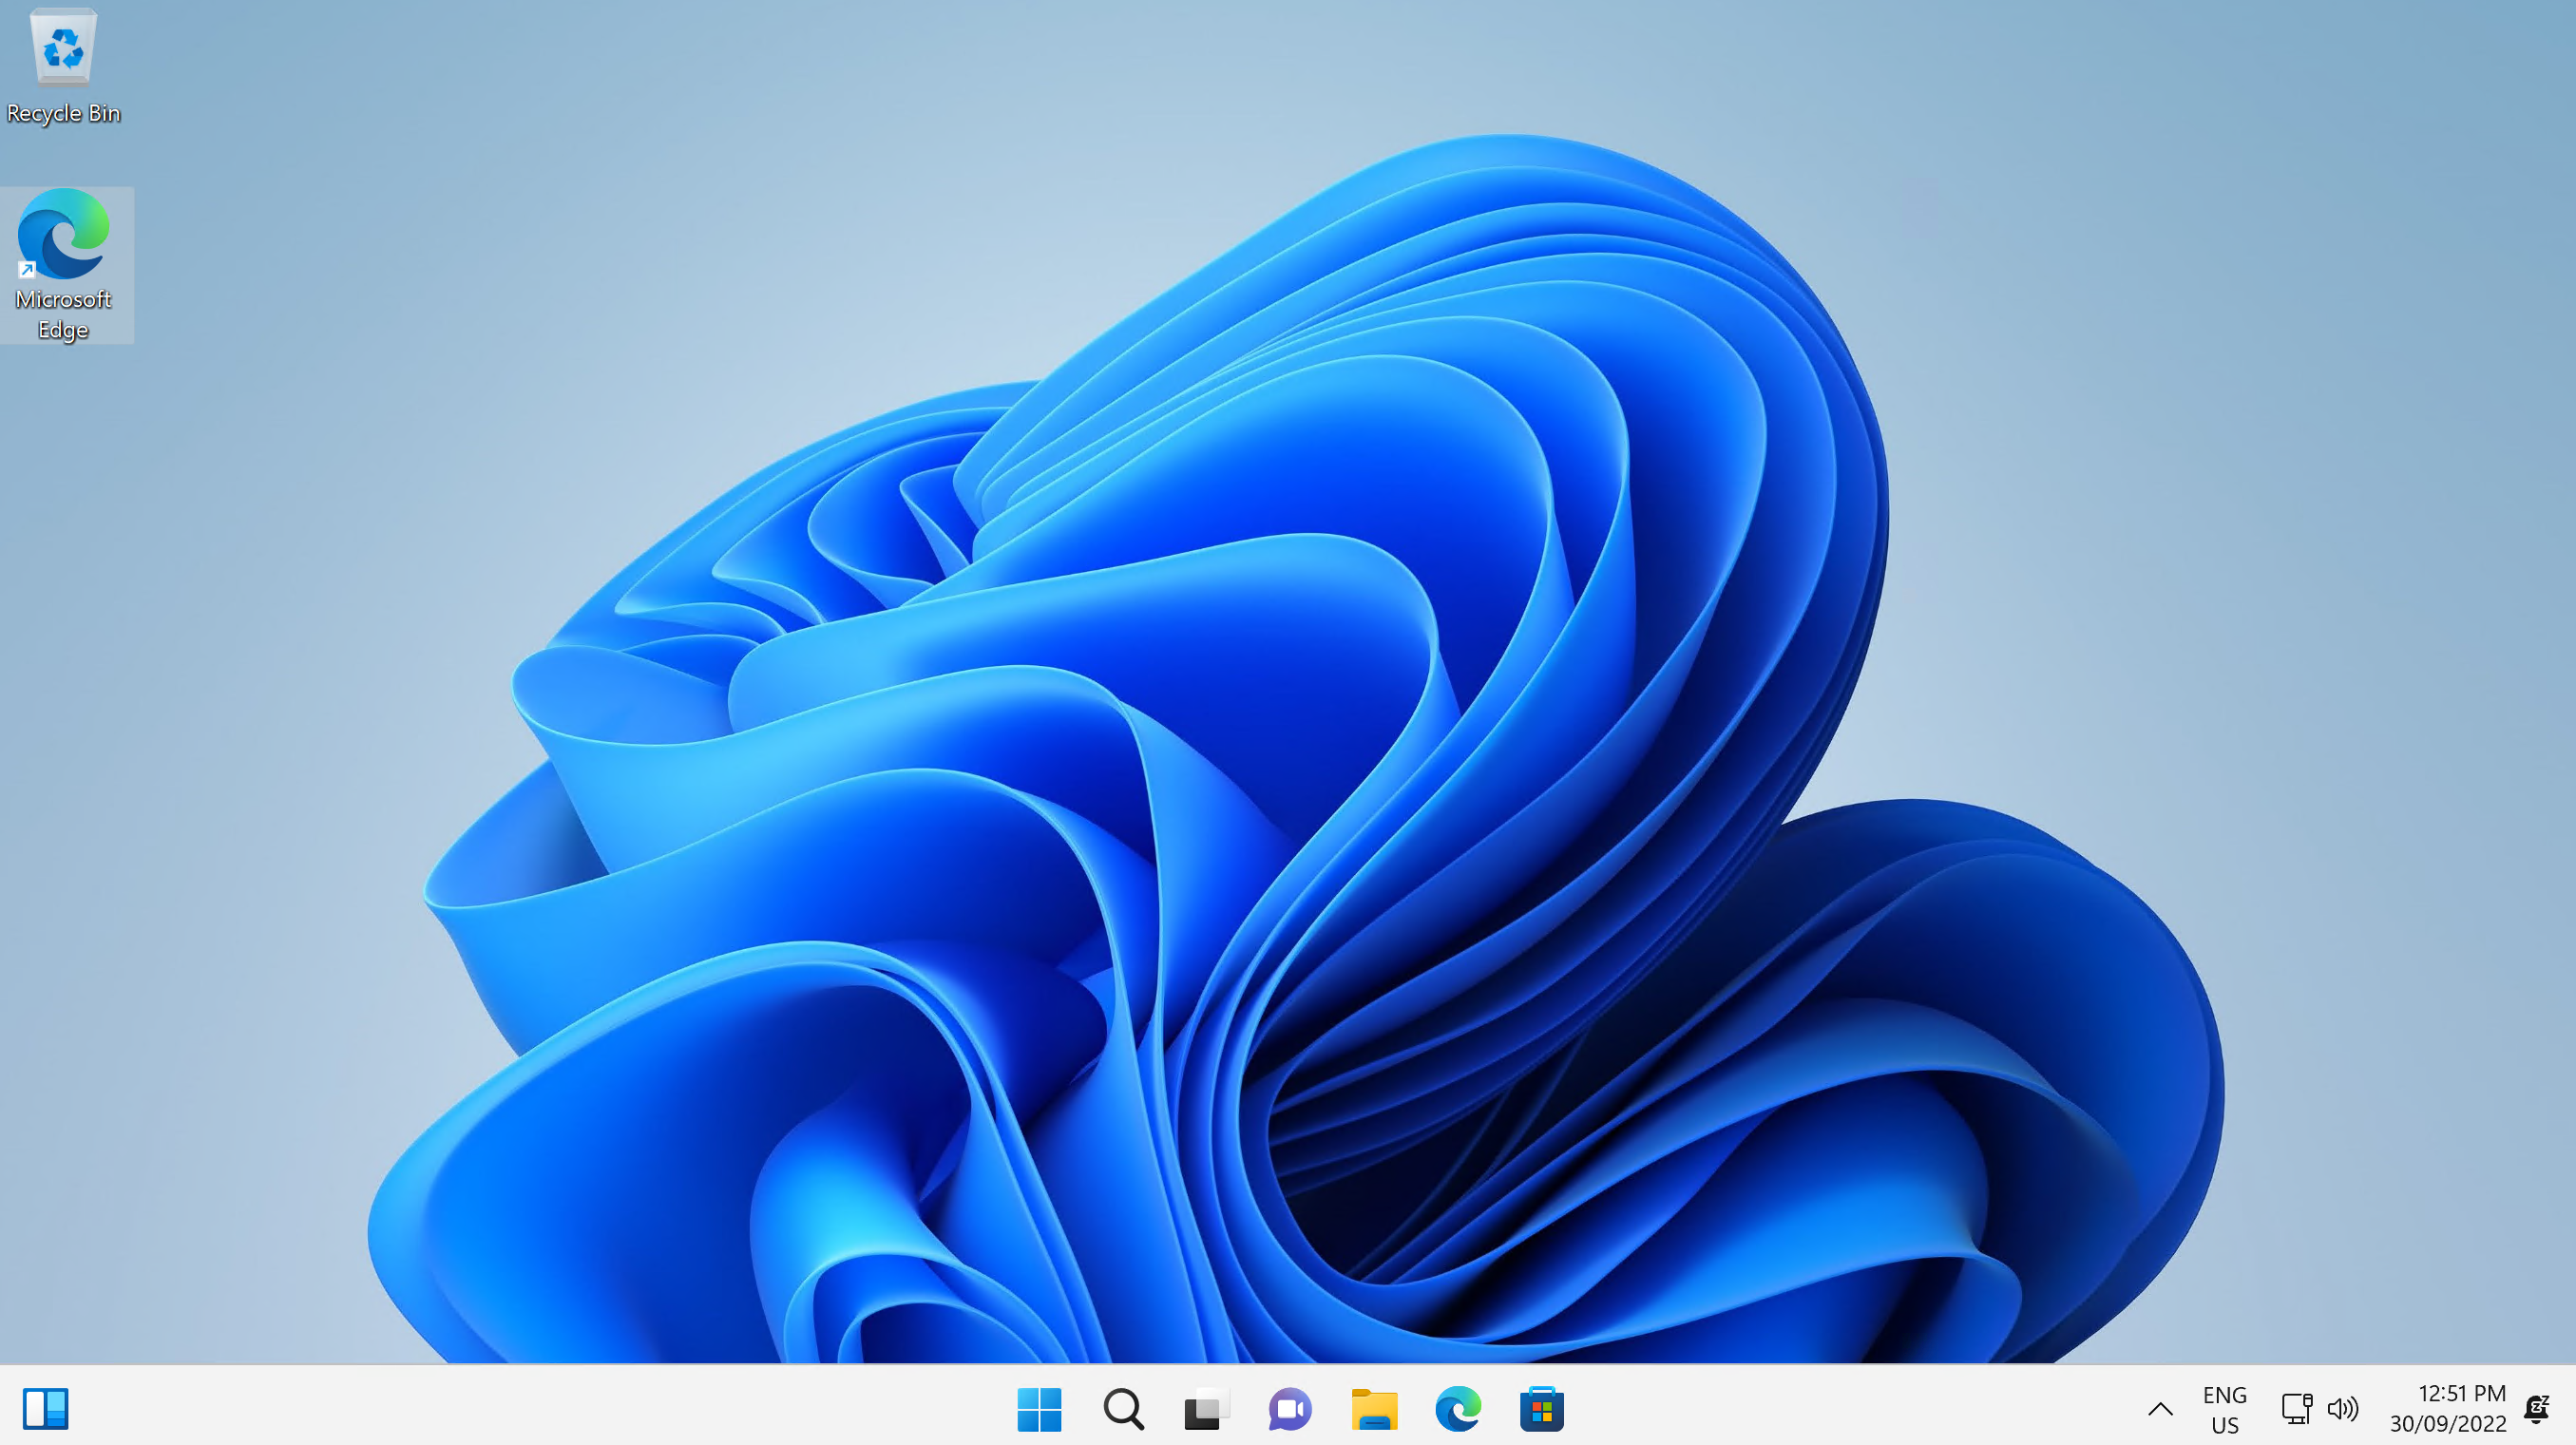
Once the setup has finished, there's a few more things to do before Private Universe can complete the setup. Double click on Microsoft Edge.
-
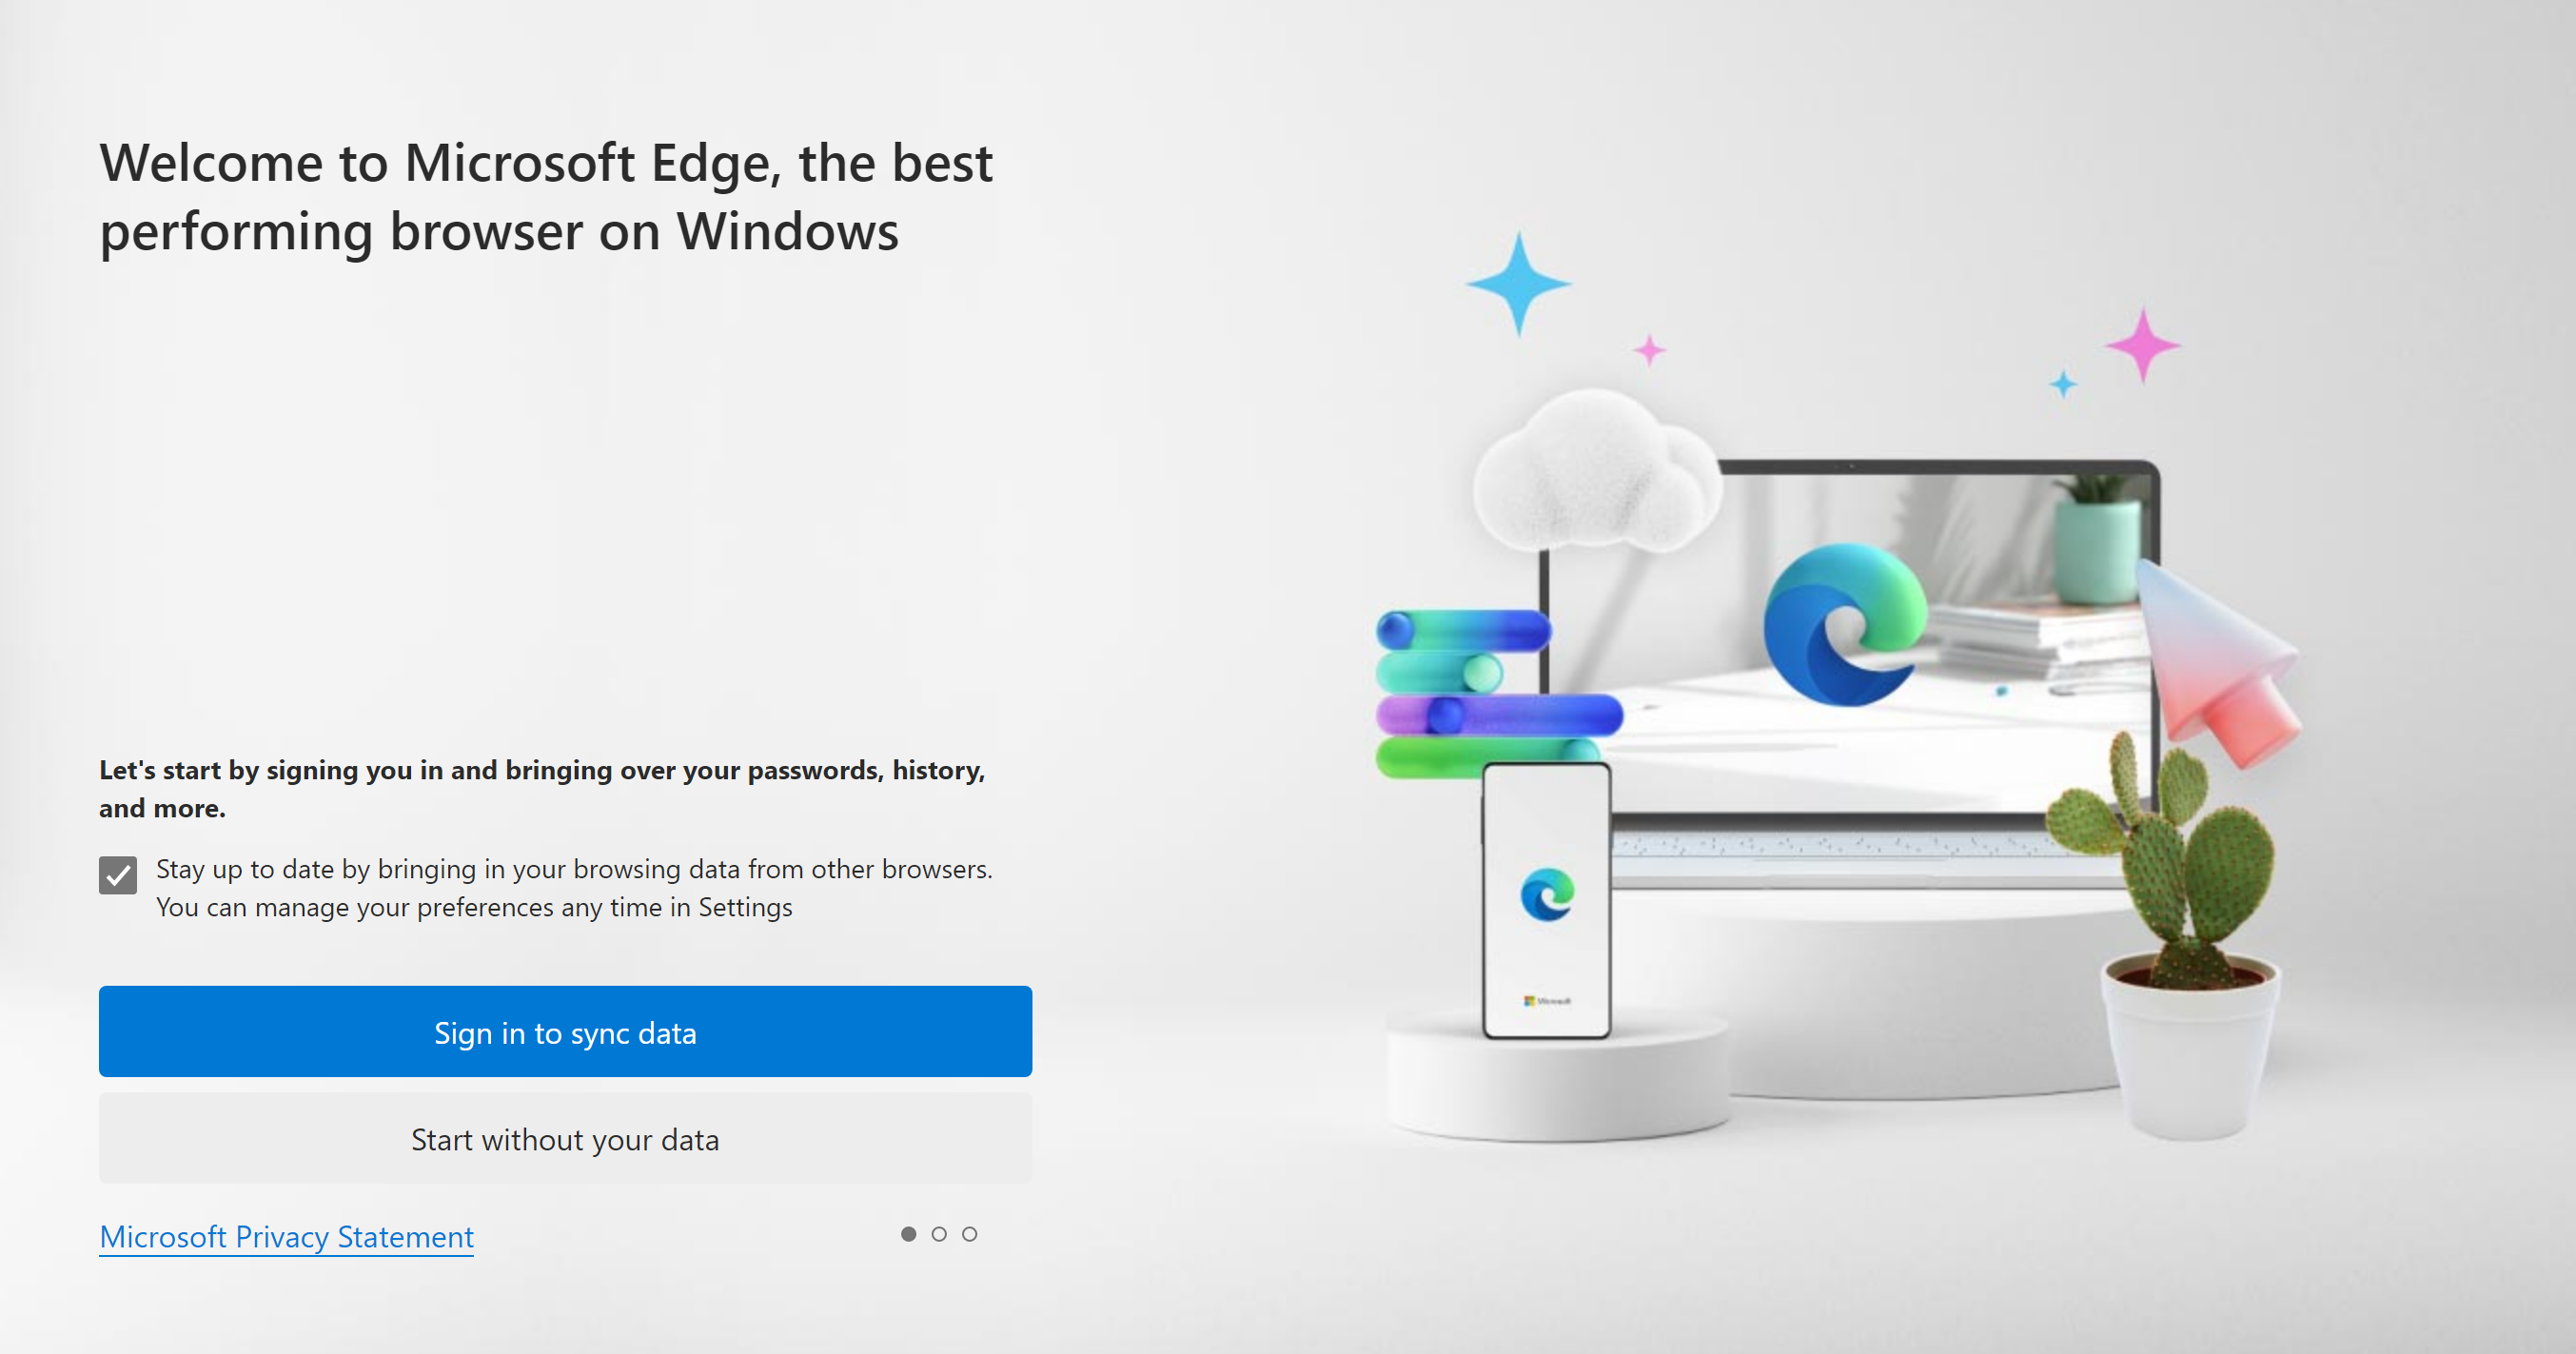
Once Microsoft Edge is open, select Start without your data.
-
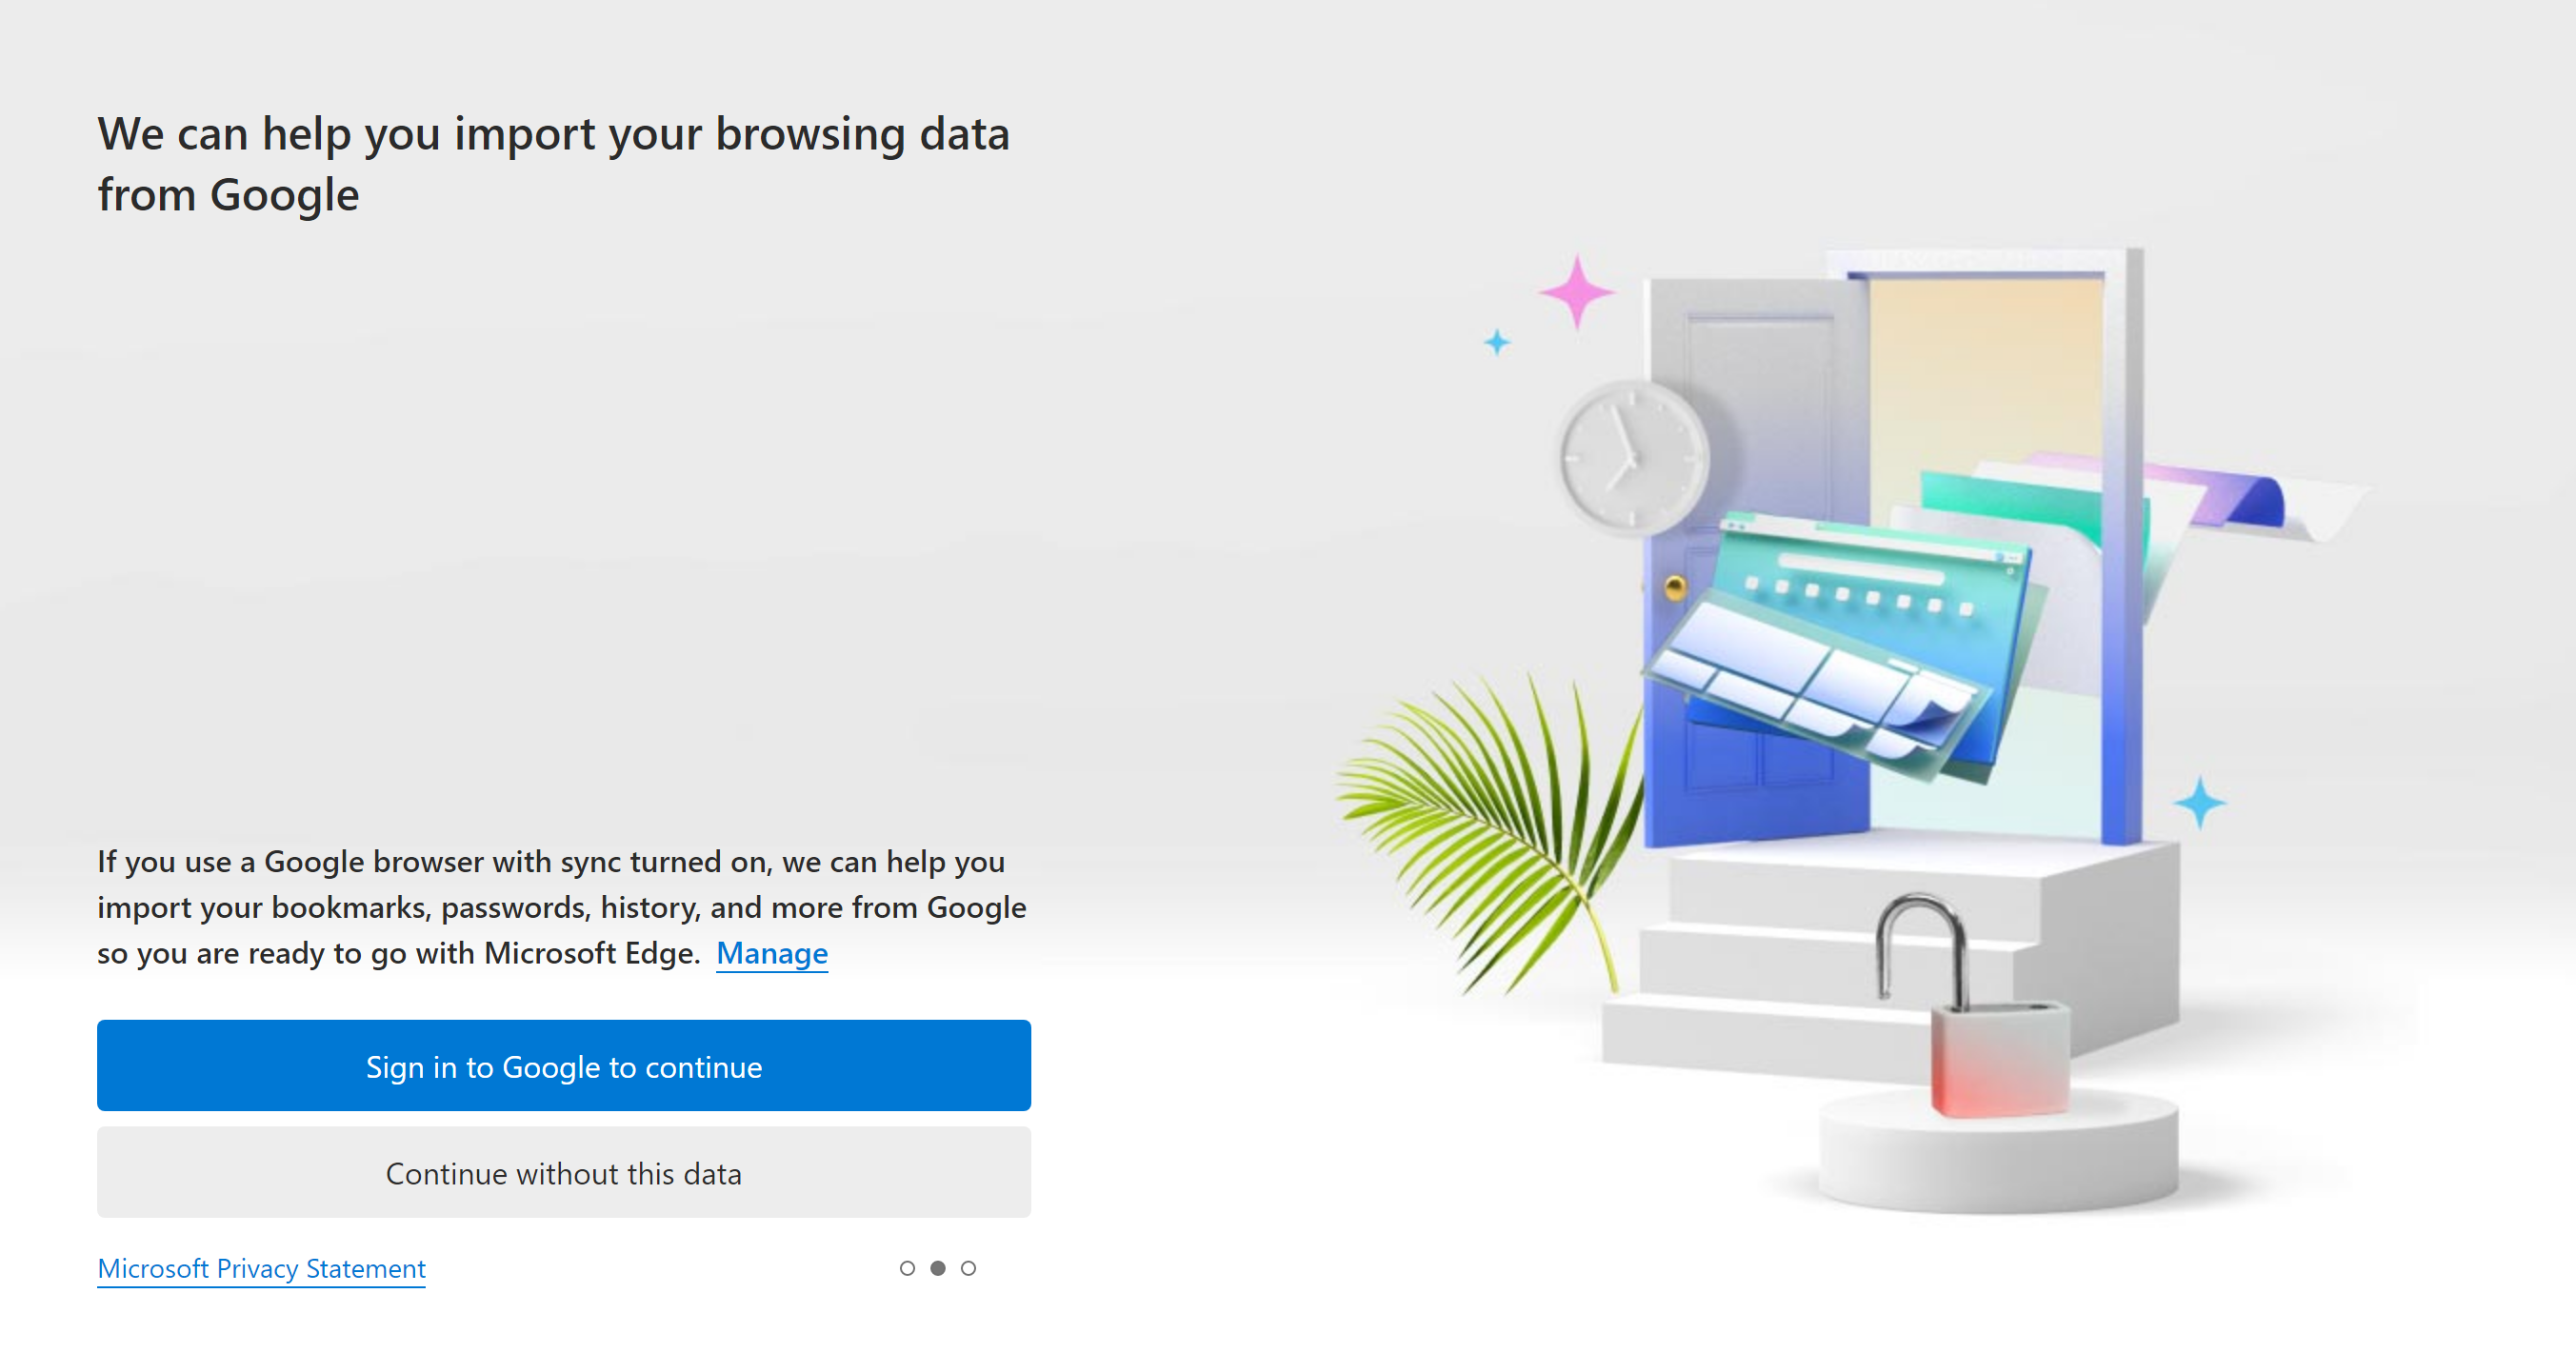
When prompted to sign in with Google, select Continue without this data.
-
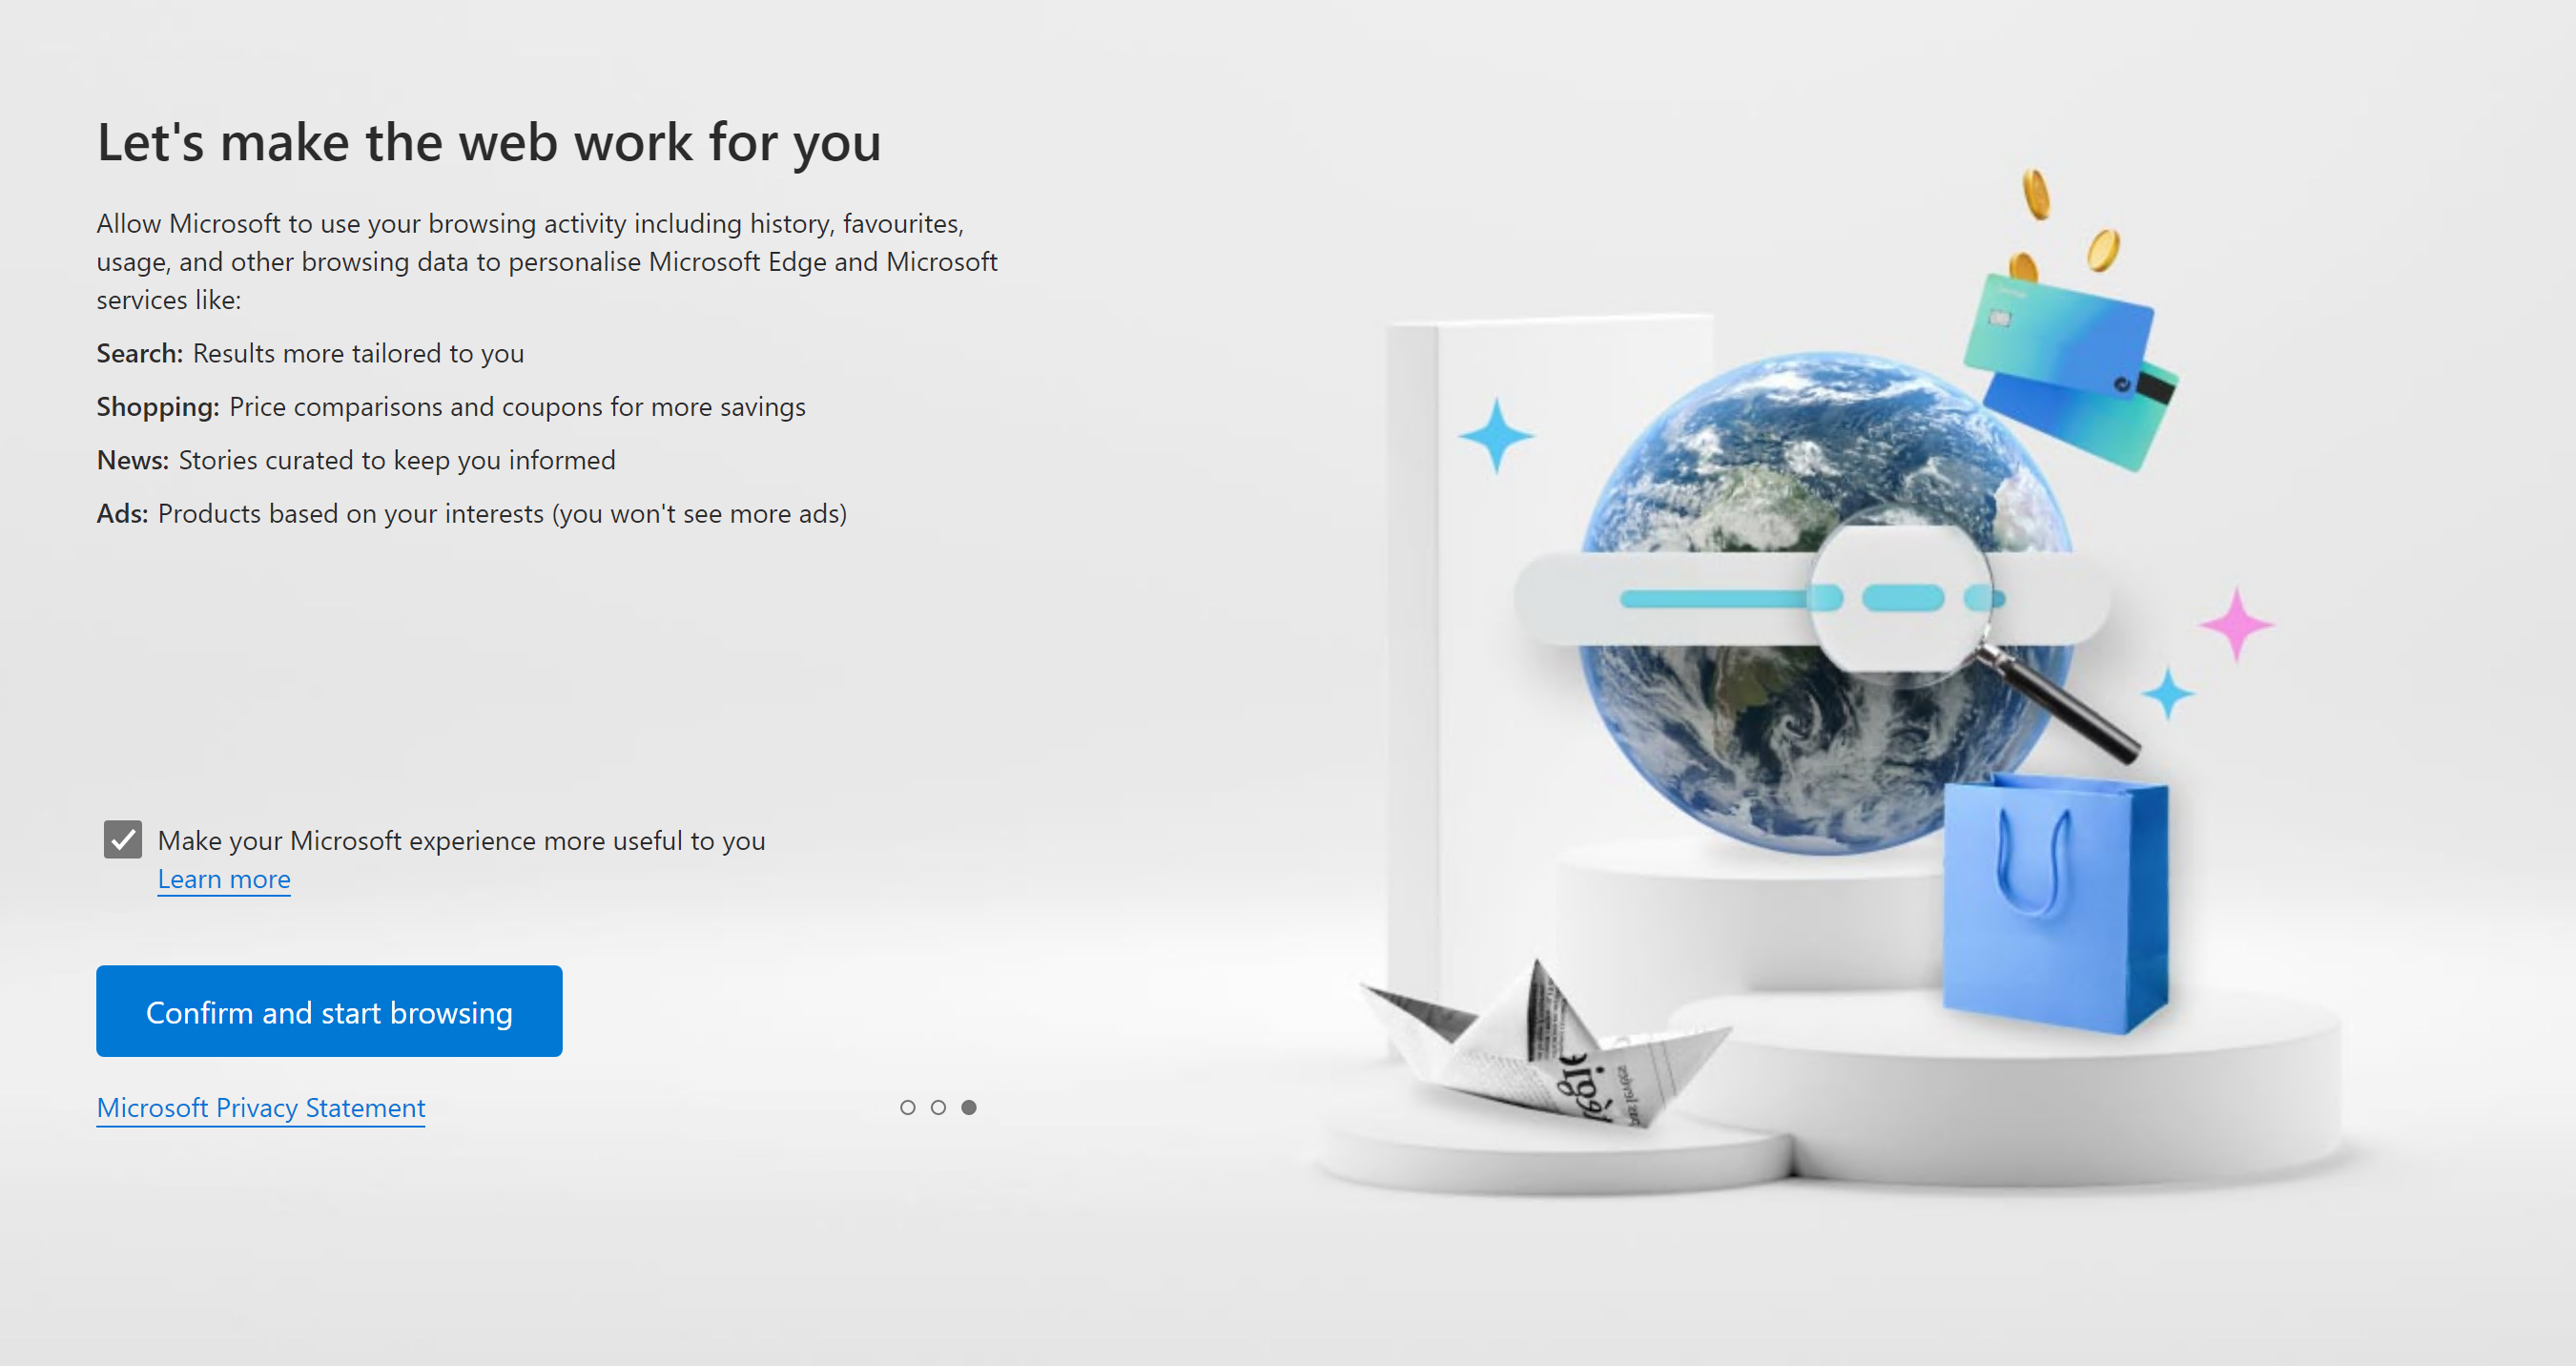
Select Confirm and start browsing.
-
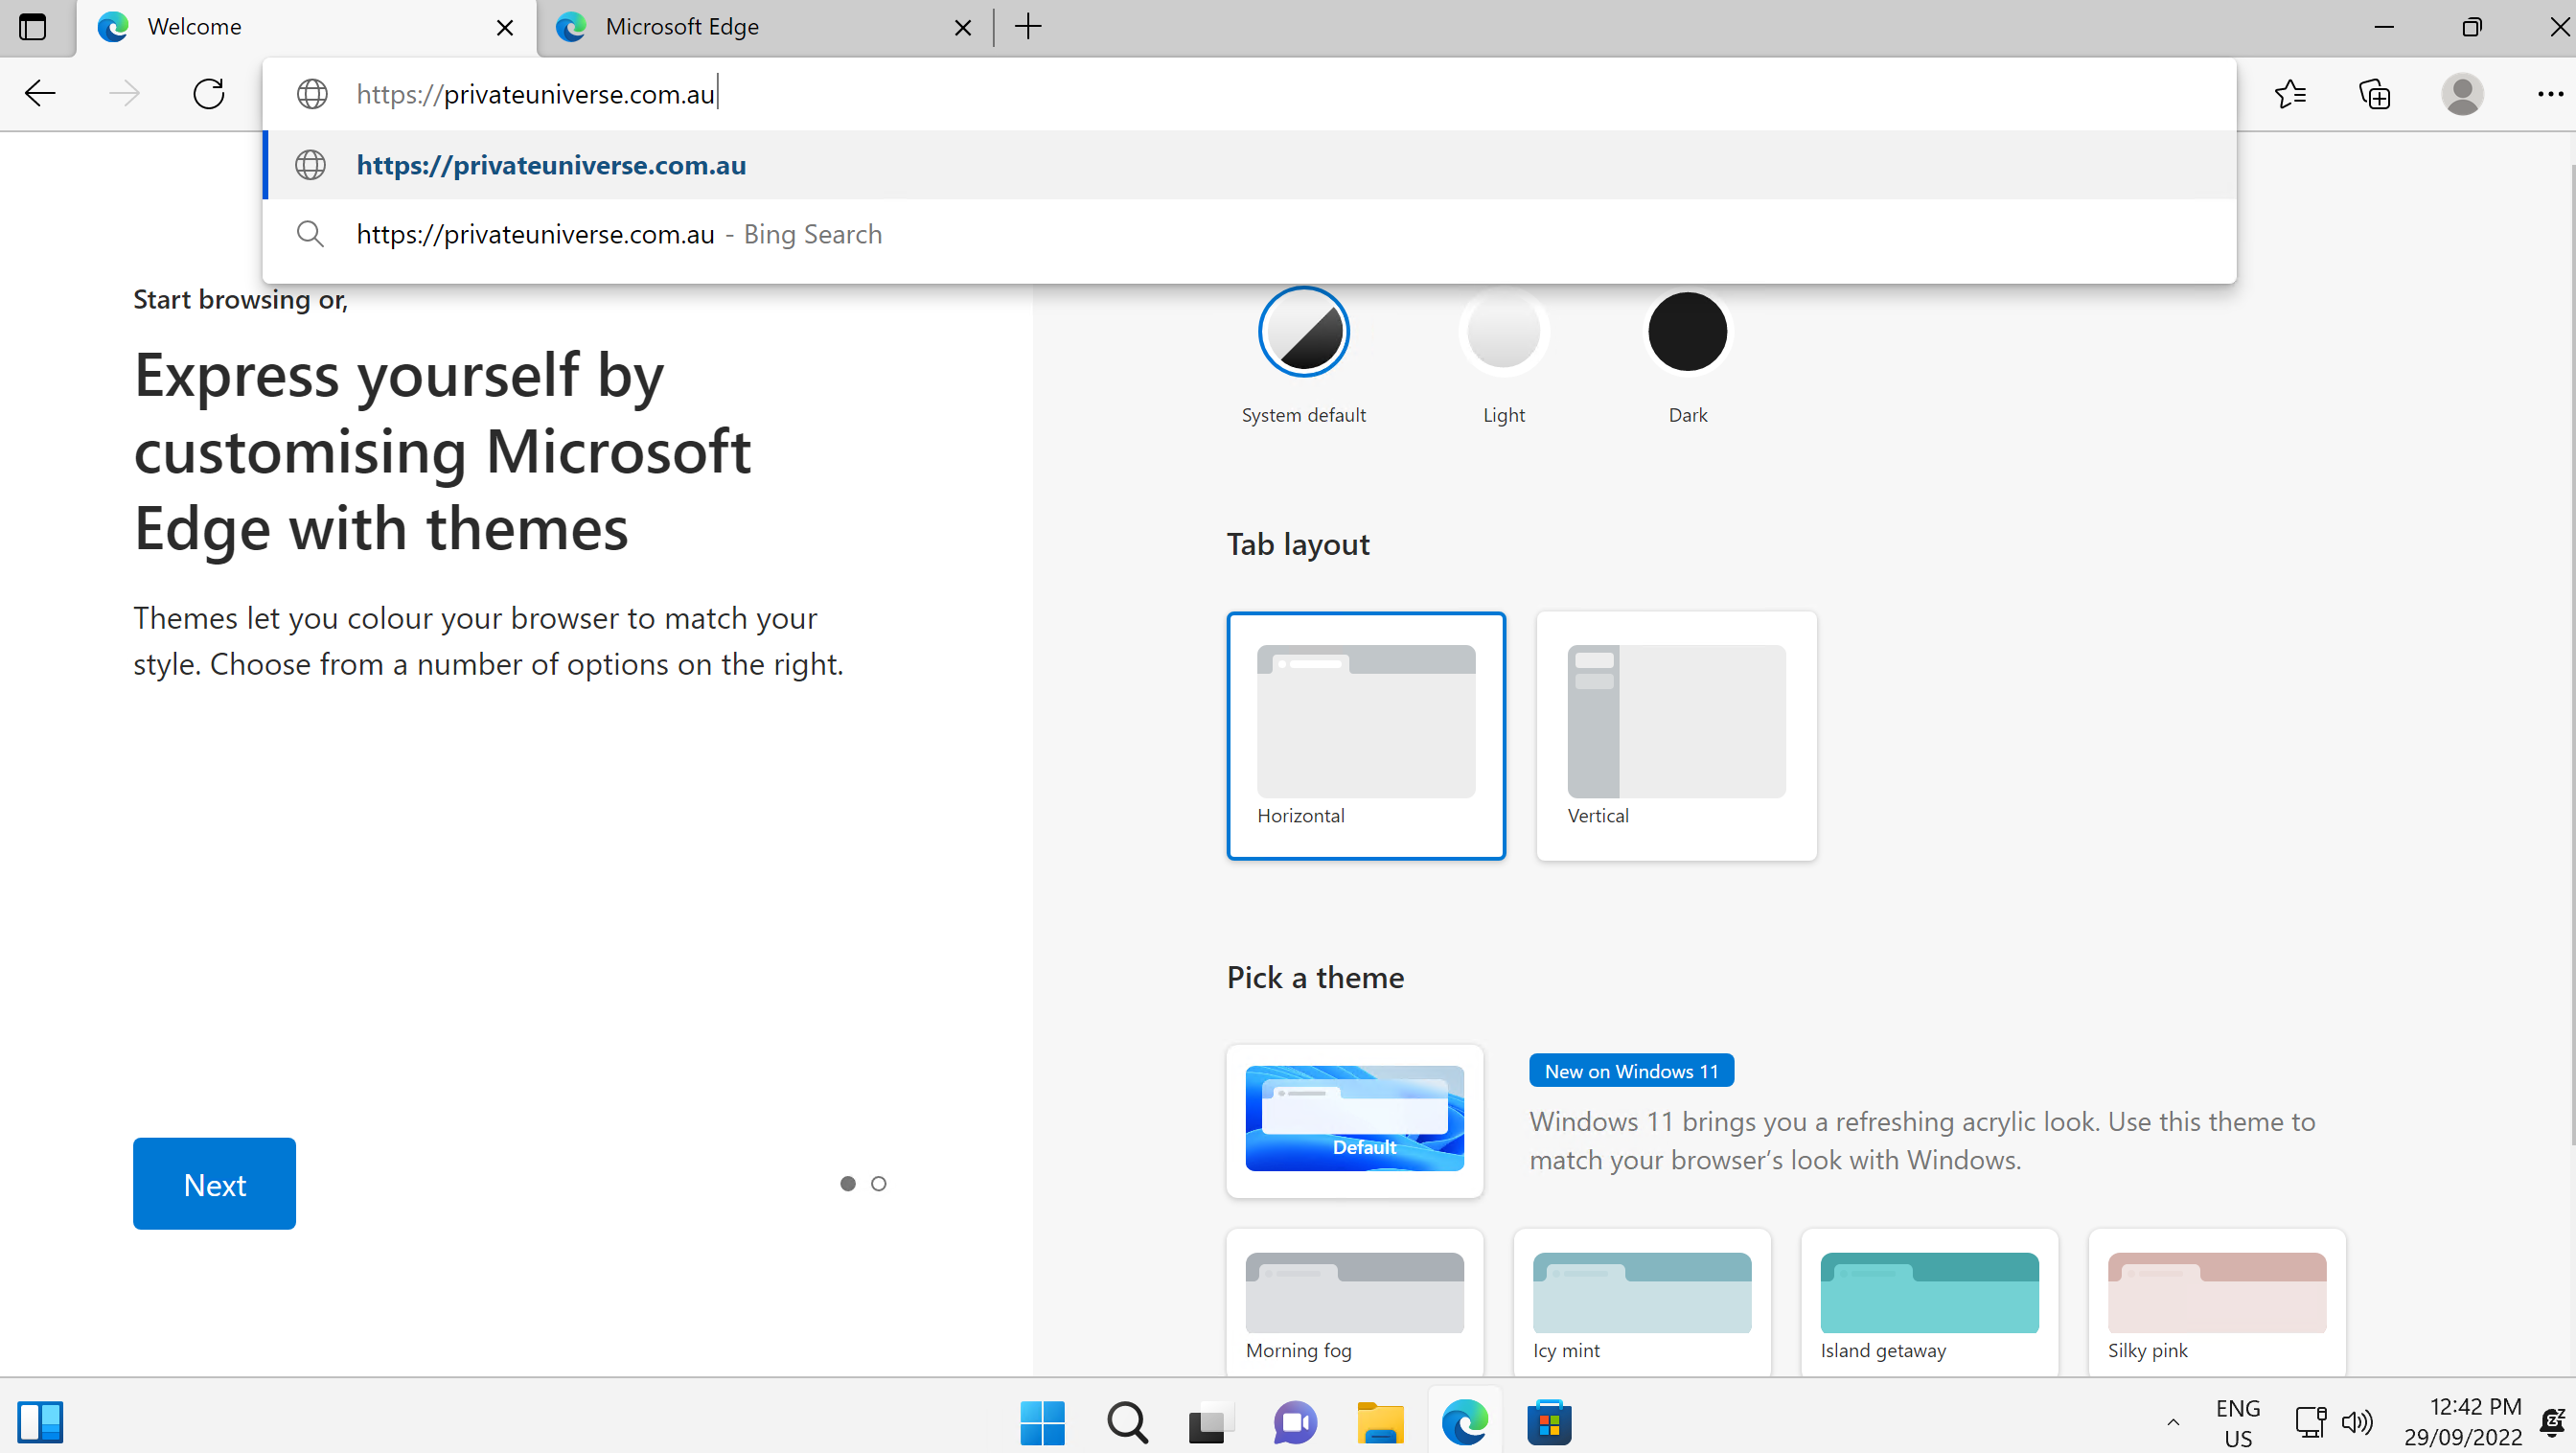
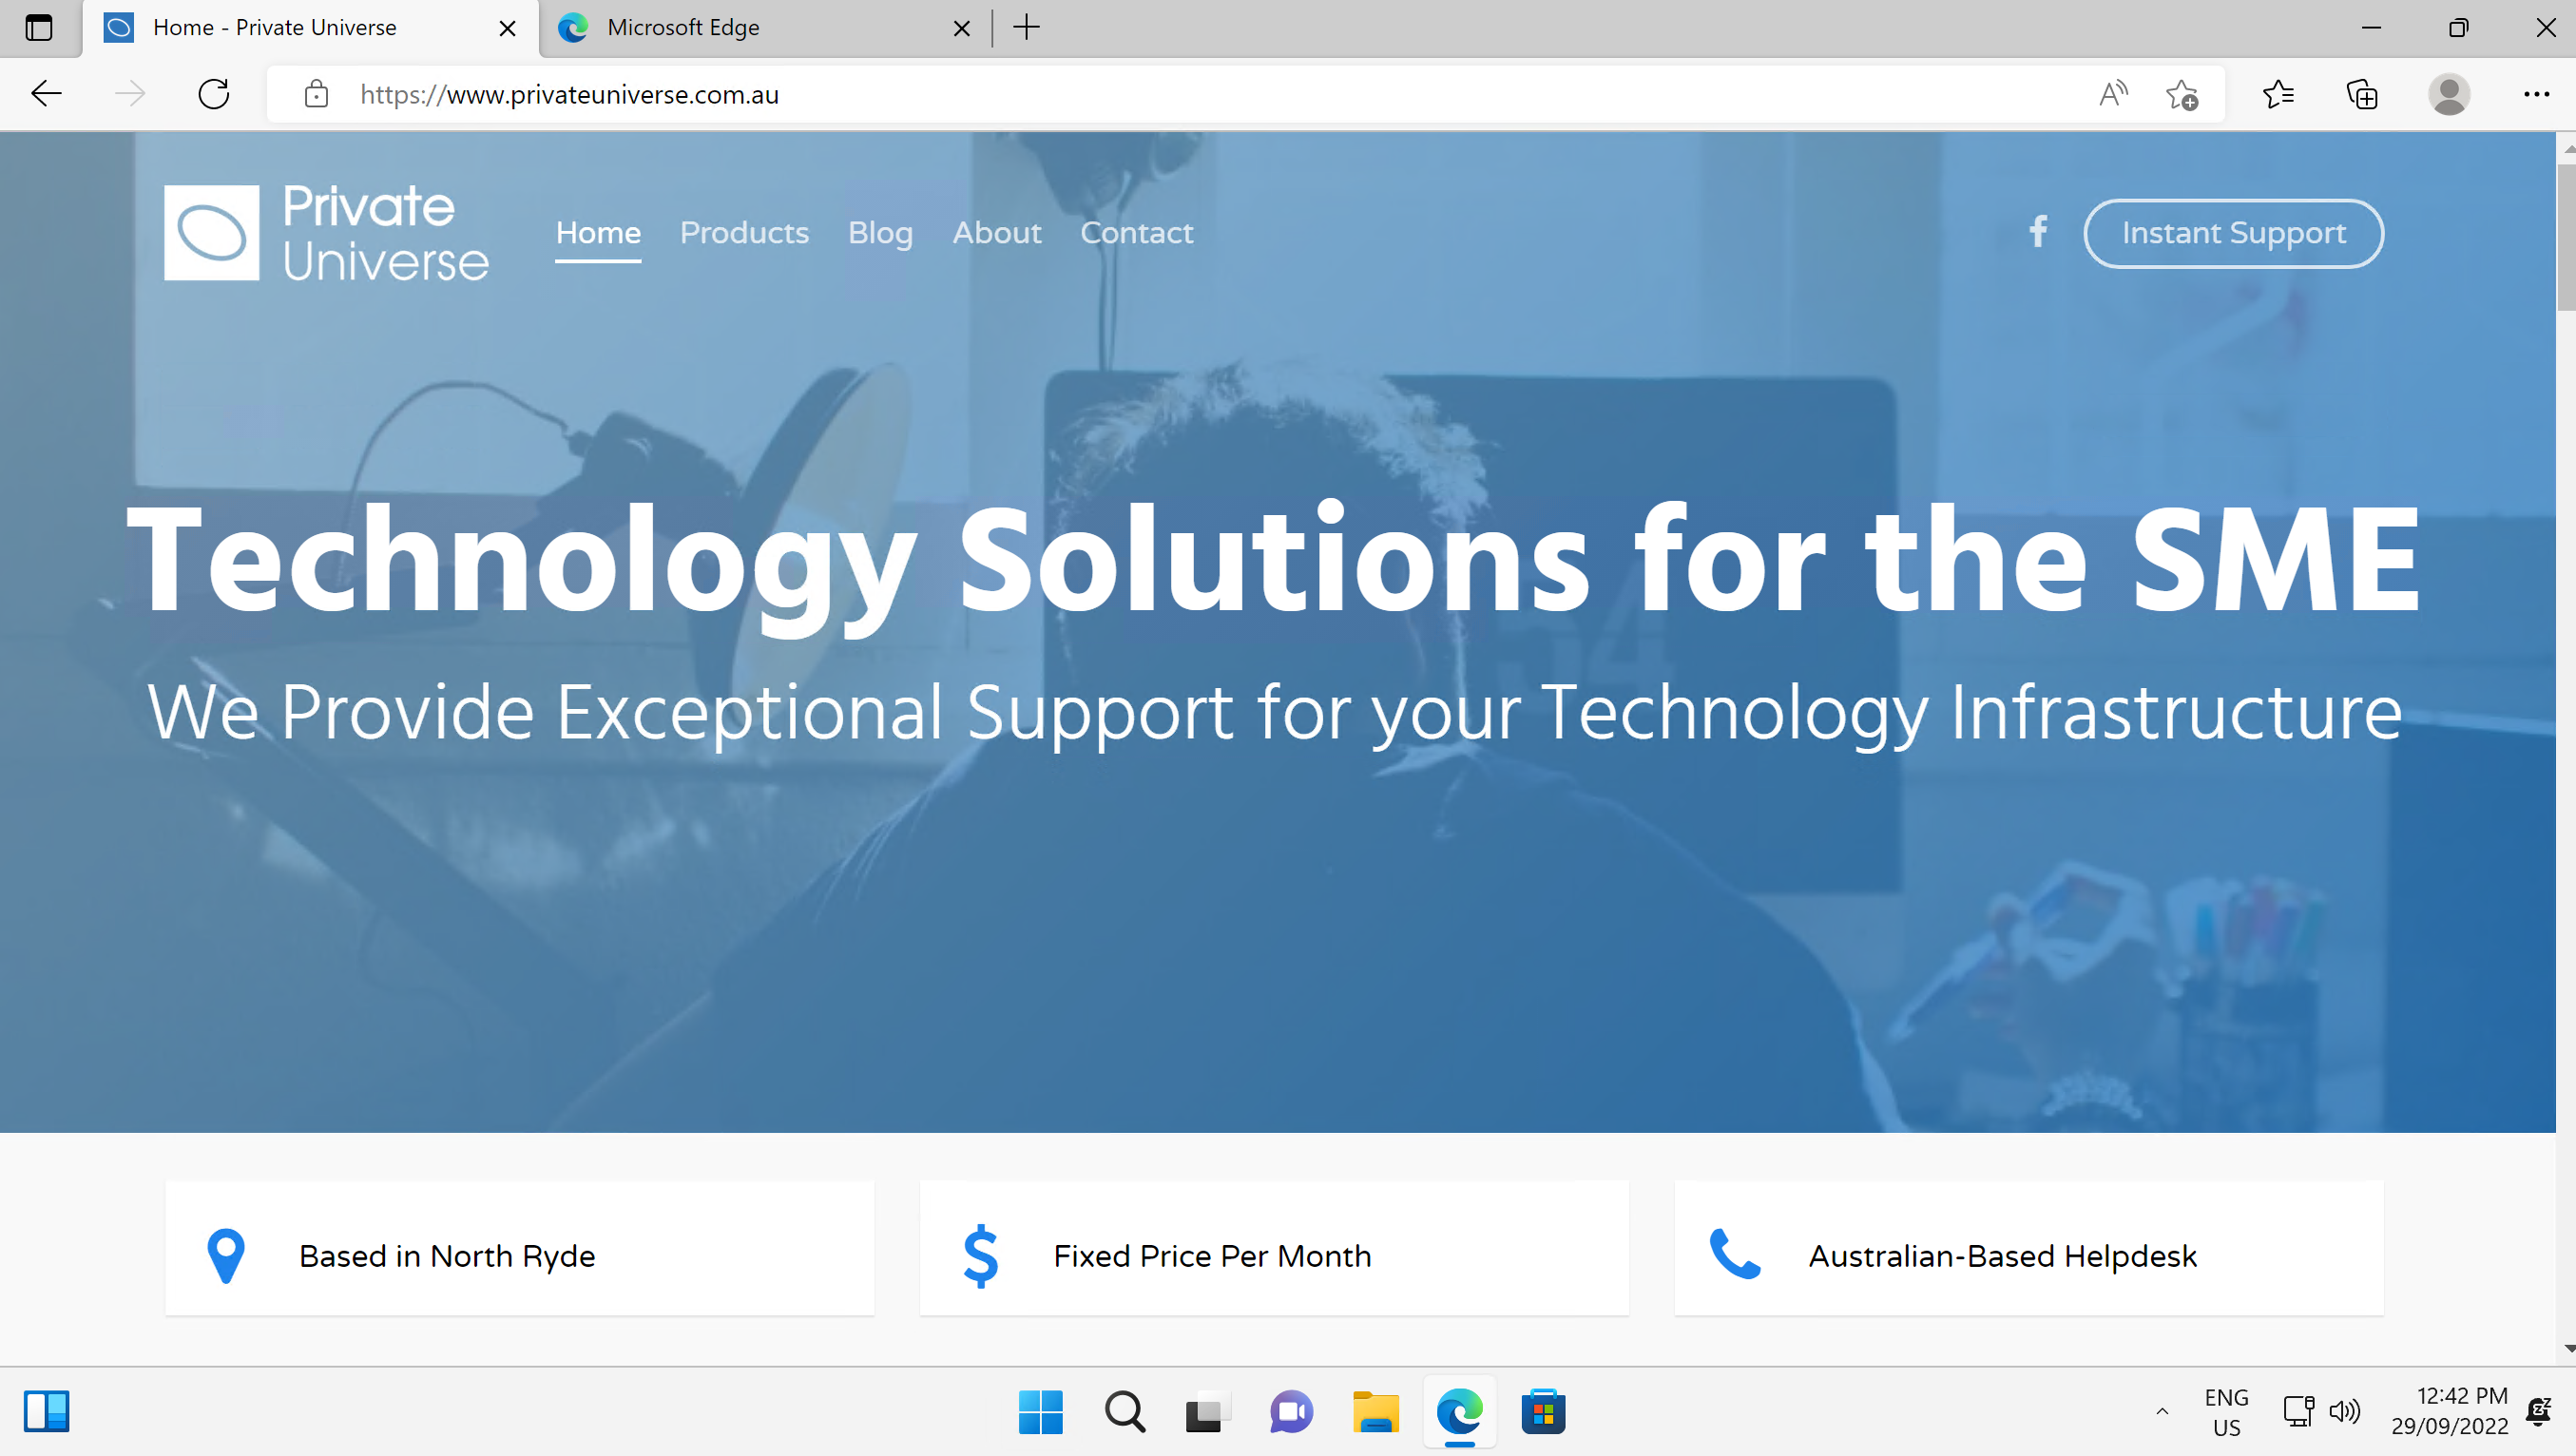
Click on the searchbar at the top of the browser and go to https://privateuniverse.com.au.
-
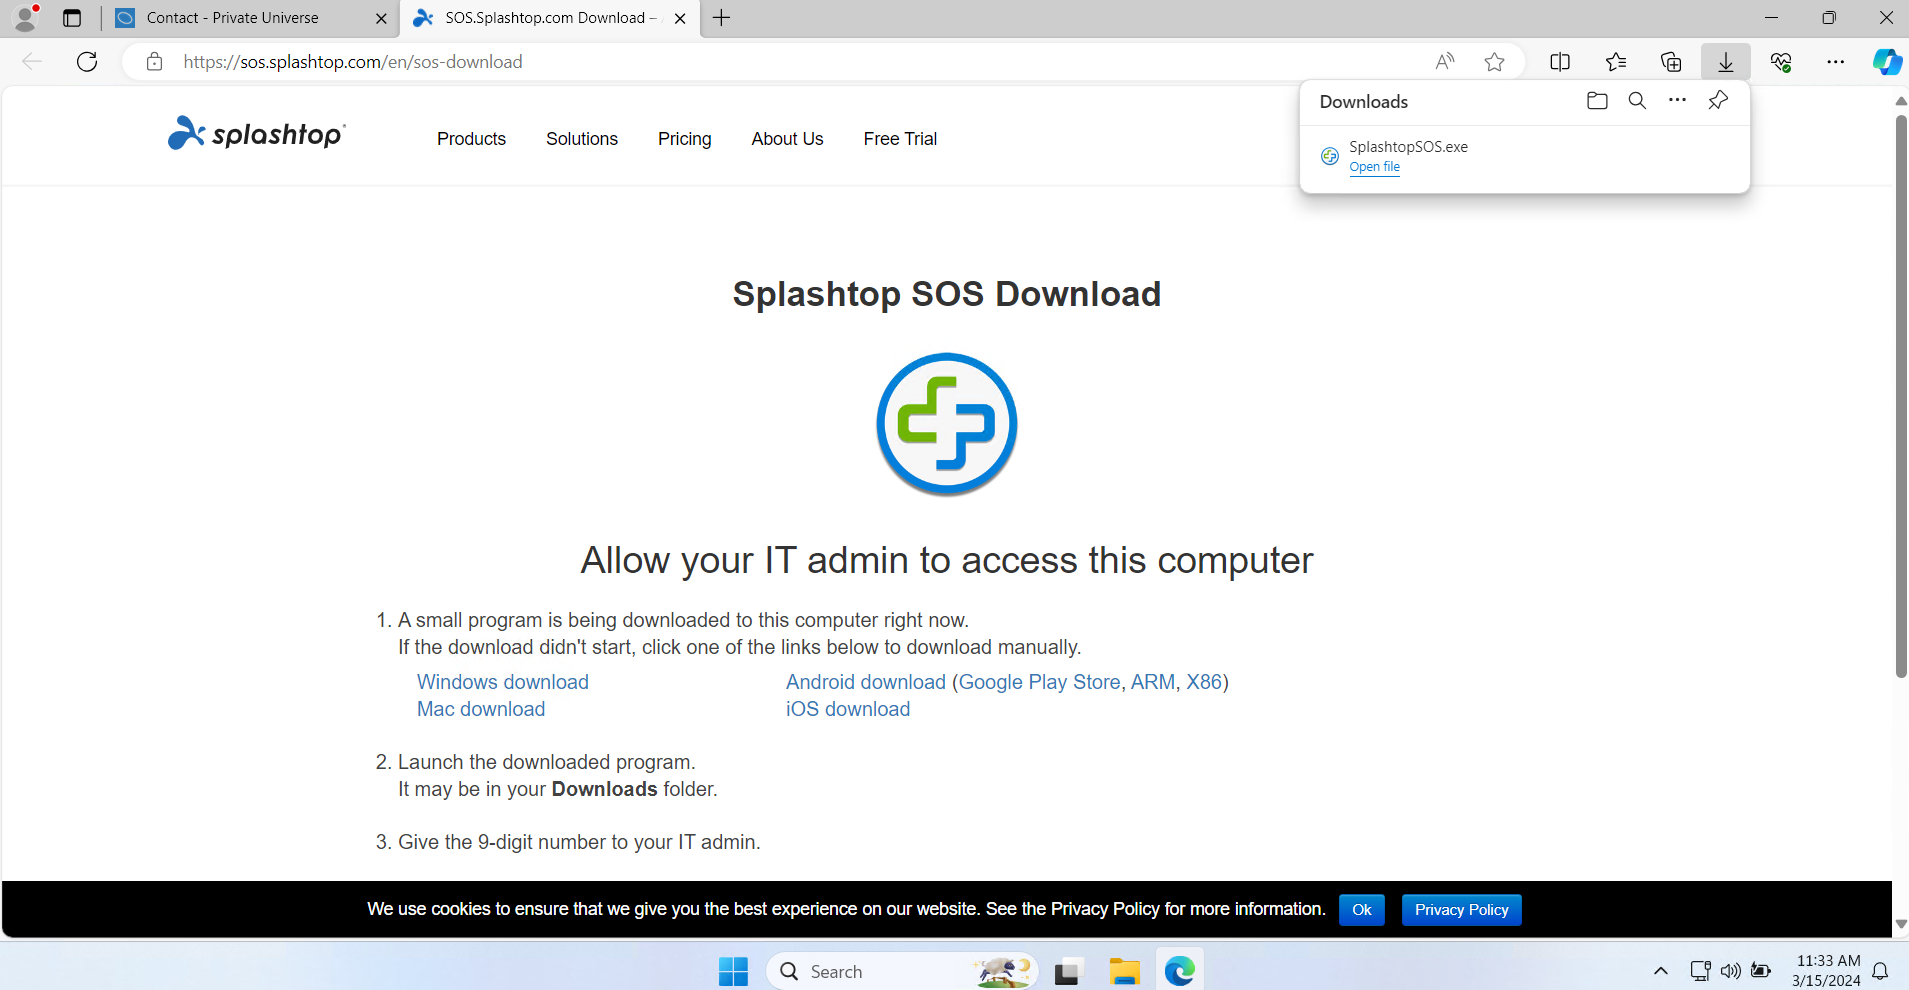
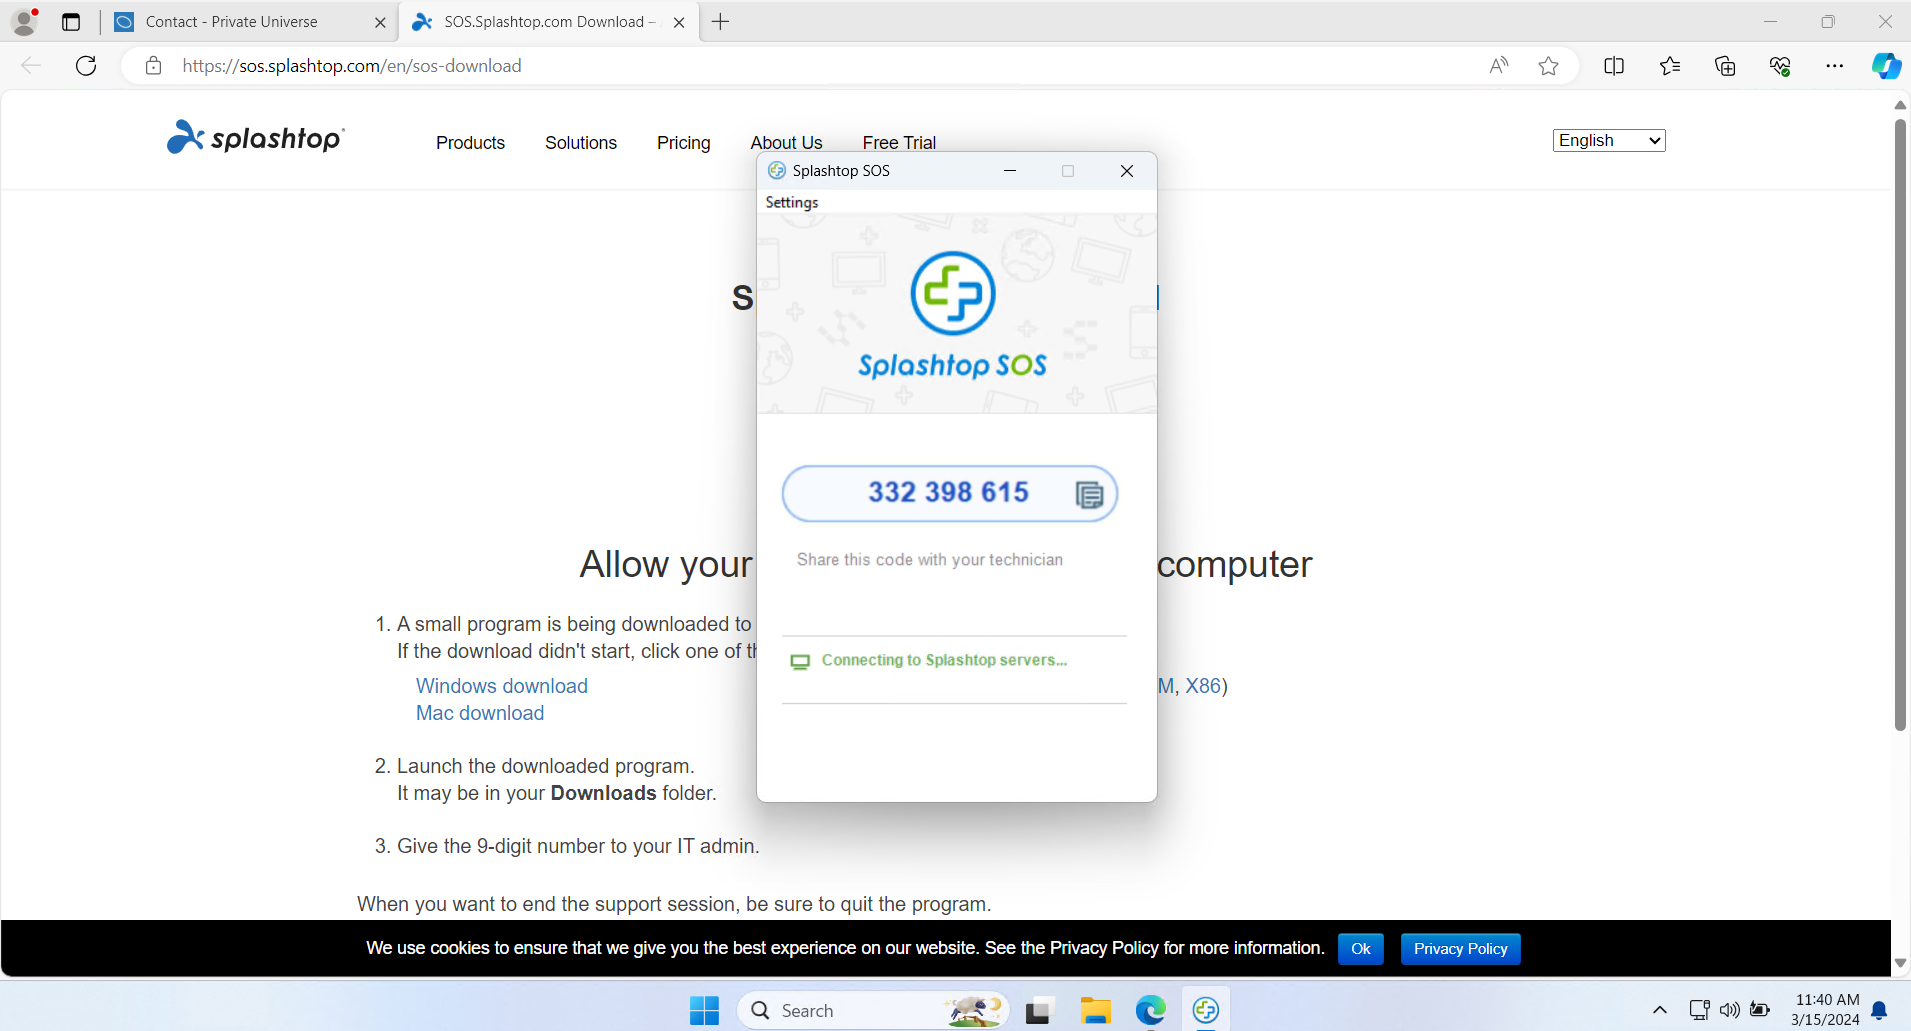
Click Instant Support, which will initiate a download for SplashtopSOS.exe, in a downloads window at the top right of the screen.

-
Click Open File on the SplashtopSOS.exe download.

-
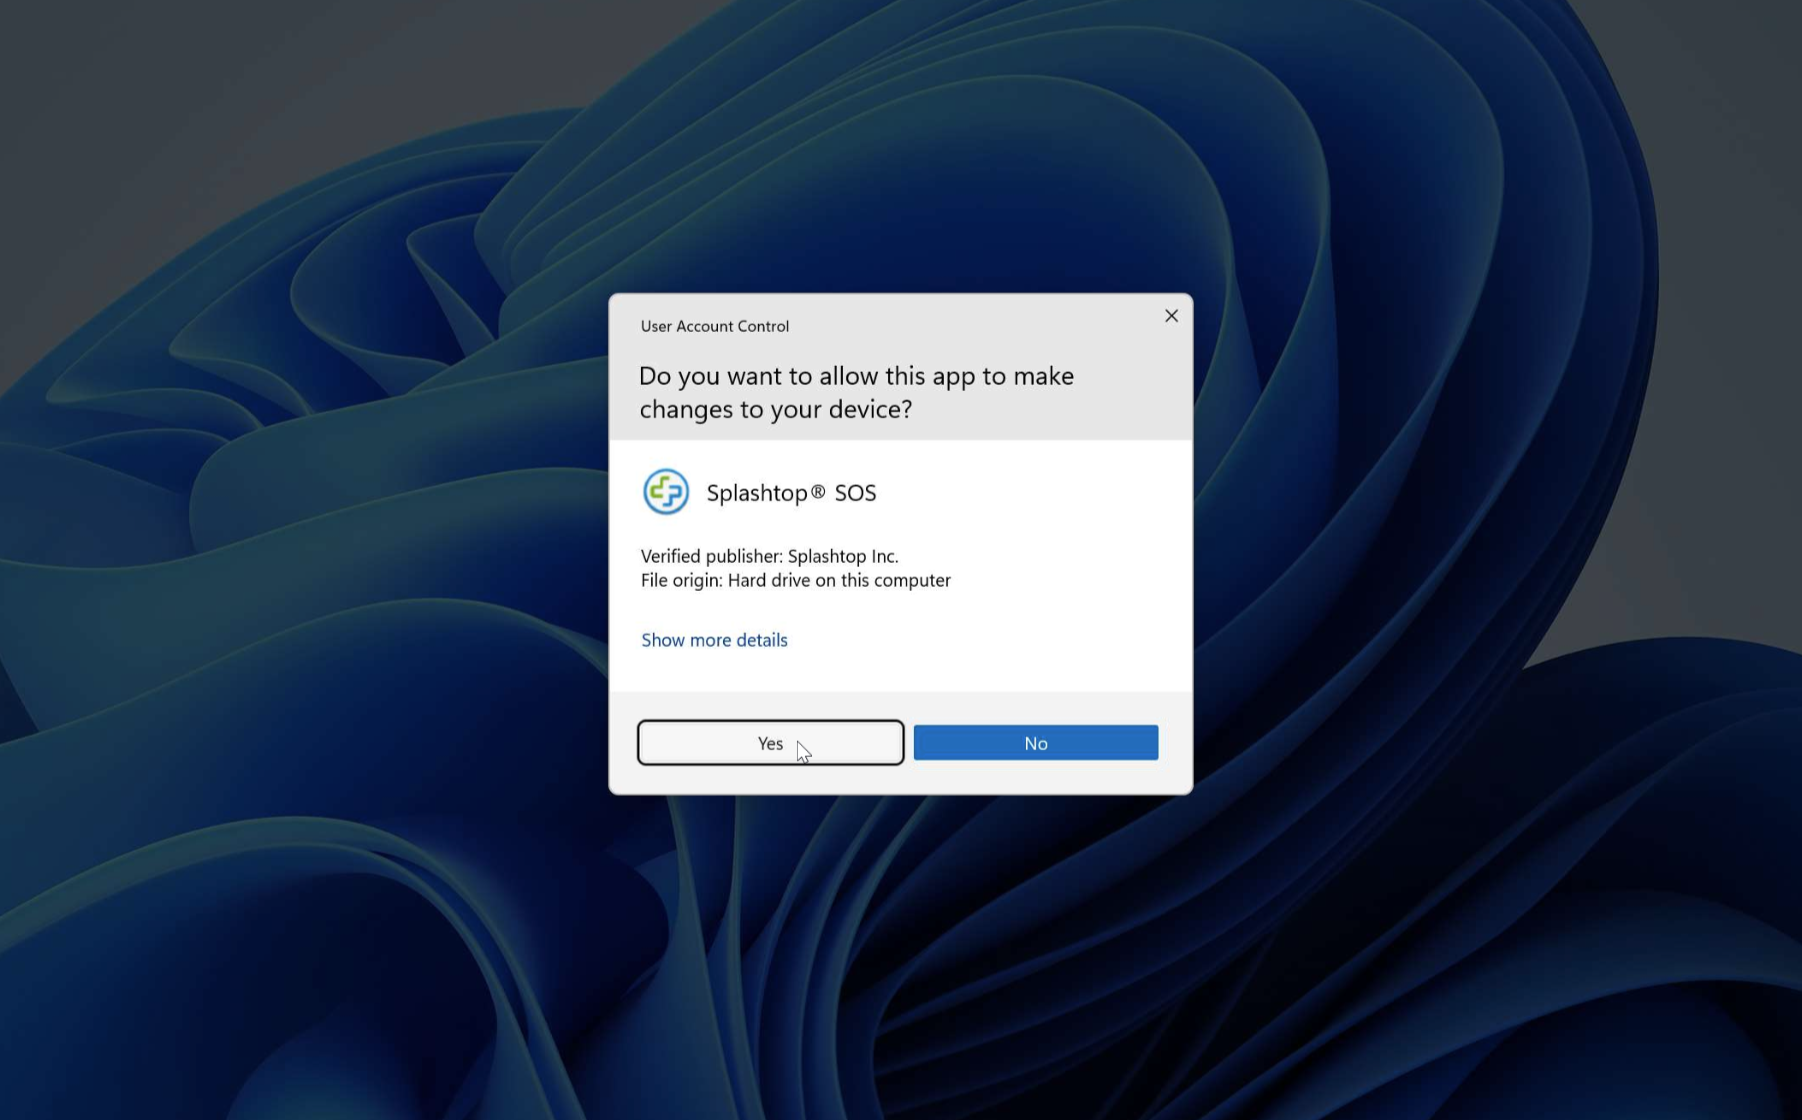
Click Yes when asked to allow Splashtop SOS to make changes to the device.
-
Wait for Splashtop SOS to load your Code. Once this appears, note down your Code.
 You will need to send these details to Private Universe to finish setting up your device later.
 -
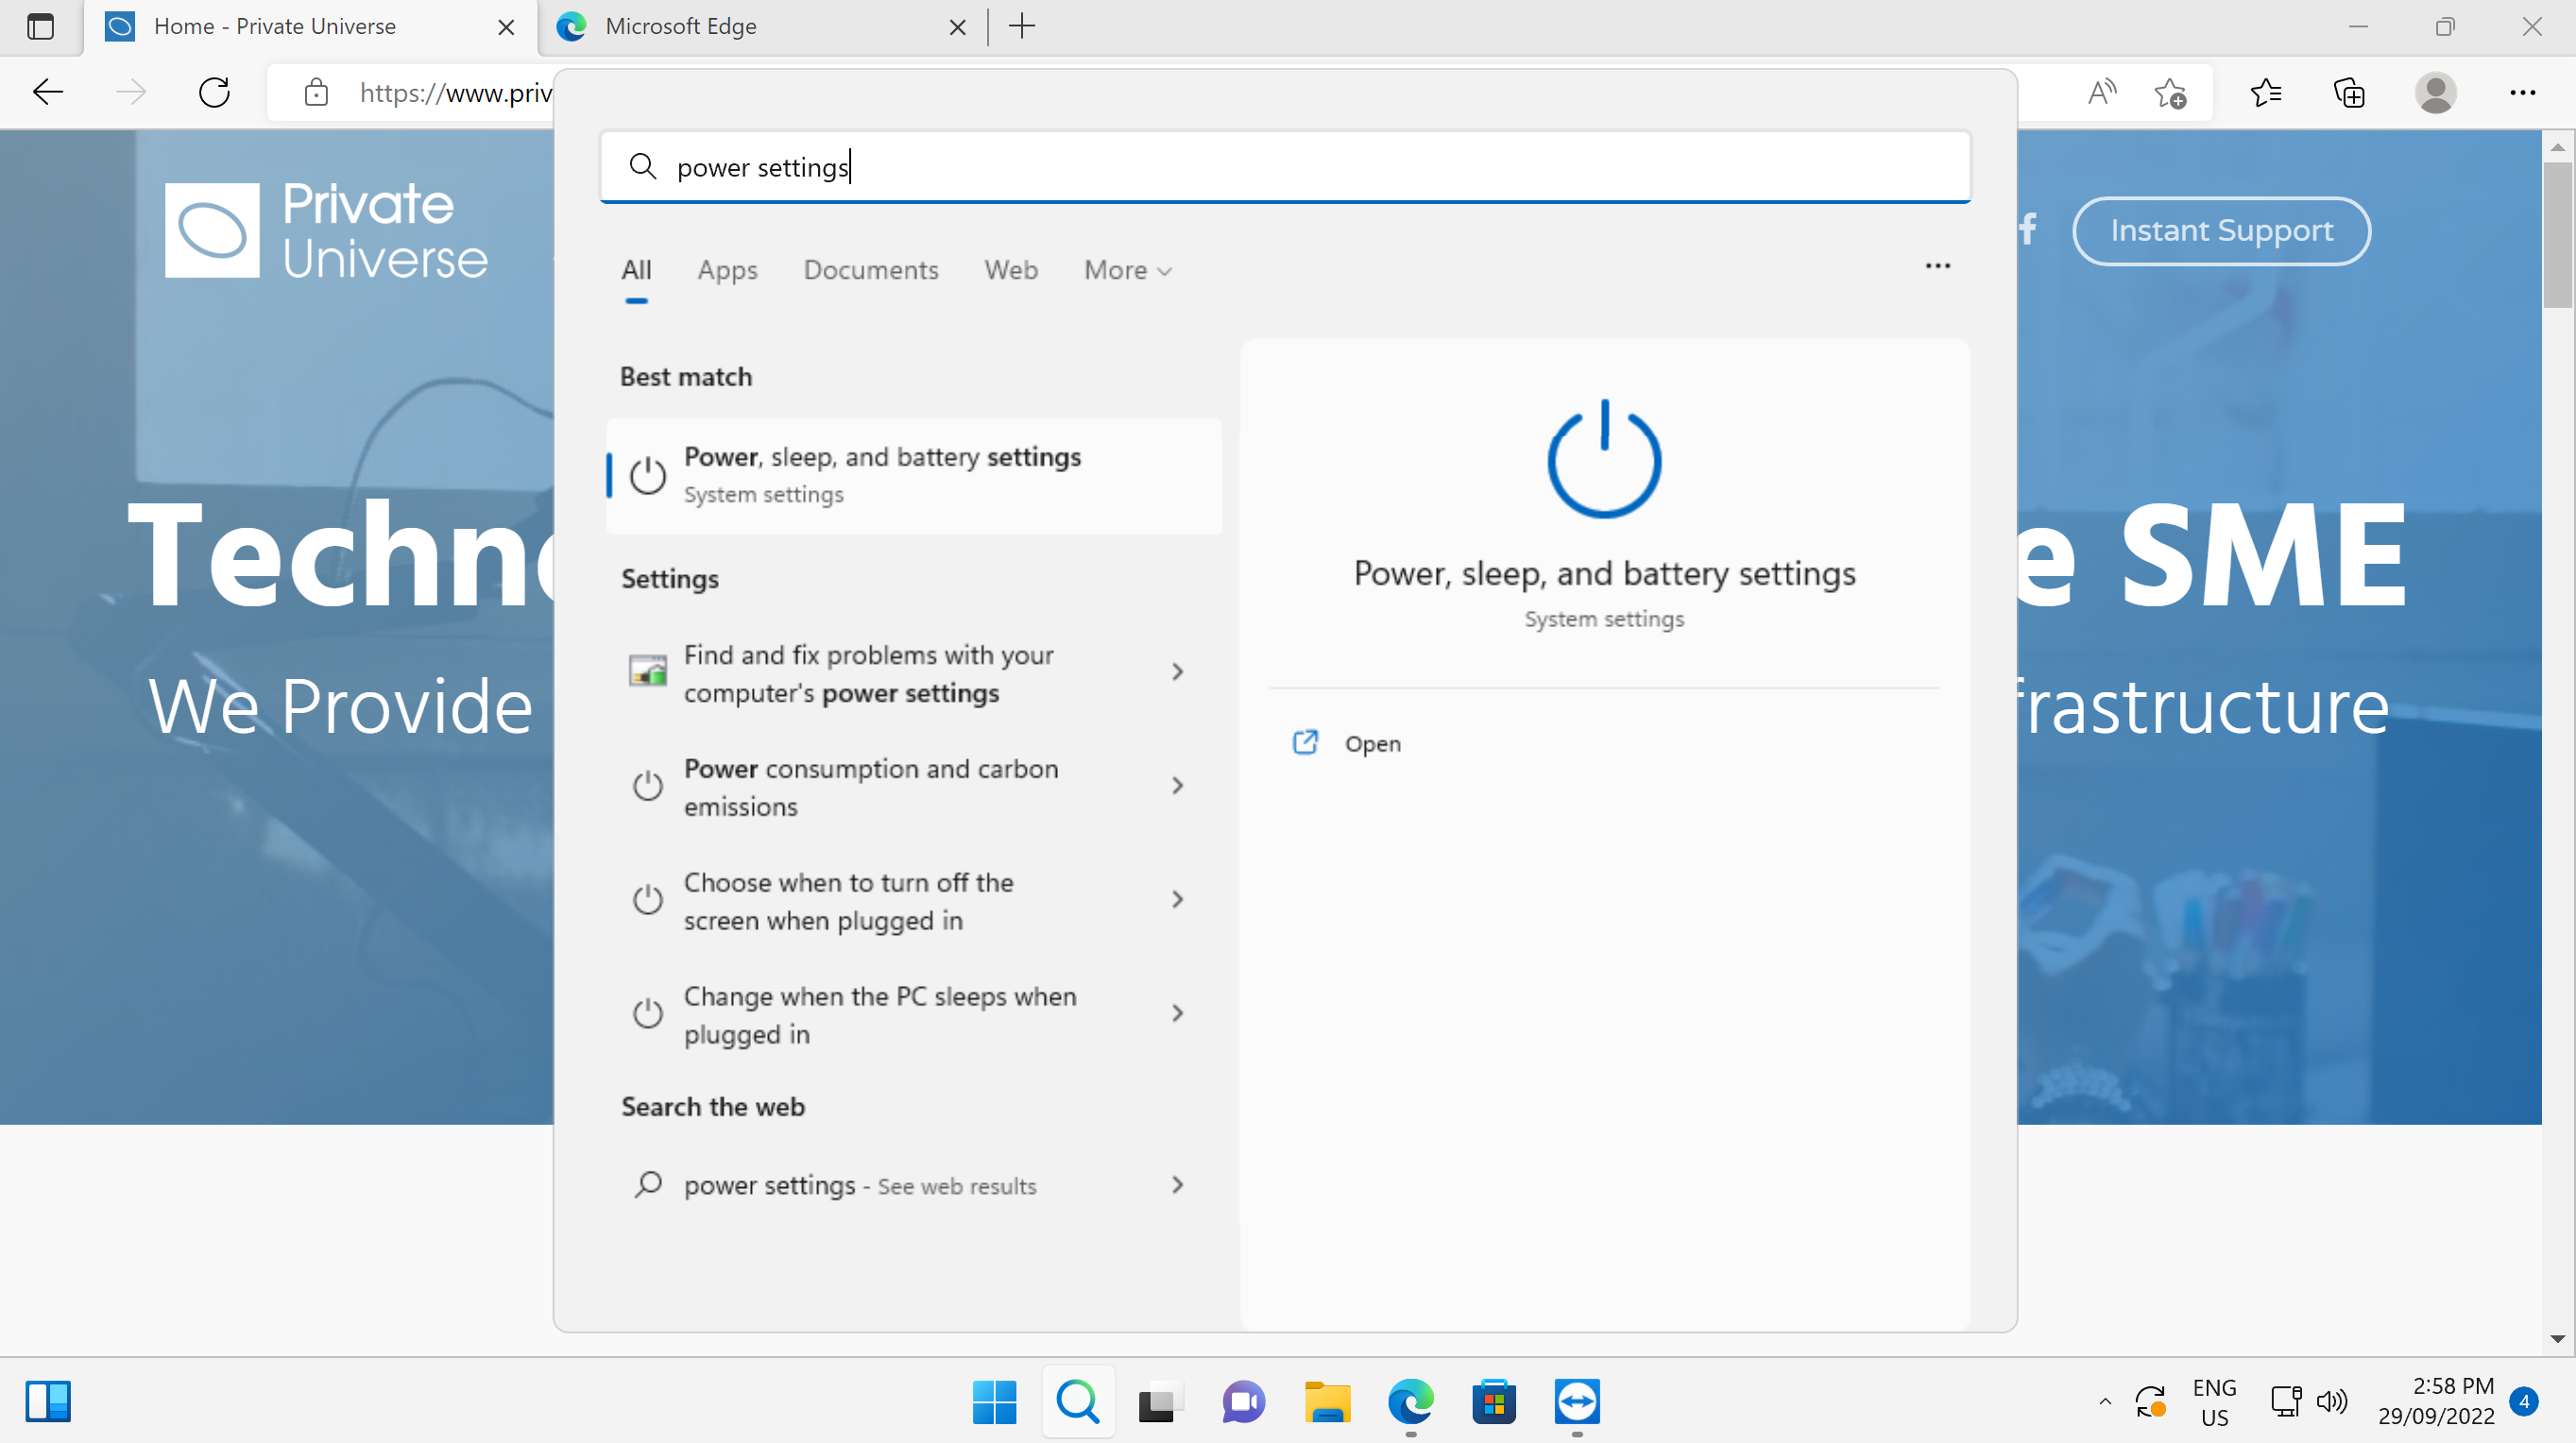
Press the windows button on your keyboard, then type Power settings in the search bar. Select Power, sleep & battery settings from the results.
-
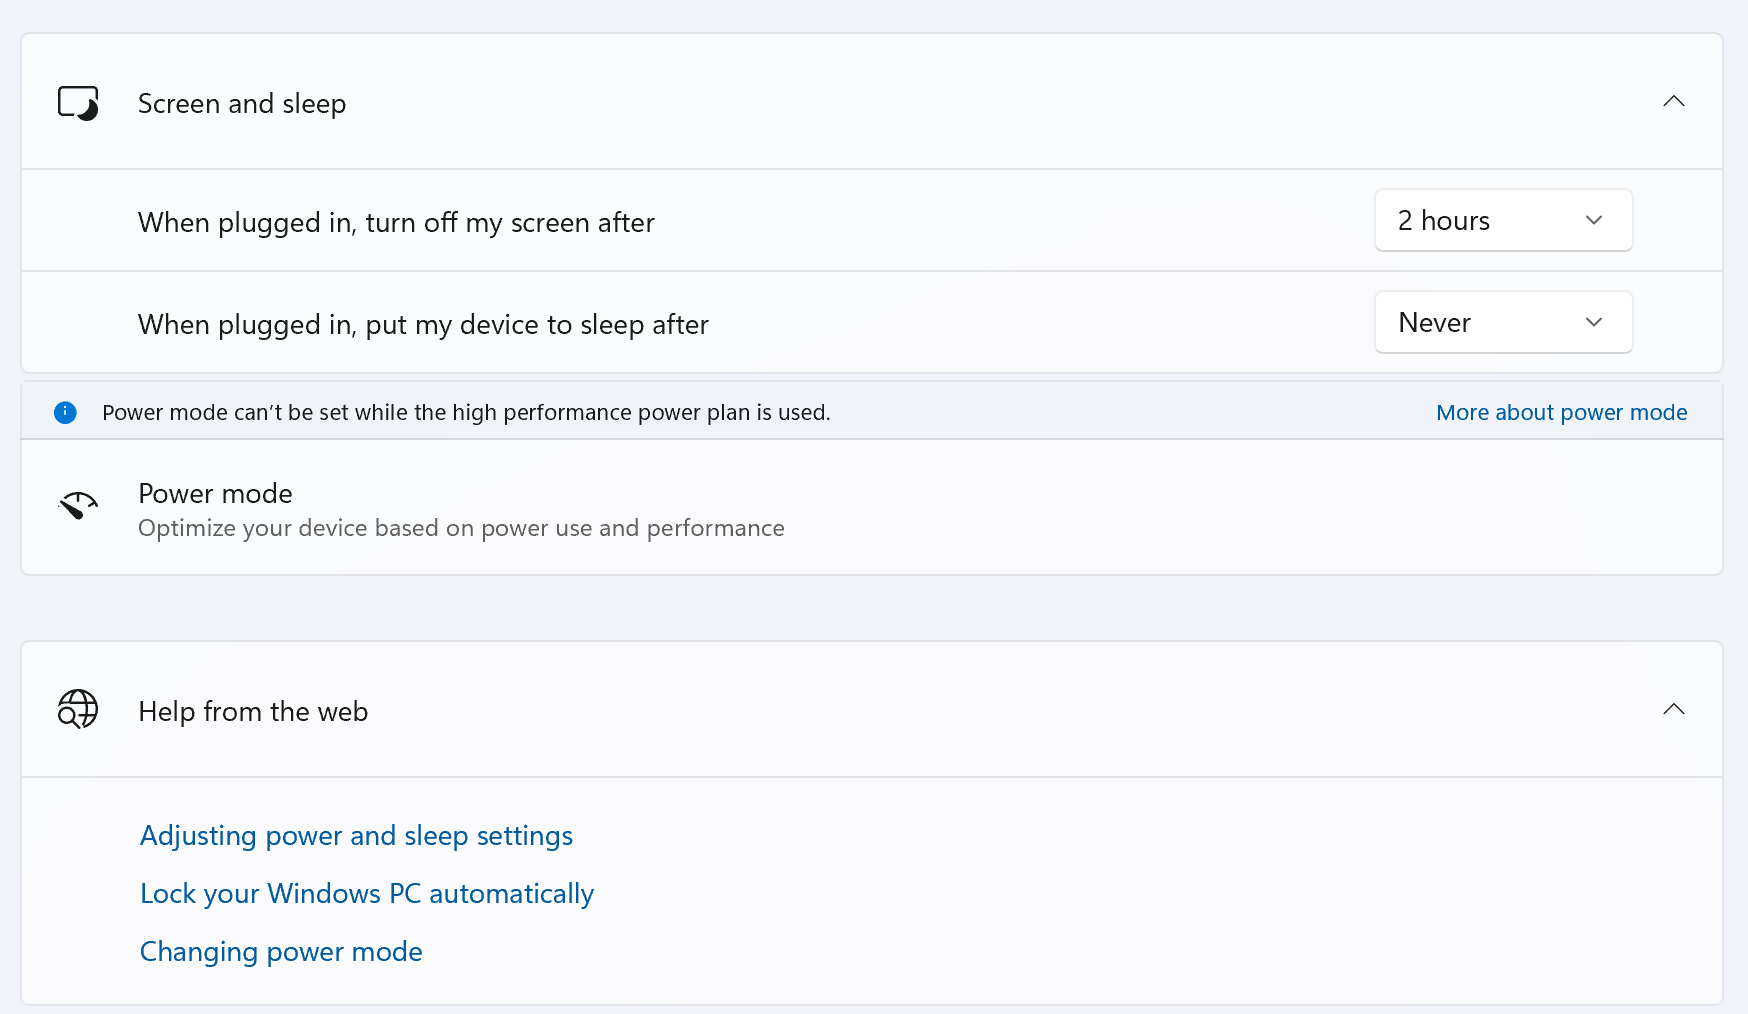
Click on the panel Screen and sleep. This will cause more options to be displayed.
Change When plugged in, put my device to sleep after to Never.

-
Send an email to Private Universe Helpdesk with your Code which had been noted down earlier.
Azure Active Directory Join
-
After first powering on the device, a country selection screen will appear. Select Australia, then click Yes.

-
You will then be asked to select a keyboard layout. Select US then click Yes.

-
Select Skip when asked if you want to add a second keyboard layout.
-
When prompted to name the device, enter NewPC, then select Next.
 Private Universe will rename the PC after the initial setup is complete.
 -
When asked how you would like to setup the device, click Set up for work or school, then select Next.
-
Enter your email, click next, then enter your password. Click Sign In.
 You may need to authenticate your login. Verify using your mobile authenticator.
 -
Scroll down to the bottom of the privacy settings window, then click Accept.

-
Once Windows has finished its initial setup, enter your password again then hit enter.
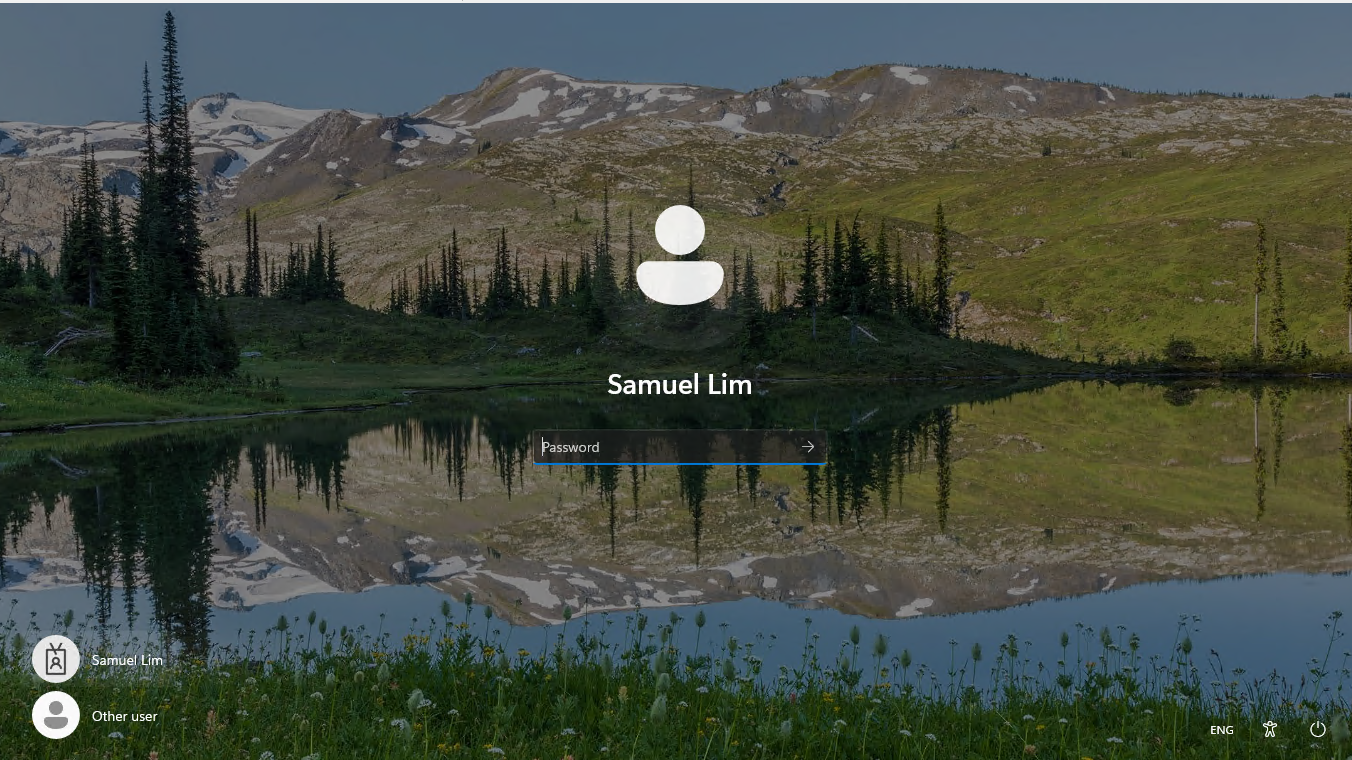
-
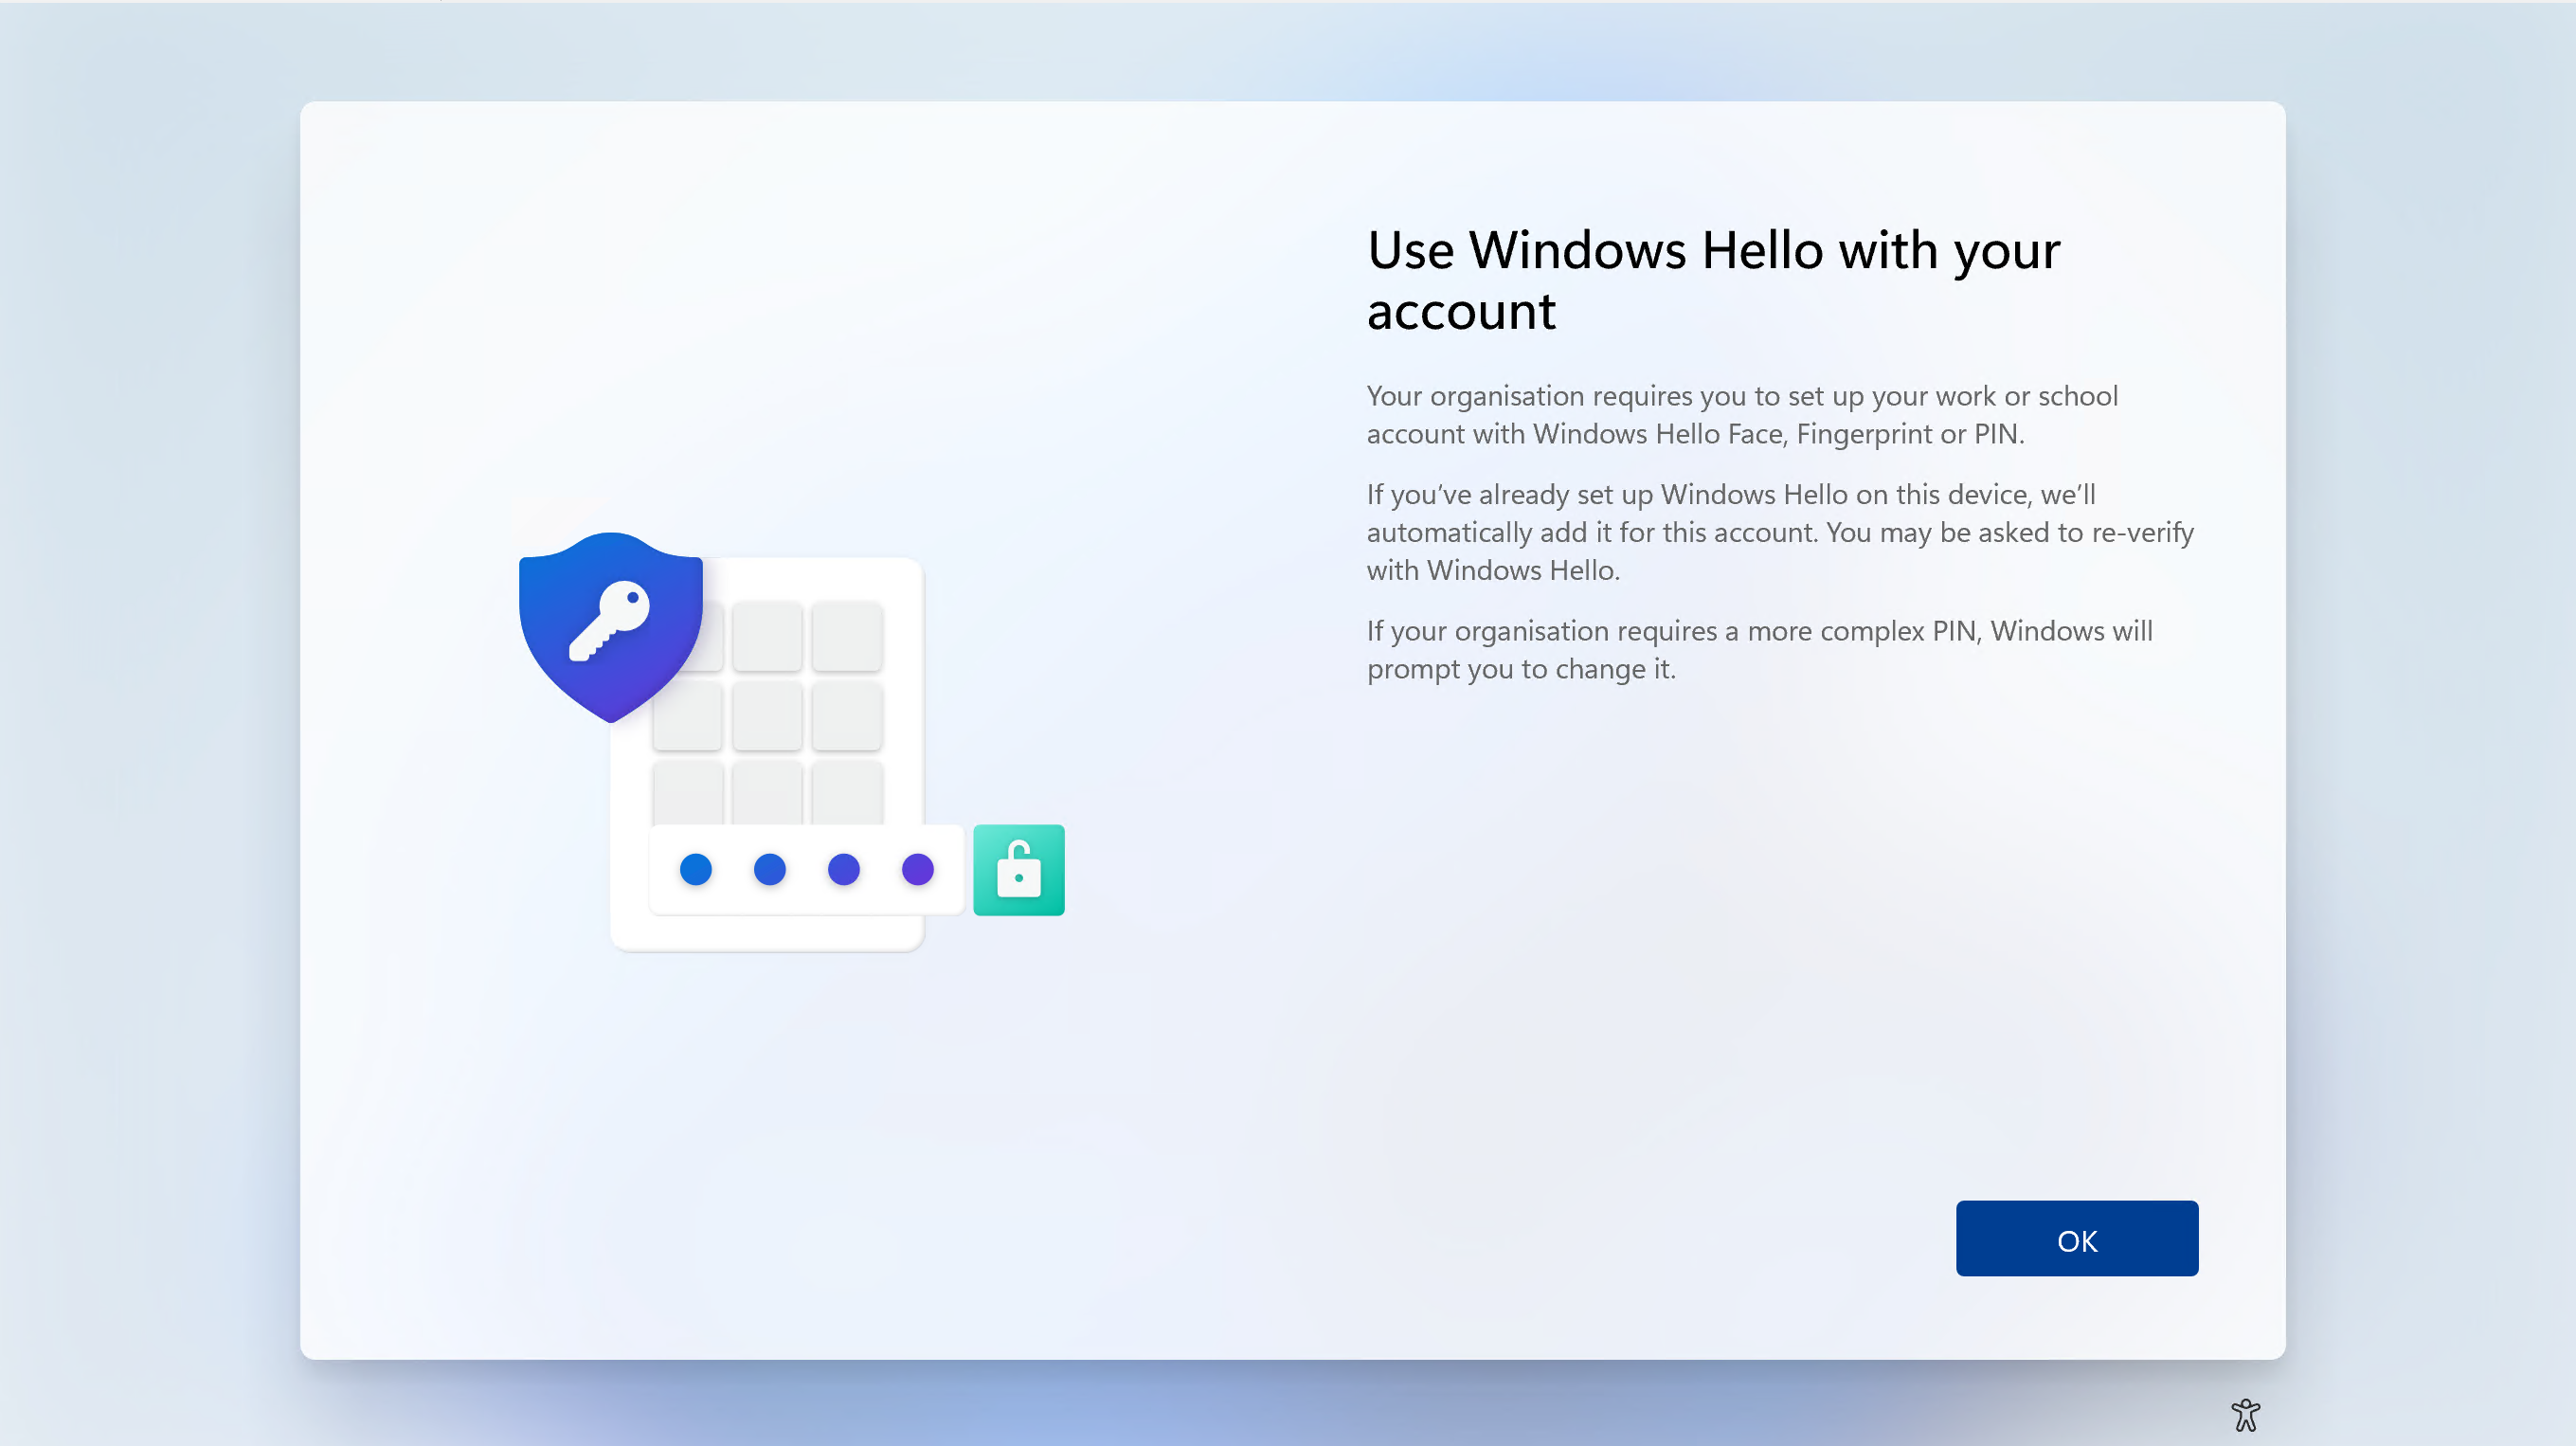
You may be shown some information about Windows Hello. Click OK, then sign in again if required.
-
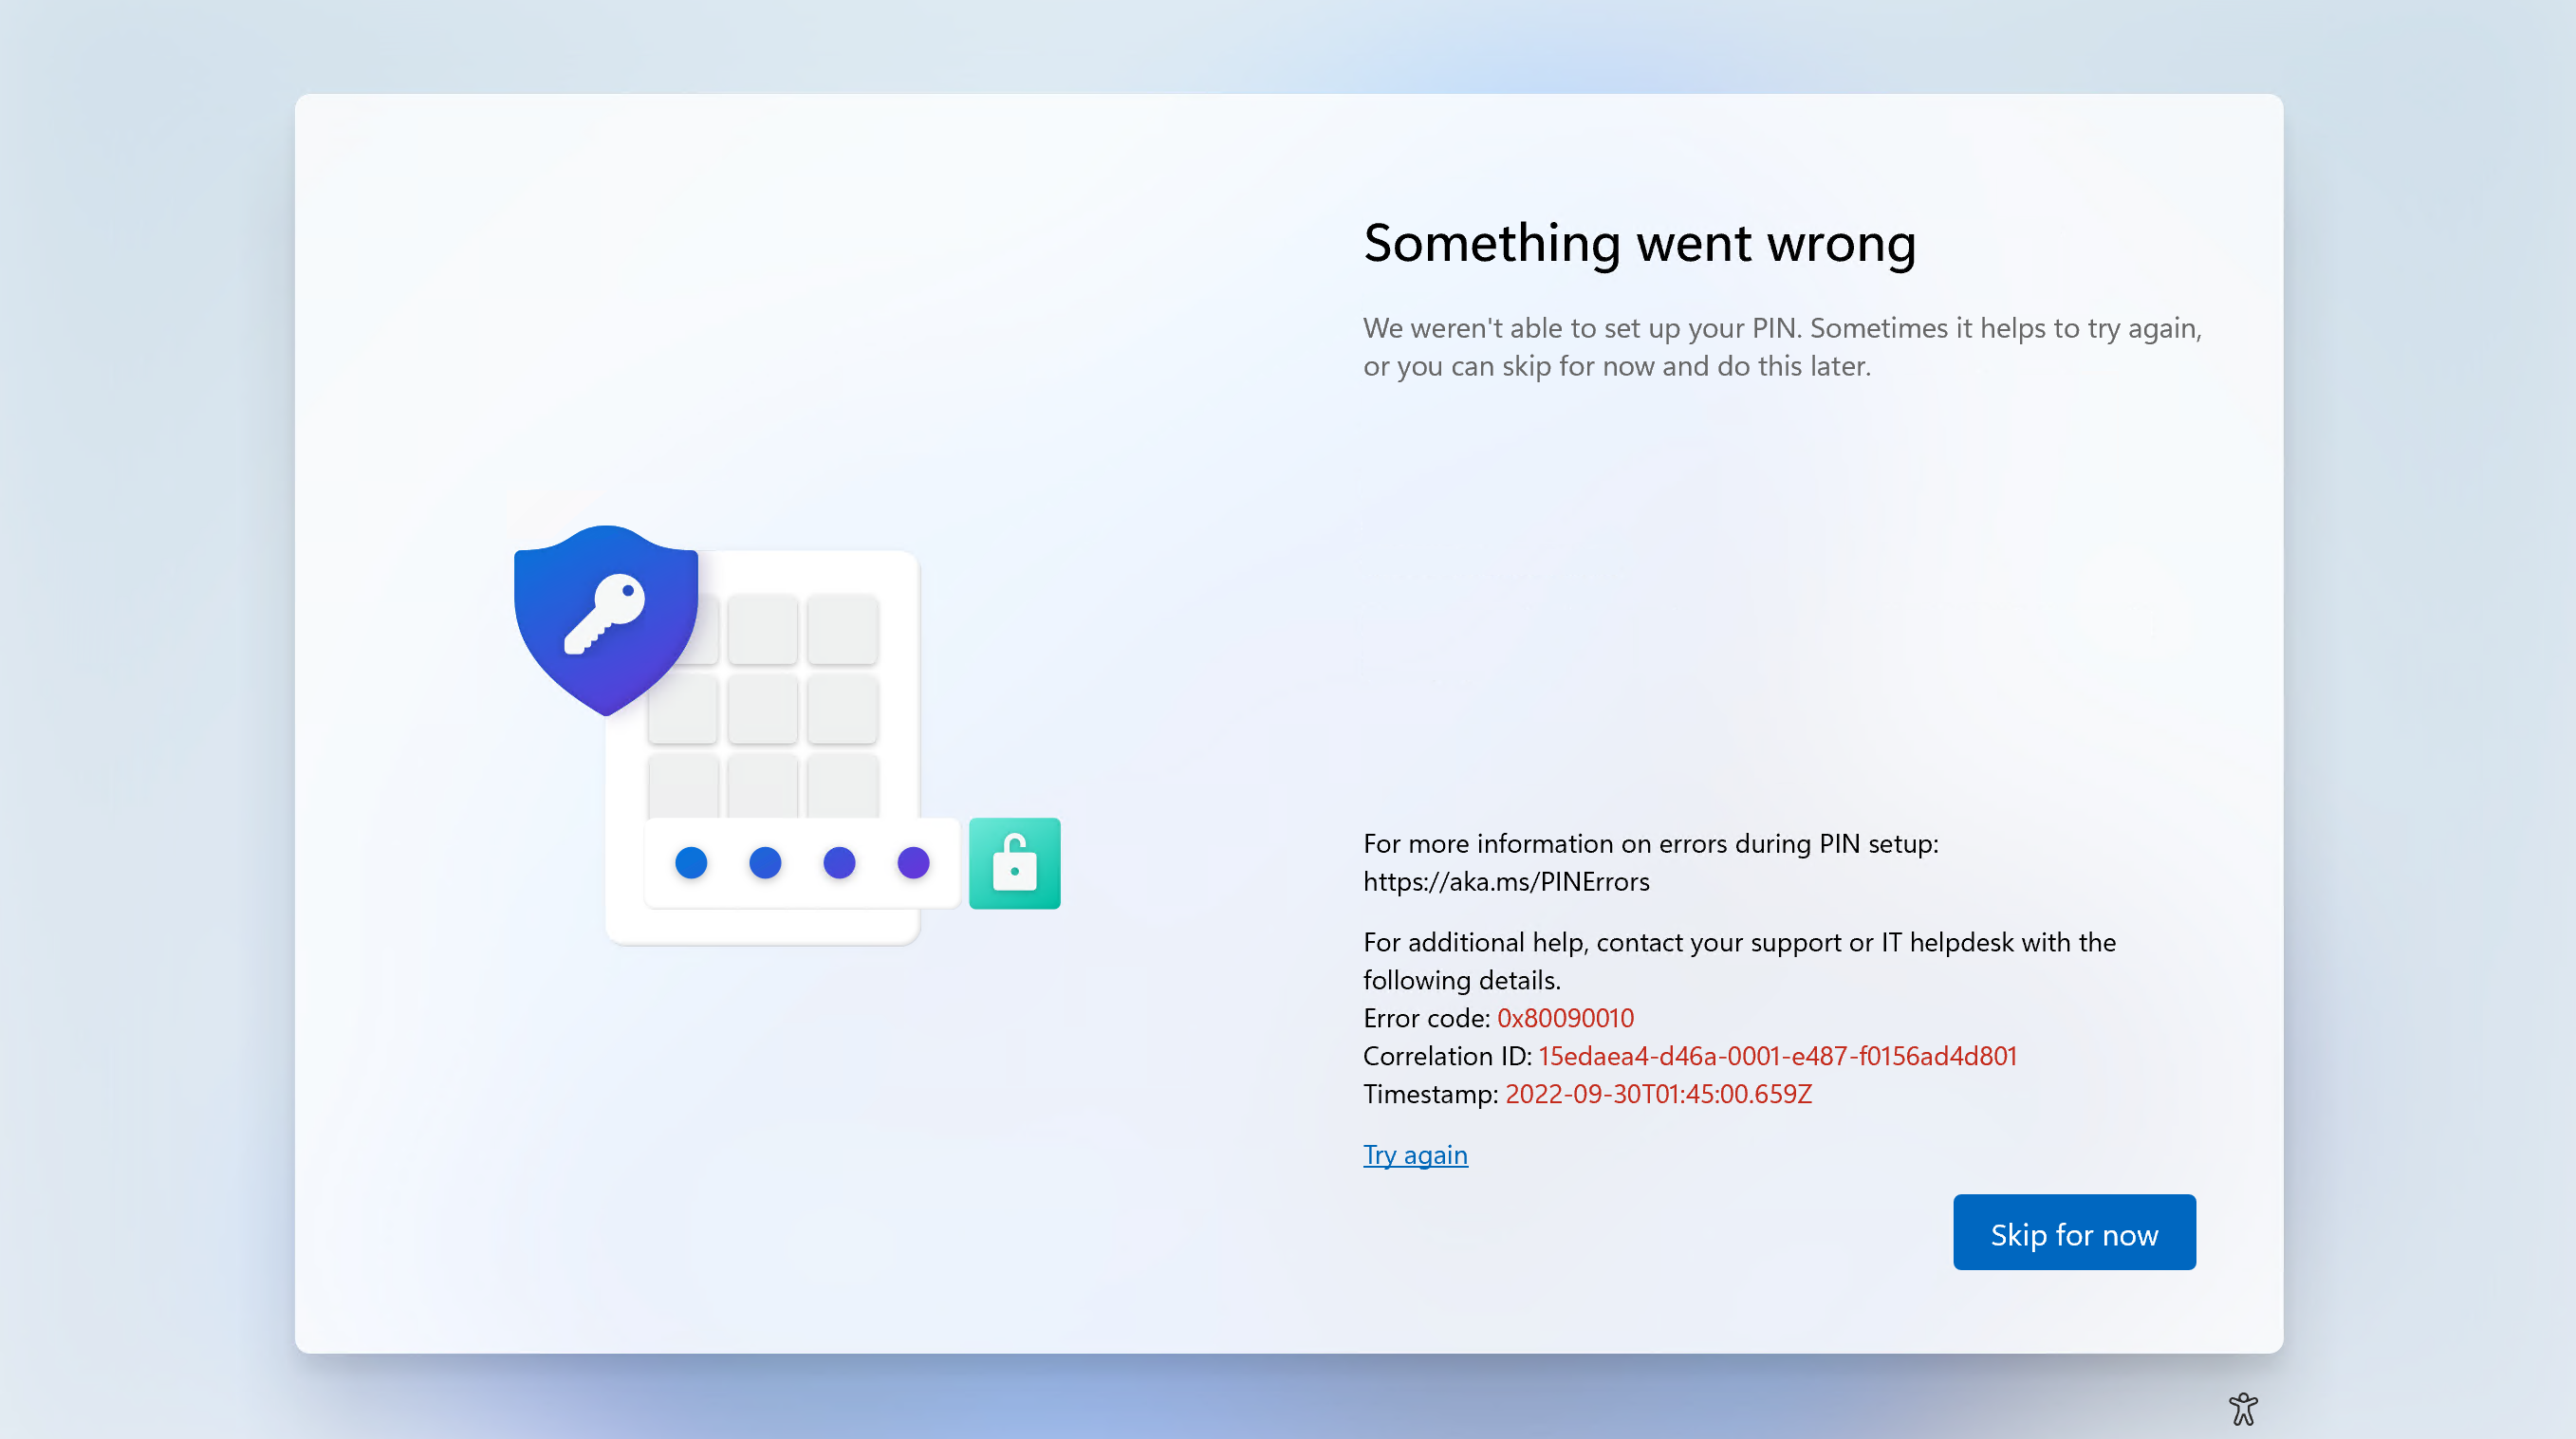
Click Skip for now if you receive an error message.

-
You'll be redirected to your desktop, but there's a few more steps before Private Universe can finish setting up your device. Double click on Microsoft Edge.

-
Select Start without your data.

-
When prompted to sign in with Google, select Continue without this data.

-
Select Confirm and start browsing.

-
Click on the searchbar at the top of the browser and go to https://privateuniverse.com.au.

-
Click Instant Support, which will initiate a download for SplashtopSOS.exe, in a downloads window at the top right of the screen.
-
Click Open File on the SplashtopSOS.exe download.
-
Click Yes when asked to allow Splashtop SOS to make changes to the device.

-
Wait for Splashtop SOS to load your Code. Once this appears, note down your Code.
 You will need to send these details to Private Universe to finish setting up your device later.
 -
Press the windows button on your keyboard, then type Power settings in the search bar. Select Power, sleep & battery settings from the results.

-
Click on the panel Screen and sleep. This will cause more options to be displayed.
Change When plugged in, put my device to sleep after to Never.
-
Send an email to Private Universe Helpdesk with your Code which had been noted down earlier.
Azure Active Directory Join with Intune
-
After first powering on the device, a country selection screen will appear. Select Australia, then click Yes.

-
You will then be asked to select a keyboard layout. Select US then click Yes.

-
Select Skip when asked if you want to add a second keyboard layout.

-
When prompted to name the device, enter NewPC, then select Next.
 Private Universe will rename the PC after the initial setup is complete.
 -
When asked how you would like to setup the device, click Set up for work or school, then select Next.

-
Enter your email, click next, then enter your password. Click Sign In.
 You may need to authenticate your login. Verify using your mobile authenticator.
 -
Scroll down to the bottom of the privacy settings window, then click Accept.
-
Once Windows has finished its initial setup, enter your password again then hit enter.

-
You may be shown some information about Windows Hello . Click ok, then sign in again if required.

-
Click Skip for now if you receive an error message.
-
You'll be redirected to your desktop and your device is ready to use.
If the setup process gets stuck for a long period of time on a particular step, please contact the Private Universe Helpdesk so we can provide further instructions.